To create a new Ebix Entry project:
-
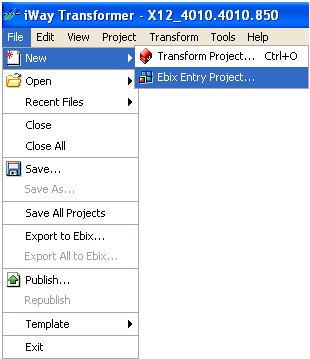
Click File,
select New, and then click Ebix
Entry Project.

The Ebix Entry Project Wizard is launched.
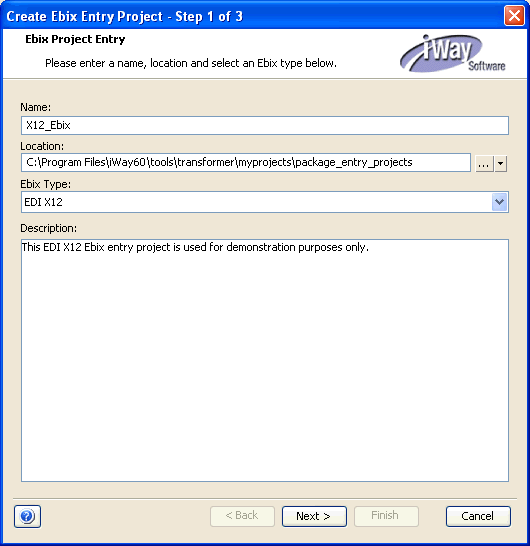
The first step of the Ebix Entry Project Wizard is to define an Ebix archive and its properties.

-
Perform
the following steps:
- In the Name field, specify a name for the Ebix archive.
-
In the Location field, specify the location of the Ebix Entry project.
The default location is:
<iWaySMHome>\tools\transformer\myprojects\package_entry_projectswhere:
- <iWaySMHome>
Is the directory where iWay Service Manager was installed.
- From the Ebix Type drop-down list, select the message format type.
- In the Description field, provide a short description (optional).
-
Click Next.
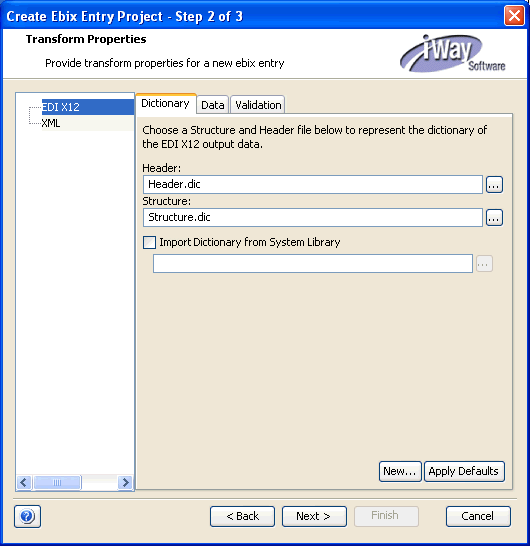
The second step of the Ebix Entry Project Wizard displays the properties for the given Ebix entry, which consists of metadata needed to describe a specific e-business message. This can be specified from the file system or e-business library. For more information, see Using Library Manager.
The EDI X12 node is selected in the left pane.

-
Provide
the appropriate values for the EDI X12 properties in the Dictionary,
Data, and Validation tabs similar
to the EDI X12 properties for a Transform project.
For more information, see EDI X12 Properties.
-
Click Next.
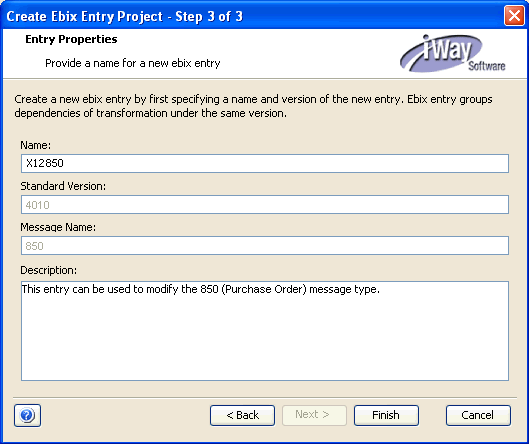
The third step of the Ebix Entry Project Wizard is to define properties for the entry.

-
Perform
the following steps:
- In the Name field, specify a name for the entry.
-
In the Description field, provide a short description (optional).
Note: The Standard Version and Message Name fields are populated with the appropriate values, which are acquired from the metadata component or components that you specified in Step 2.
-
Click Finish.
The new Ebix Entry project is opened in Transformer, as shown in the following image.

For more information on Ebix Entry projects in Transformer, see Viewing Ebix Entry Projects.