-
Insert the
Performance Management Framework CD in your CD drive. The Setup
program starts automatically.
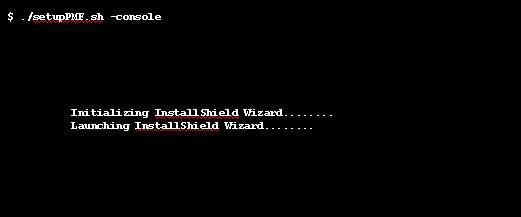
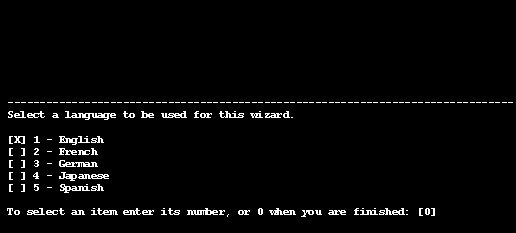
Choose what language to run the PMF Setup program in before proceeding.
-
A window opens that lists the prerequisites
for installing PMF, as shown in the following image.

Click Next to continue.
-
Select New in
the window that appears, as shown in the following image.

Note: Choosing New will install a new version and overwrite any existing PMF installation. For more information on how to upgrade an already existing version of PMF, see Upgrading a PMF Installation.
Click Next to continue.
-
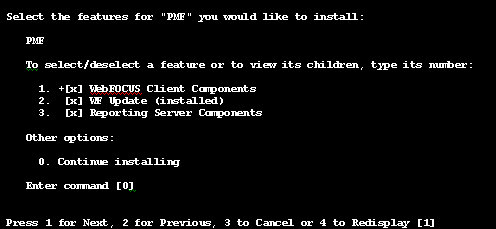
Select the check boxes for the components
that you want to install in the window that appears, as shown in
the following image.
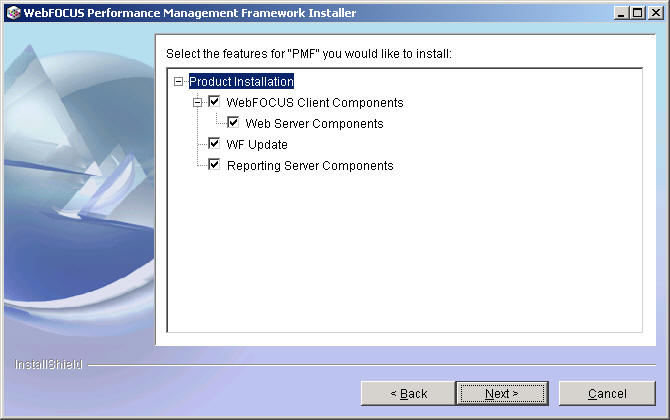
Click Next to continue.
-
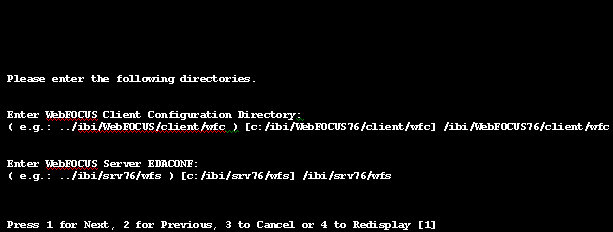
Specify the Web Home, WebFOCUS Client,
and WebFOCUS Server file locations in the window that appears, as
shown in the following image.
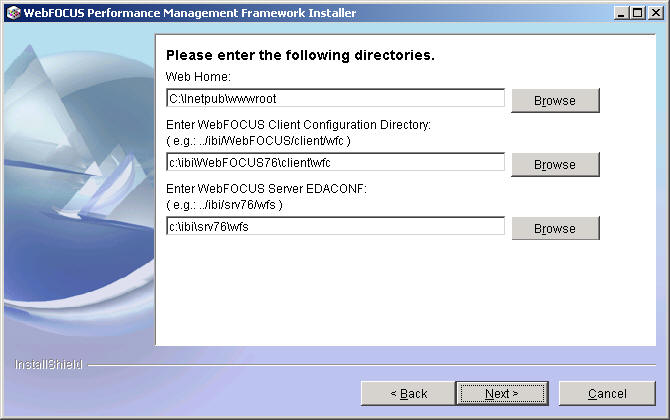
Note: The fields available in this window depend on what components were installed in step 4. The Tomcat default location on windows is typically located in c:\Program Files\Apache Software\Apache Tomcat\Webapps\Root\.
Click Next to continue.
-
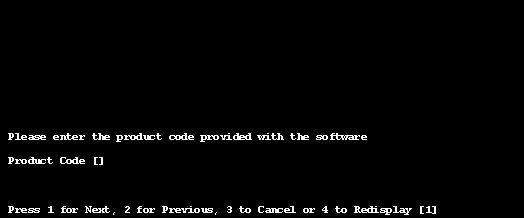
Enter the
product code in the Product Code field of the window that appears,
which is shown in the following image.
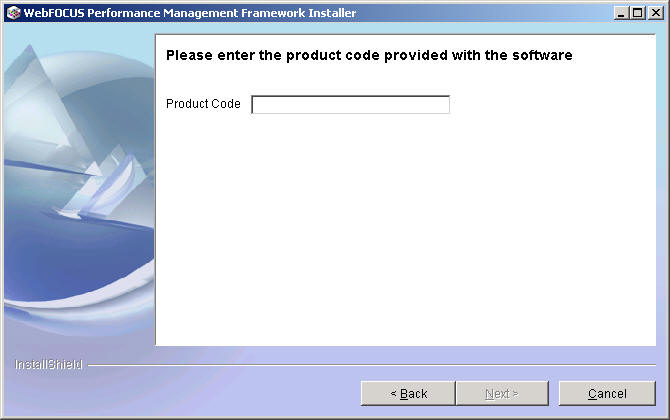
Click Next to continue.
-
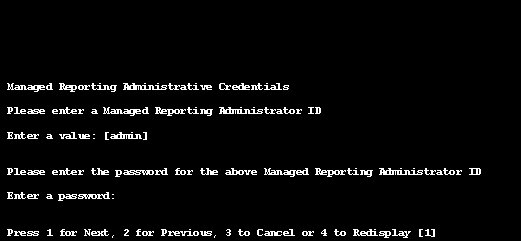
Specify the Managed Reporting Administrator
ID and password in the credentials window that appears, as shown
in the following image.
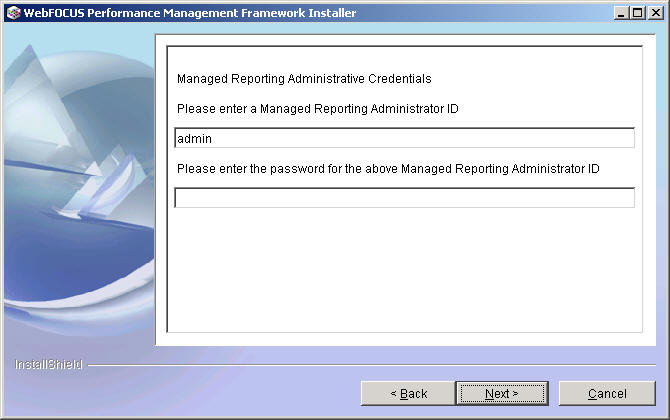
The default ID is admin with no password.
Click Next to continue.
-
Select the database you will be using
for PMF in the window that appears, as shown in the following image.

Click Next to continue.
Note: If you are not using MS SQL Server on the same system that you are installing PMF on (most typically found on an IB demo machine), go to step 9 to manually create the database utilizing the included DDL scripts.
An example of a completed database connection window is shown in the following image.

Click Next and go to step 10.
-
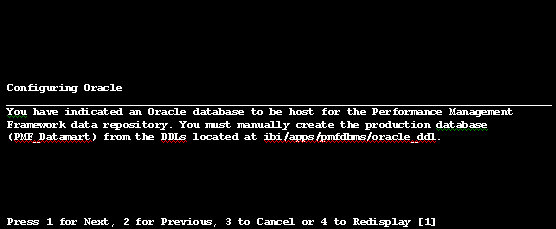
If you are NOT using MS SQL Server on the same system that you are installing PMF on, an
informational screen is displayed indicating that you must manually
create the production database (PMF_Datamart) from the DDLs located in
the ibi/apps/pmfdbms/Create_Database folder.
Note: You will also need to configure your own adapter connection for this RDBMS.
Click Next and a summary information window will be displayed, similar to the one in the following image. However, there will be no database or connection at the end of the installation. To create the database and connection, see Setting Up Your Data Mart Connection.

Note: Up to this point, no changes have been made to your machine and you may cancel the setup.
Click Next to continue.
-
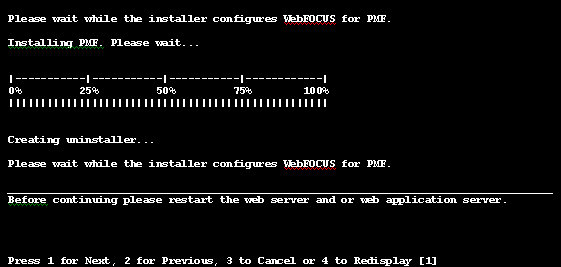
The installation
window appears when PMF is being installed on your machine, as shown
in the following image.

Click Next to continue.
-
The Setup
program copies all files and configures PMF for operation.
After the Setup program is complete, the following window appears, prompting you to restart the Web Server and Web Application Server.
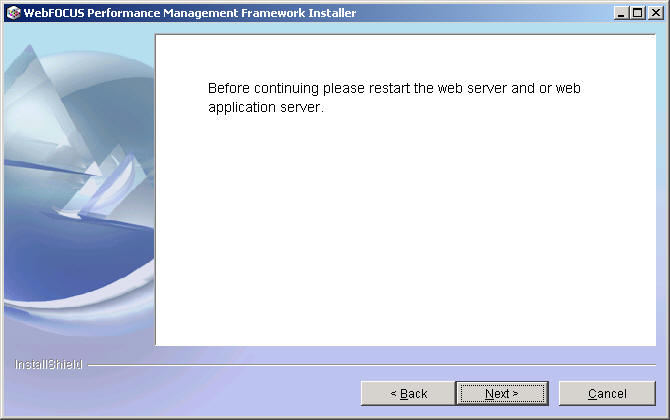
Click Next to continue.
-
The final setup window that appears,
as shown in the following image, tells you that PMF has been successfully
installed.

Click Finish to exit the installation.
Next, you or your database administrator (DBA) needs to create a database and connection as described in the next topic. You can then verify your PMF installation as documented in the respective section for your RDBMS.