
In this section: |
Tasks enable you to create asynchronous action items that must take place in a scripted and manner that can be scheduled. Tasks are designed to run scripts, which can perform multiple actions in an automated fashion without direct user interaction.
To access Tasks screen, on the left hand side under the Administration, select Tasks. The screen will display a list currently defined tasks.

Click the down-arrow on the Single Pane of Glass / Tasks menu, to bring up a list of queued tasks for execution.

The list of queued tasks represents not only user-defined tasks, but also system level tasks being performed.
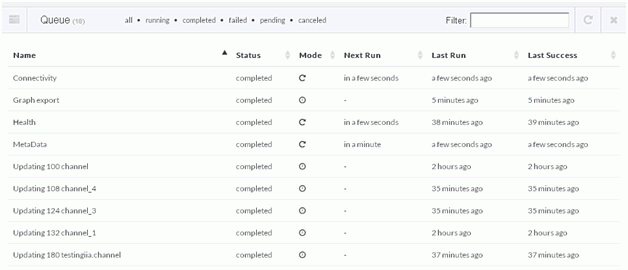
The general status of the task and its execution is displayed. The Mode is indicated as either a recurring task which is denoted by a round arrow, or as a onetime task which is denoted as a small clock.
To filter by task status, you may click on the filters shown on the top of the Queue menu to see tasks of specific status, such as failed or pending.

To switch back to the Task Management view, click on the Single Pane of Glass /Queue drop-down and select Manage Tasks.

How to: |
This section describes how to add a task.
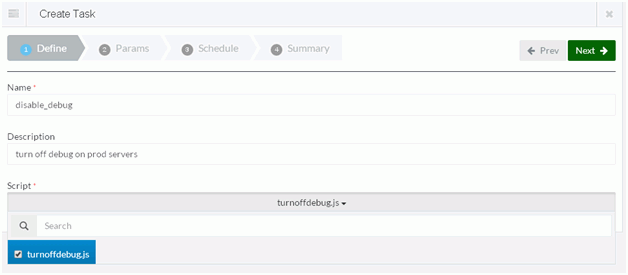
A Create Task screen is displayed.
Note: Before a task can be added, a task execution script must exist on the system. For more information on script management, see Managing Files and Artifacts.
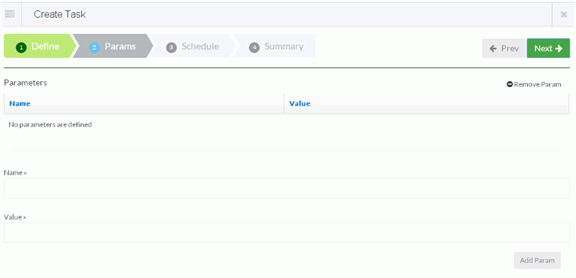
The scheduling screen is displayed.
If no scheduled date is defined, the script will be executed right away upon creation and run only once.
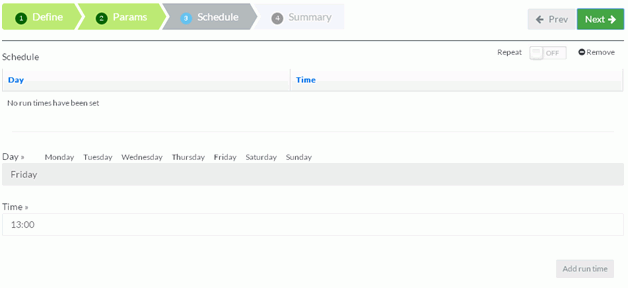
The configured execution times are displayed for review.
The Repeat switch can be turned on/off by sliding the bar. If task is repeating, then it will execute on a given day/time every week. If the task is non-repeating, it will execute only once on a given schedule.


When the screen is updated, the task is can be viewed in a list of available tasks.

Going into the Queue view of the tasks will show all scheduled executions for the task and their status.
Note: The scheduling is approximate within minute and long running tasks will be displayed in pending status during execution.

How to: |
This section describes how to remove a task.
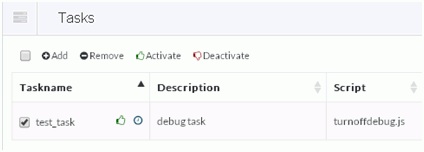
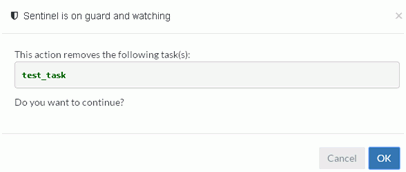
The task will be removed from the system.
The task can also be Deactivated from execution rather then removed by selecting a task and clicking on the Deactivate link. This will retain the task, but not execute it.
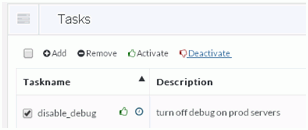
The task will be flagged as deactivated which is denoted by the down-hand.

| iWay Software |