To create a web application using default HTML translation:
-
In Telnet
Designer, click Tools and then, select Emulator.
The Terminal Emulator opens with the Connection tab active, as shown in the following image. The Connection tab provides fields for the host name, terminal, port number, and deployment mode.
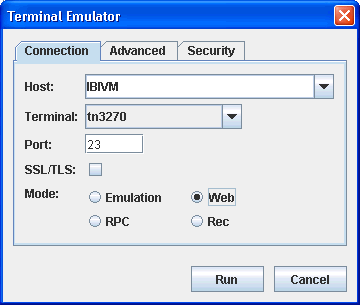
- From the Host drop-down list, type or select the host name of the mainframe you want to emulate.
- From the Terminal drop-down list, select the terminal type (tn3270 or tn5250) for the emulation.
- In the Port field, type the port number to access the host.
- For the deployment mode, select Web.
-
For more options, click the Advanced tab.
The Advanced tab of the Terminal Emulator opens. Make a selection from the Language drop-down list. The Language selection determines the national language character set that will be used in your emulation session.
If you want to use a specific terminal name (LU) or pool name (LU pool) with your mainframe connection, type this value in the LU Name field. This option allows the mainframe to dedicate specific connections and privileges to specific telnet ports.
-
Click Run.
A connection is made to the mainframe online system.
- Logon to the mainframe application that you want to use in your web application.
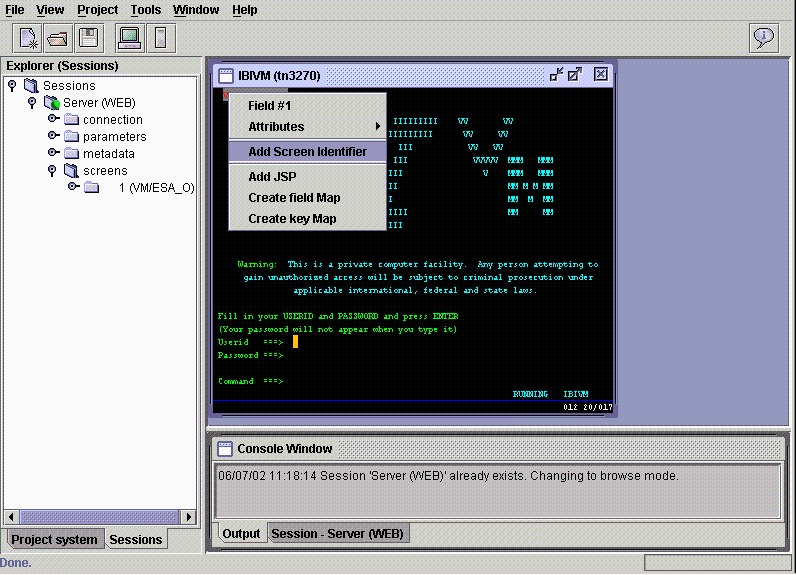
- Right-click the top literal field or a region that uniquely identifies the screen.
-
From
the drop-down list, select Add Screen Identifier.
The following image shows Telnet Designer and the display of the VTAM screen in the right pane. The Sessions tab is active, and the left pane lists the sessions. The bottom right pane is a console window.
The Screen Identifier dialog box opens, as shown in the following image. The Field Number and Field Text fields are populated with values appropriate to the cursor placement.
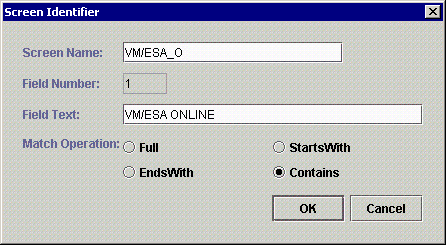
- In the Screen Name field, type a name for the screen.
-
Select a match operation.
When a match is made, the iWay Emulation Adapter (3270/5250) proceeds with the keystroke that is pressed (for example, the Enter key or PFKEY). As a result, the screen is not revealed to the user during run time.
-
Click OK.
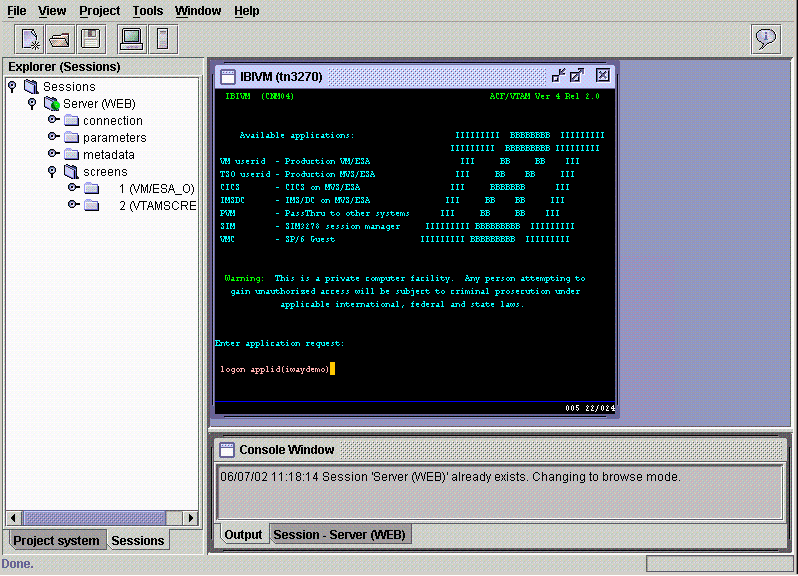
The screen is now recognized by the iWay Emulation Adapter (3270/5250), as shown in the following image.
-
Add screen
identifiers for all screens that you want to identify. This includes
formatted, hidden, and blank screens.
The screen name appears in the left pane under the Server(WEB) screens folder.
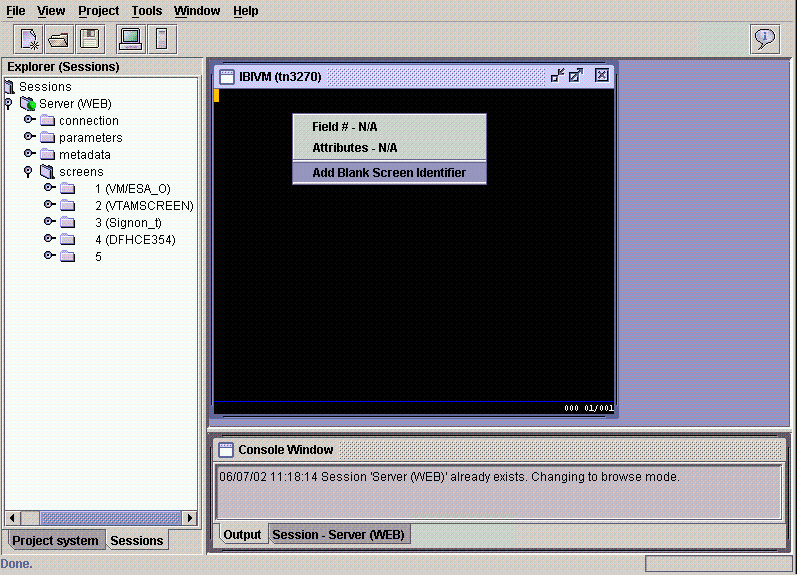
Note: To identify a blank screen, right-click in the screen and select Add Blank Screen Identifier from the menu. The following image shows a blank screen with the drop-down list of options.
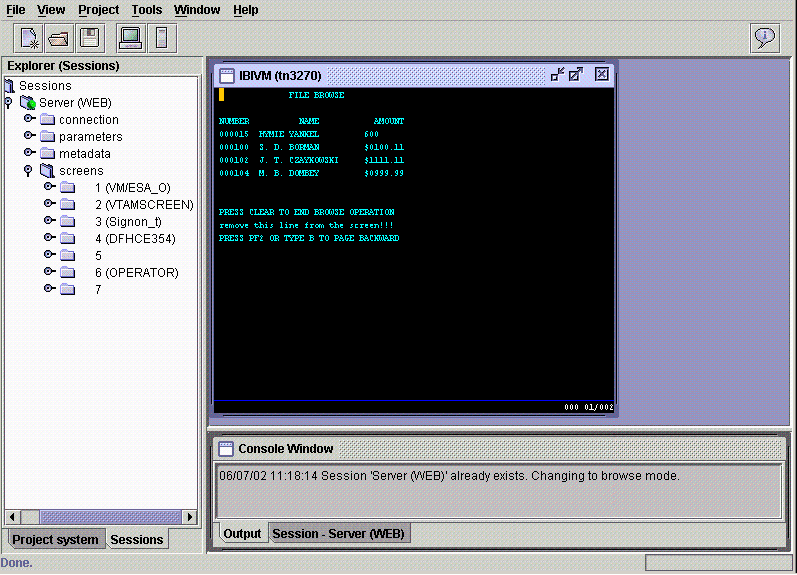
The following image shows that the screens that were recognized are added to the database.
- Continue identifying the appropriate screens for the web session.
- Log off the mainframe application. For example, to log off CICS, enter the command, CESF LOGOFF.
- Close the mainframe application by clicking the X in the upper right of the application window.
-
In the
left pane, right-click the Server (WEB) folder
under Sessions and select Save As.
The Save As dialog box opens as shown in the following image.
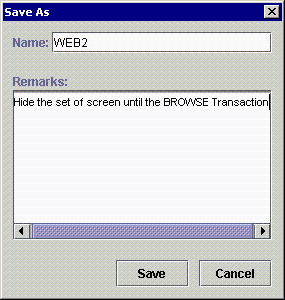
- In the Name field, type a name, for example, WEB2.
- In the Remarks field, type instructions or comments.
-
To save
the web application session, click Save.
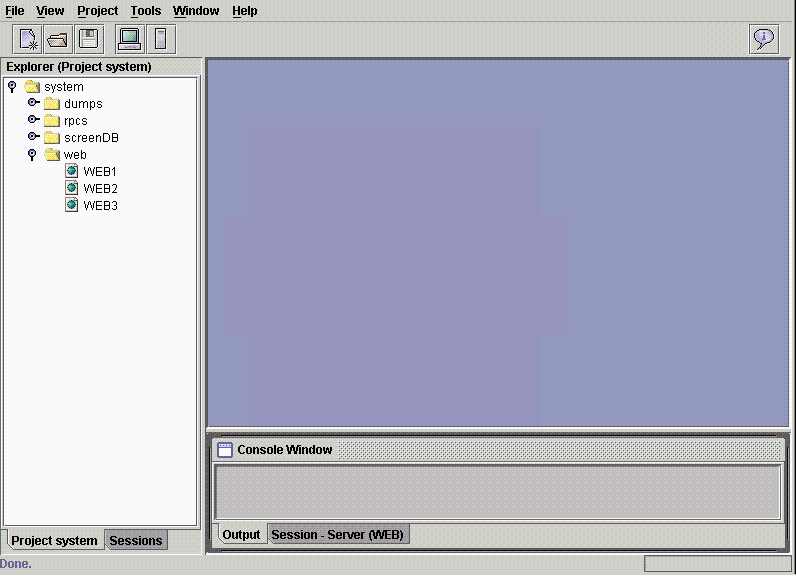
The saved web application appears under the web folder in the left pane of Telnet Designer, as shown in the following image.
For information on how to package and deploy the web application, see Deploying Your Application on a Web Application Server.
