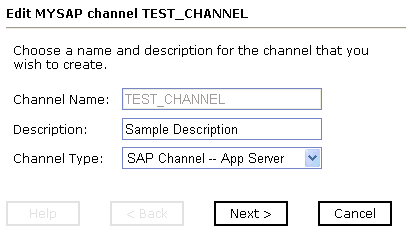
To create a channel using iWay Explorer:
-
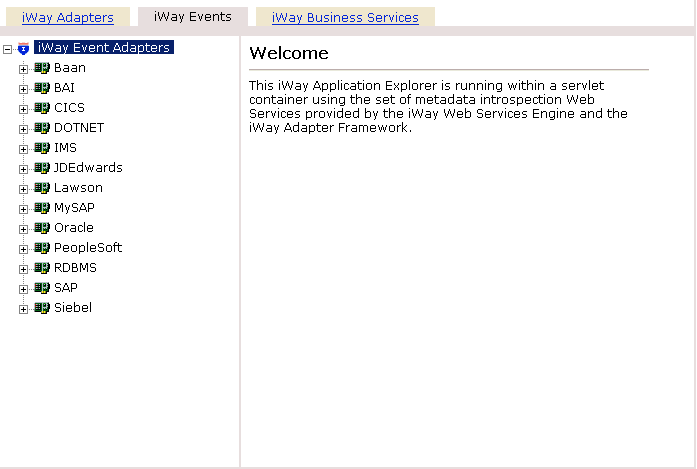
Click the iWay Events tab.
The list of adapters that support events appears in the left pane as shown in the following image.
-
Expand the iWay Events node, for example, SAP.
The ports and channels nodes appear in the left pane.
- Click the channels node.
-
In the right pane, move the pointer over Operations and
select Add a new channel.
The Add a new MYSAP channel pane opens on the right as shown in the following image.
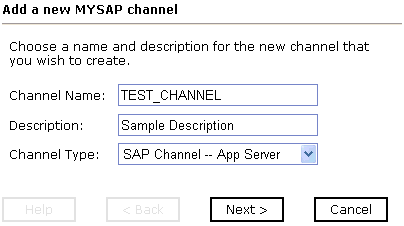
- In the Channel Name field, type a name, for example, TEST_CHANNEL.
- In the Description field, type a brief description (optional).
- From the Channel Type drop-down list, select SAP Channel -- App Server.
-
Click Next.
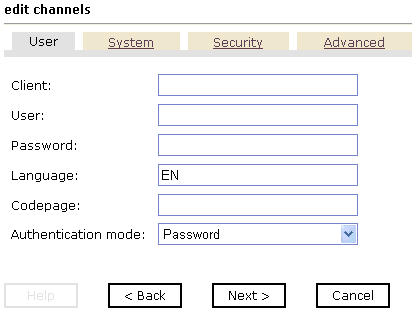
The edit channels pane opens on the right as shown in the following image, with fields for the client, user, password, language, and code page information for the channel. The User tab is active.
-
On the User tab, enter the information that is specific to
your SAP system.
The following table lists and describes the user parameters.
Parameter
Description
Client
Client number defined for the SAP system for client communications.
User
Valid user ID for the SAP system.
Password
Valid password for the SAP system.
Language
Valid language key. EN (English) is the default value.
Codepage
Character code page value used by the SAP system (optional).
Authentication Mode
From the Authentication mode drop-down list, select Password, Logon ticket (SSO2), or Logon ticket (X509). For more information on Secure Network Communications (SNC), see Creating XML Schemas for mySAP.
Note: For more information on obtaining the values found in the User tab, see your SAP system administrator.
-
Click the System tab.
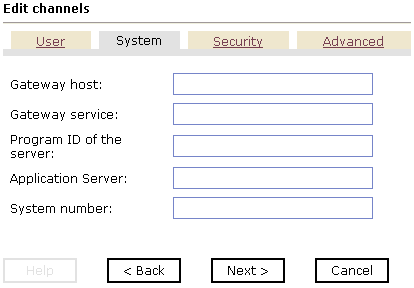
The System tab becomes active as shown in the following image, with fields to enter a gateway host, gateway service, program ID of the server, application server, and system number for the channel.
-
Enter the user information that is specific to your SAP system.
The following table lists and describes the system parameters.
Parameter
Description
Gateway host
Host name of the SAP gateway.
Gateway service
Service of the SAP gateway.
Program ID of the server
Program ID of the registered server program.
Note: The program ID of the server is case sensitive.
Application Server
Host name of the SAP system.
System number
Number of the SAP system (two-digit numeric value).
Note: For more information on obtaining the values found in the System tab, see your SAP system administrator.
-
Click the Security tab.
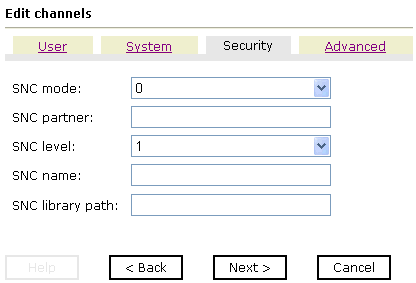
The Security tab becomes active as shown in the following image.
-
To enable SNC, select 1 from the SNC mode
drop-down list.
By default, SNC is disabled.
- In the SNC partner field, type the name of the RFC server or message server (load balancing) that provides the SNC services.
- From the SNC level drop-down list, select the version of the SNC library.
- In the SNC name field, type the name of the SNC library you are using.
- In the SNC library path field, type the path to the SNC library
- Specify additional information or criteria for the channel you are creating.
-
Click the Advanced tab.
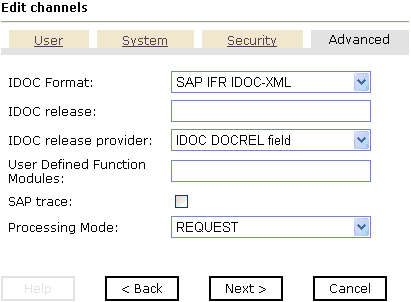
The Advanced tab becomes active as shown in the following image, with fields to enter or select an IDoc format, user defined function modules, and processing mode options, as well as check boxes to enable SAP traces or Unicode encoding of the event data.
-
Specify additional information or criteria for the channel
you are creating.
Note: For more information on obtaining the values found in the Advanced tab, see your SAP system administrator.
The following table lists and describes the parameters on the Advanced tab.
Parameter
Description
IDOC Format
The IDoc format to use for the channel you are creating. Possible values include:
SAP IFR IDOC-XML (Default)
FLAT IDOC
IDOC release
In the IDOC release field, specify the IDOC versioning you want to use for your connection.
IDOC release provider
From the IDOC release provider drop-down list, select, IDOC DOCREL field (default), SAP release, or user input.
User Defined Function Modules
Path on the file system that points to your user-defined function module. A user-defined function module is used as a data source.
SAP trace
Select this option to enable SAP traces.
Unicode
The iWay Application Adapter for mySAP ERP automatically detects whether the server you are connecting to is using UNICODE.
Processing Mode
Processing mode to use for your channel. Possible values include:
REQUEST (Default)
REQUEST_RESPONSE
-
On the User tab, enter the information that is specific to
your SAP system.
-
Click Next.
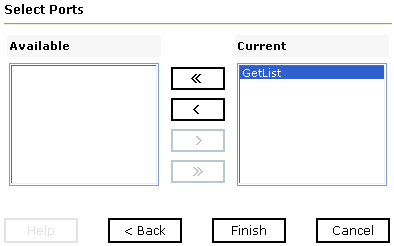
The Select Ports pane opens as shown in the following image where you can move ports between the Available list and the Current list.
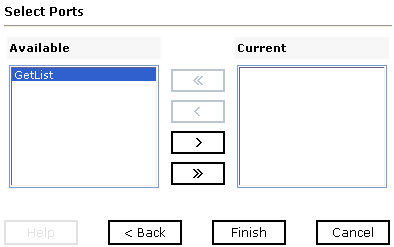
- Select an event port from the list of available ports.
-
To transfer the port to the list of current ports, click the
single right arrow button or to associate all event ports, click
the double right arrow button.
The port appears in the list of current ports as shown in the following image.
-
Click Finish.
In the left pane, the TEST_CHANNEL is selected and has an 'X' over the icon. The summary pane opens on the right with the channel description, channel status, and available ports as shown in the following image.
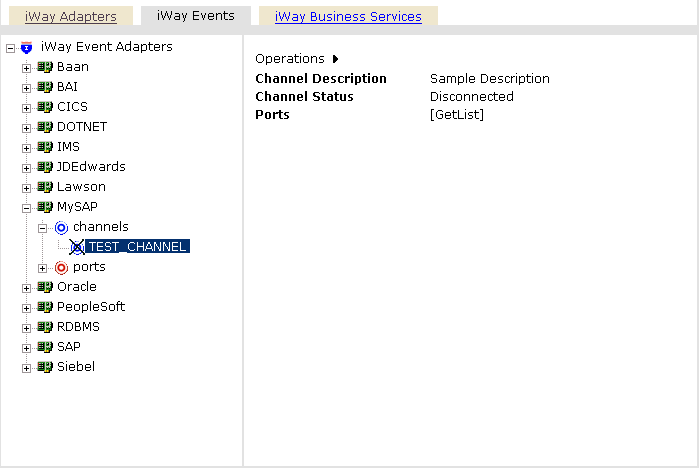
All the information is associated with the channel you created. The 'X' over the icon indicates that the channel is currently disconnected. To activate your event configuration, you must start the channel using the Operations menu, as shown in the following image.

-
Move the pointer over Operations and
select Start the channel.
The channel you created is now active, and the 'X' disappears, as shown in the following image.

Note: You can start a channel even if a specific event port is not assigned. A default port is used in these situations. However, it is recommended that you always assign a specific port to the channel you create.
For more information on creating a port, see Creating, Editing, or Deleting a Port.
For more information on using the default port, see Using the Default Event Port.
- To stop the channel at any time, move the pointer over Operations and select Stop the channel.
