Types of Windows You Can Create
|
In this section: |
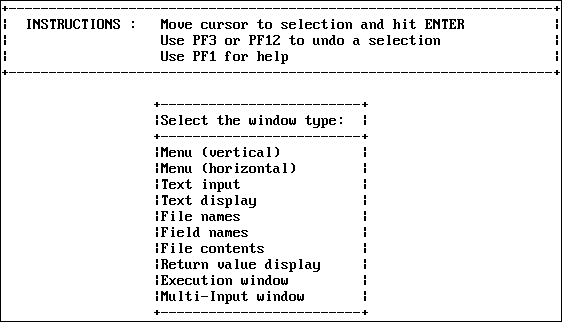
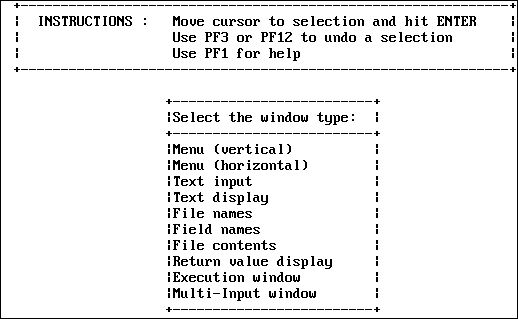
Window Painter creates 10 different types of windows, each with its own special uses. These windows are described in the following topics.
Vertical Menus
This is a vertical menu:
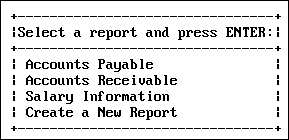
A menu is a window that lets users select an option from a list. These options are called menu items. A vertical menu lists its menu items one below the other. A user can select an item by moving the cursor down the list with the arrow keys and pressing Enter when the cursor is on the line of the desired item. A user can select more than one item if the window includes the Multi-Select option, which is part of the Window Options Menu. Help information can be specified for each item in the menu by using the menu-item help feature of help windows. For additional information on Multi-Select and Help windows, see Window Options Menu.
Horizontal Menus
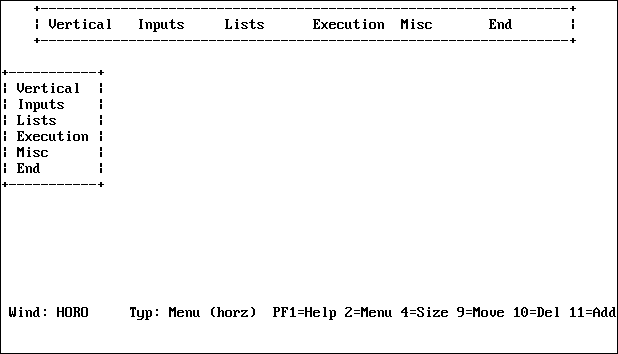
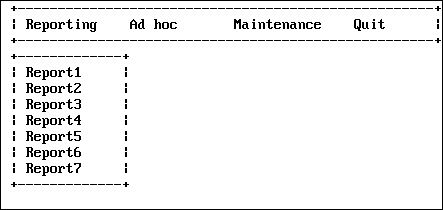
This is a horizontal menu:

A horizontal menu displays its menu items on a line, from left to right. You select an item by using PF11 or the Tab key to move right and PF10 or Shift+Tab to move left across the line, and pressing Enter when the cursor is at the desired item. You can also select an item by employing the search techniques available for FOCUS windows. (Search techniques are not available with pull-down windows).
If you use PF11 at the last item on the menu, the cursor moves to the first item on the menu. If you use PF10 at the first item on the menu, the cursor moves to the last item on the menu, unless there is another screen to scroll to.
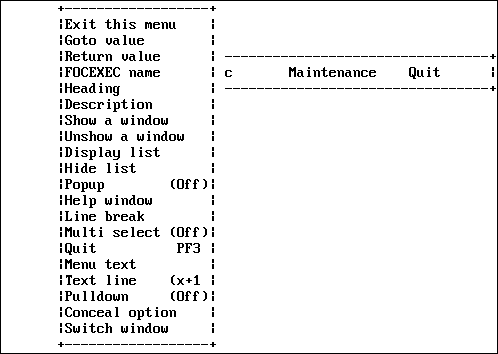
An application can display an associated pull-down menu for an item on a horizontal menu when the cursor is on that item. Choose the pull-down option from the Window Options menu as discussed in Creating Windows. An option to display descriptive text above or below the horizontal menu is also available from the Window Options menu.
You can assign any return value to each item on the menu. When you select a menu item, the corresponding return value is collected.
In a horizontal or vertical menu, you can assign a goto value to each menu item.
Text Input Windows
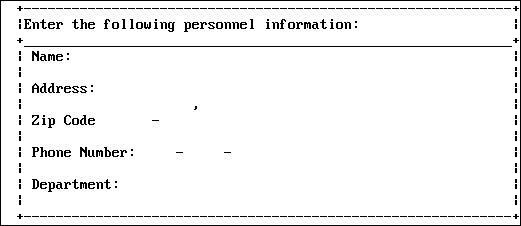
This is a text input window:
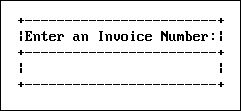
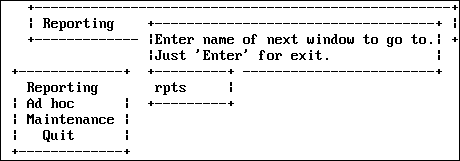
Amper variables can be used in a Windows application. A text input window prompts the user to supply information needed in a FOCEXEC. It is also possible to display an existing value to be edited. Each text input window accepts one line of input up to 76 characters long. You assign the length and format of the field when you create the window. Additional information about creating a text input window is found in Window Creation Menu.
Text Display Windows
This is a text display window:
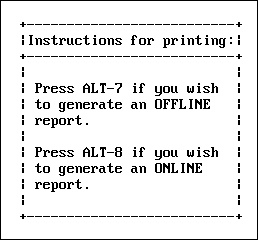
A text display window lets you present information such as instructions or messages. No selections can be made from a text display window, and no data can be entered in it.
File Names Windows
This is a file names window:

A File Names window presents a list of names of up to 1023 PDS members. The user can select one of these names by moving the cursor and pressing Enter when the cursor is on the line of the desired file name. You can specify selection criteria for the displayed file names when the window is created. A user can select more than one file if the window includes the Multi-Select option, which is available on the Window Options Menu.
Note that the maximum number of file (or member) names which can be displayed decreases as the width of the window increases. Narrow windows can display a greater number of names.
Field Names Windows
This is a field names window:
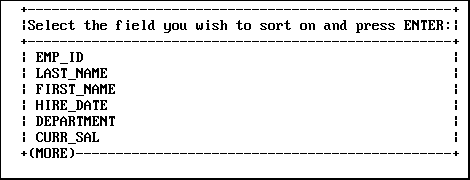
A field names window presents a list of all field names from a Master File; the user can select one by moving the cursor and pressing Enter when the cursor is on the line of the desired field name. A user can select more than one field if the window includes the Multi-Select option, which is available on the Window Options Menu.
You can use a field names window as the next step after a file names window. That way, you can present a selection of files first, followed by the fields in a selected file.
The field names are qualified when duplicates exist. You can use PF10 and PF11 to scroll left and right if a field name exceeds the maximum number of characters allowed on a line in a data field window.
Use PF6 as a three-way toggle to sort the fields in one of the following ways:
- Display field names in the order in which they appear in the Master File.
- Display field names in alphabetical order.
- Display the fully qualified field names in the order in which they appear in the Master File.
File Contents Windows
This is a file contents window:

The file contents window displays the contents of a file. There is no limit on the size of a file contents window. The user can select a line of contents by moving the cursor to it and pressing Enter. Each line can be up to 77 characters long. A user can select more than one line if the window includes the Multi-Select option, which is described as part of the Window Options Menu in Window Options Menu.
The contents of any member of a PDS (except as noted below) can be displayed. Sequential files can also be displayed in TSO. You are prompted for a file name (the ddname) and a file type (the member name). This information should be entered as "member name ddname".
Note: You cannot display a file with unprintable characters in a file contents window. This includes files such as FOCUS files, HOLD files, SAVB files, FOCCOMP files, and encrypted files.
Return Value Display Windows
This is a return value display window:

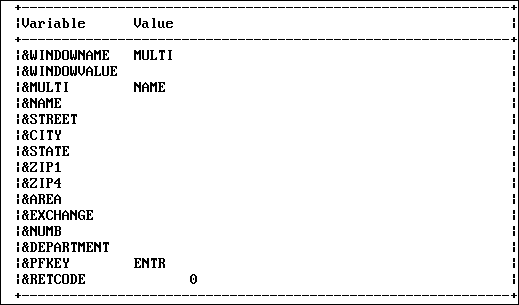
The return value display window displays amper variables that have been collected from other windows. No selections can be made from a return value display window, and no data can be entered into it.
Return value display windows are very useful for constructing a command (or any string of words or terms) by working through a series of windows. An example of this type of application is seen when you construct a TABLE request using TableTalk.
Each line of the return value display window is stored in a variable called &windownamexx, where windowname is the name of the window and xx is a line number.
Unless you use the Line-break option to place return values on separate lines, all collected return values are placed on the same line until the end of the line is reached. The length of the line is determined by the size of the window created. A description of the Line-break option on the Window Options Menu can be found in Window Options Menu.
Only one return value display window may be displayed at a time on the screen. It collects a value from any active window (that is, a window from which a selection is being made or to which text is being entered, or an active text display window) if it is on that window's display list. A description of the Display lists option on the Window Options Menu can be found in Window Options Menu.
You can clear the collected values from a return value display window by including it on the hide list of a window that is being used. A description of the Hide lists option on the Window Options Menu can be found in Window Options Menu.
For a Multi-Select window, the return value display window gives the number of selections, not the values selected. The values can be retrieved by using the -WINDOW command with the GETHOLD option.
Execution Windows
This is an execution window:
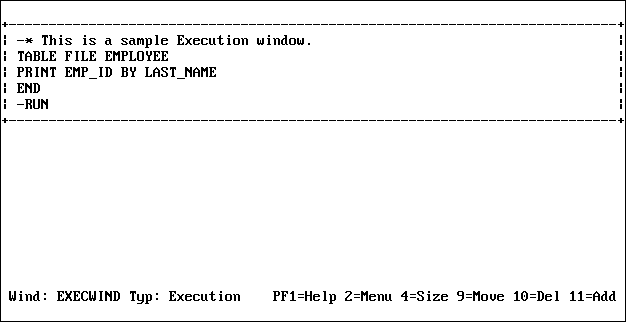
The execution window contains FOCUS commands such as Dialogue Manager commands, and TABLE requests.
You can create an execution window by choosing its option on the Window Creation menu.
When this window is first displayed, it has a width of 77 characters, and no heading. You can place FOCUS commands within it. Note that the commands in an execution window appear just as you type them; commands are not automatically converted to uppercase.
The Window Painter Main Menu contains an option that enables you to run a window in order to see any return values collected. If you were to run (not execute) the execution window from the Window Painter Main Menu, you would see the execution window contents, then any windows called, and finally any return values collected by running the windows.
Note the following rules when using execution windows:
- When you GOTO an execution window, the contents of the window are executed. In all cases, execution begins at the top of the window.
- An execution window is not displayed when executed, although the commands it contains may generate a display.
- An execution window can use an amper variable as a goto value.
- An execution window clears the screen and the Return Value display window.
- Execution windows have no return values.
- Execution windows can contain up to 22 lines.
- Execution windows can use local variables.
- Goto values for execution windows should be assigned at line 1.
- Windows called from within execution windows preempt window goto values. For example, a -WINDOW command issued from within an execution window preempts an assigned goto value.
- The FOCUS commands within an execution window follow normal Dialogue Manager execution (that is, FOCUS commands are stacked, Dialogue Manager commands are executed immediately). Any windows called from the execution window follow the logic determined by the windows themselves. This substantially affects the application's transfer of control.
- Use -RUN for immediate execution; otherwise requests are performed after leaving the window application.
Normally, FOCUS returns to the window designated by the assigned goto value after the contents of the execution window have been executed. However, when a jump is made to a window from inside an execution window, the commands in the execution window following the jump are skipped (along with any attached gotos). This differs from initiating a window from inside Dialogue Manager, which when finished returns you to the command following the GOTO.
Multi-Input Windows
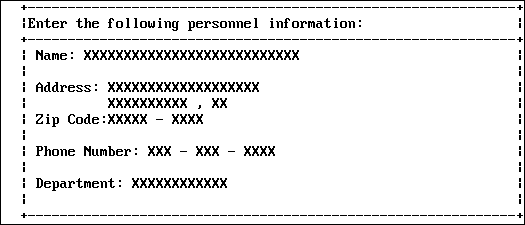
This is a multi-input window:
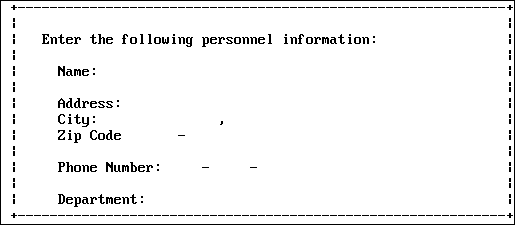
A multi-input window prompts you for information used in the application. A multi-input window may include up to 50 input fields, each of which can be up to 76 characters long. You assign the length, name, and format of the field when you create the window.
Use the Tab key to move the cursor between the fields on a multi-input window.
You can supply help information for each field in a multi-input window by using the Help window option. For information on Help windows, see Window Options Menu.
For a multi-input window, the return value is the name of the input field occupied by the cursor when you pressed Enter or a function key. The name that you supply for each input field is assigned to an amper variable with the same name as the field (each input field has a unique name). The variable &WINDOWVALUE contains the value of the input field occupied by the cursor when you pressed Enter or a function key.
Use a unique name for each field on a multi-input window. To display the field names specified, use the Input Fields option on the Window Options menu.
