Inserting a Line Object

How to:

Reference:

This section explains how to insert a Line object.


Top of page

x
Procedure: How to Insert a Line Object in Power Painter
  1. Select the Line button from the Toolbox palette and drag it onto the canvas.

    or

    Select Line from the Insert menu.

    The line object is added to the canvas as a positioned horizontal line.

    line object

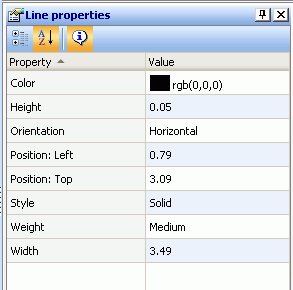
    Note: To insert a vertical line, use the Line properties palette to change the orientation to vertical.

  2. You can select the line object to view or edit the properties for the line in the Line properties palette.
  3. Select Save from the File menu to save the line.

Top of page

x
Reference: Line Properties

When a line object is selected, the following properties are available from the Line properties palette.

Line properties

Color

Sets the color of the line. Click in the color value field to open the color dialog box.

Height

Indicates the height of the line object. You can type in a different value to change the height or manually drag the line object on the canvas.

Orientation

Indicates the horizontal or vertical orientation of the line on the canvas.

Position: Left

Indicates the starting position for the left edge of the line.

Style

Sets the style of the line. Use the drop-down list to select from solid, dotted, dashed, and others.

Weight

Sets the thickness of the line to light, medium, or heavy.

Width

Indicates the width of the line object. You can type in a different value to change the width or manually drag the line object on the canvas.


WebFOCUS