Inserting an Image Object

How to:

Reference:

This section explains how to insert an Image object.


Top of page

x
Procedure: How to Insert an Image Object in Power Painter
  1. Select the Image button from the Toolbox palette and drag it onto the canvas.

    or

    Select Image from the Insert menu.

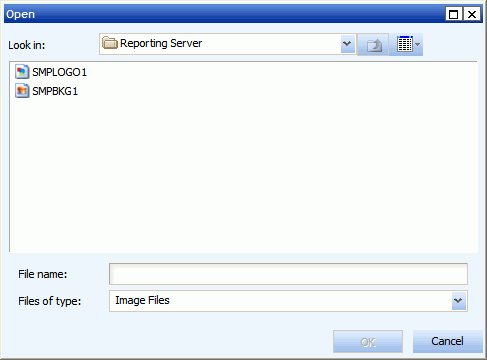
    The Open dialog box appears on the canvas, as shown in the following image.

  2. Select from the list of available image files.

    Note: The Reporting Server is the default location for all stored images.

    Images need to be copied to the appropriate directories by your administrator.

  3. Click OK to insert the image. The image is added to the canvas, and the size defaults to the size of the image.

    image added to canvas

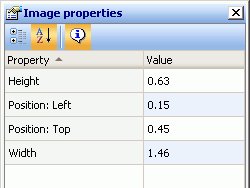
  4. You can select the image object to view or edit the properties for the image in the Image properties palette.
  5. Select Save from the File menu to save the image.

Top of page

x
Reference: Right-click Image Properties

When you right-click an image, the following options are available from the dialog box that appears:

Reset to original size

Resets the image to the original size.

Deletes

Deletes the image.

Properties

Opens the Image properties dialog box.

Note: Hover over an image to view the file name.


Top of page

x
Reference: Image Properties

When an image object is selected, the following properties are available from the Image properties palette.

Image properties

Height

Indicates the height of the image object. You can type in a different value to change the height or manually drag the image object on the canvas.

Position: Left

Indicates the starting position for the left edge of the image.

Position: Top

Indicates the starting position for the top edge of the image.

Width

Indicates the width of the image object. You can type in a different value to change the width or manually drag the image object on the canvas.


WebFOCUS