- From the Domains list window, select the Reporting Objects tab.
- Select a Reporting Object from the list.
-
Click Report
Assistant.
Report Assistant opens.
-
Add
fields and customize your report.
For more information on creating reports with Report Assistant, see the Creating Reports With Report Assistant manual.
- Click the Report Options tab and check the On-demand Paging check box.
-
Click Run to
view your report.
WebFOCUS displays your report within the Viewer.
- To return to Report Assistant, close the WebFOCUS Viewer and close the blank browser page.
-
Close
Report Assistant.
WebFOCUS prompts you to save your report before exiting.
You want to select On-demand Paging for a report on the sale of coffee products called Coffee Sales.
- Navigate to the Domains view.
- Open the Regional Sales domain.
- From the Reporting Objects tab, expand the Product Sales group folder and select Coffee Sales.
- Open Report
Assistant.
Report Assistant displays the Fields dialog box with the fields already selected for the report.
- Select the Report Options tab. The Report Options window opens.
- Check the On-demand Paging check box to enable On-demand Paging.
- Click Run to
run Coffee Sales immediately.
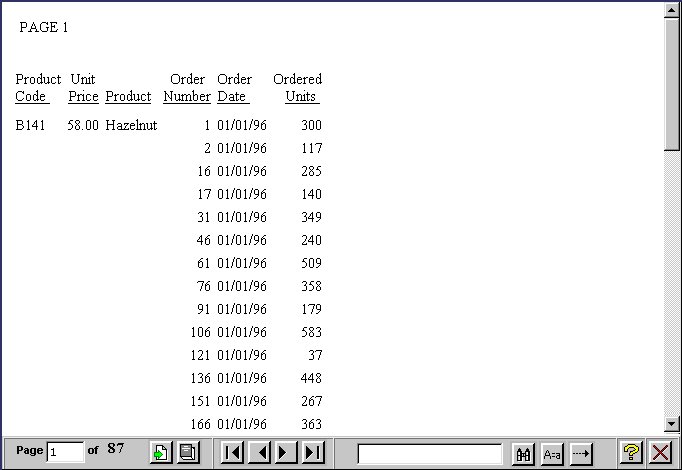
WebFOCUS displays the first page of Coffee Sales in the Viewer, as shown in the following image.
- Click Close on
the WebFOCUS Viewer.
WebFOCUS notifies you that the report has been deleted from the server.