In this section: How to: |
As a Managed Reporting Administrator or MR Security Object Manager, you will use the View Builder to create a public or group view from the Public Views or Group Views window.
Note that the Public Views and Group Views window accessible through the View Builder are different than the Public Views and Group Views windows you can access from the WebFOCUS Business Intelligence Dashboard index page.
When you create a public or group view, you must supply a description for the view. The name of your view is automatically generated and you can find it in the Link URL column.
The following folders, files, and links are created for each public and group view:
For each public and group view, a link is added to the Public Views and Group Views windows accessible from the WebFOCUS Business Intelligence Dashboard index page. The description defined for the public or group view is the text for the link when the view was created.
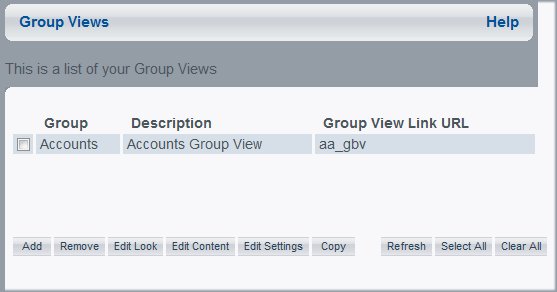
The following image shows the Group Views window containing an available group, its description, and URL link.
Note: When you enter the Public Views window for the first time, the default public view displays. This view cannot be deleted, but you can modify the description, look, and content of the view.
http://webserver[:portnumber]/ibi_apps/bid
where:
Indicates the name of the Web server that is running Dashboard.
Is the Web server port where WebFOCUS is running. This is not required if it is the default port.
The WebFOCUS Business Intelligence Dashboard Index Page opens.
Alternatively, you can enter:
http://webserver[:portnumber]/ibi_apps/bid/vblogin
to directly access the View Builder Login Page.
The Public Views window opens.
An input form displays at the bottom of the Public Views window.
The new view is added to the Public Views list.
An input form displays at the bottom of the Group Views window.
The new view is added to the Group Views list.
Group Administrators can access the View Builder to create and edit Group Views and Library Views for the groups they administer. The following image shows the View Builder where Group Views can be accessed.
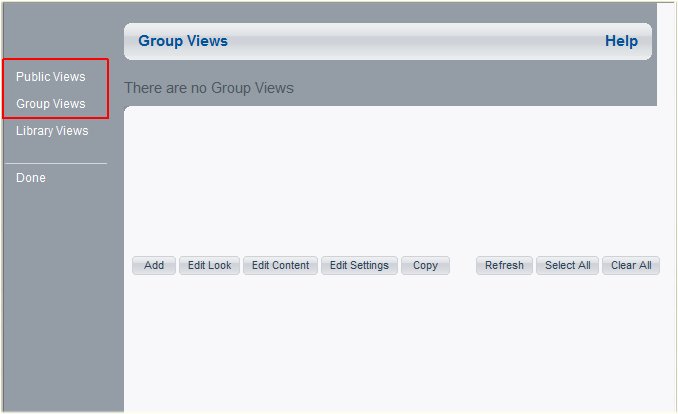
The following are applicable for all such Group Administrators when accessing the View Builder:
| WebFOCUS |