Once you add slicers to an InfoAssist report, you can
use them to filter the report. You can select values from the slicers
drop-down menus, change the number of records that show, create
new slicer groups, clear existing slicer groups, and update the report
preview. Unselected slicers have their values filtered by the selected
slicers. Only values that meet the criteria for previously selected
slicers will appear in the drop-down menu for the next slicer. Slicers are not filtered in the order they appear in the slicer group but by the order they are selected.
Slicers created for an InfoMini application share all of this
functionality, except for the ability to update the preview and
limit the number of preview records shown.
x
Procedure: How to Change the Relationship Operator
You
can change the relationship operator for a slicer by using the following
procedure. For alpha fields, the only available operators are equal
to and not equal to. For numeric and date fields, the available
operators are equal to, not equal to, in range, not in range, greater
than, less than, greater than or equal to, and less than or equal to.
-
With InfoAssist
open and at least one slicer added to the report, click the Slicers tab.
-
Click the
operators button on the slicer for the operation you want to change.
A list of operators appears in the drop-down menu, as shown
in the following image.

-
Select the
desired operator from the drop-down menu. You can rest the mouse
over an operator to display a tool tip describing the operation.

x
Reference: Edit Slicers Dialog Box
You
can access the Edit Slicers dialog box from the edit button available
next to the group labels in the Slicers tab, as shown in the following
image.

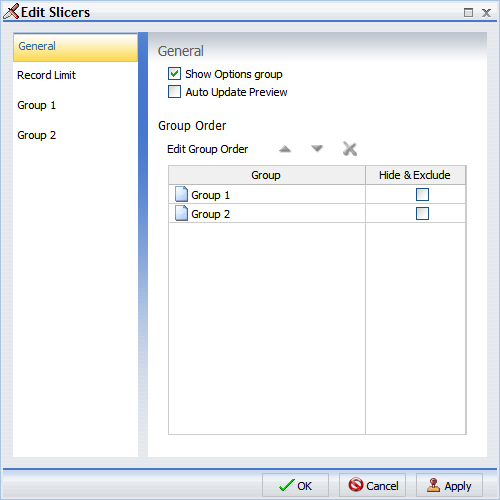
The
Edit Slicers dialog box has a General section, a Record Limit section,
and sections for each existing slicer group, as shown in the following
image.
-
General
-
Provides
check boxes to show or hide the Auto Update Preview and the Options group.
It also contains a section for reordering or deleting existing
groups.
-
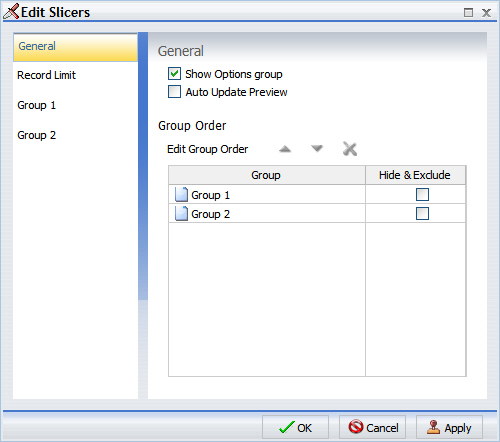
You can select
the Show Options group check box to display
the Options group on the Slicers tab. The Options group is shown
in the following image.
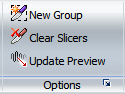
The
Options group contains the New Group, Clear
Slicers, and Update Preview buttons.
The New
Group button adds a new Slicers group to the Slicers
tab.
The Clear Slicers button clears
all selected values from the existing slicers.
The Update
Preview button updates the design time canvas with any
changes that have been made.
-
You can select
the Auto Update Preview check box to enable
auto updating of the canvas.
- To reorder groups,
select a group and use the up and down arrows to change its position.
Selecting a group and clicking the Remove from List button
will delete the group.
-
Record Limit
-
Provides
check boxes to show or hide the Record Limit group, the Preview
control, and the Run Time control. Also contains drop-down menus
for the number of preview and run-time records that will be shown.
-
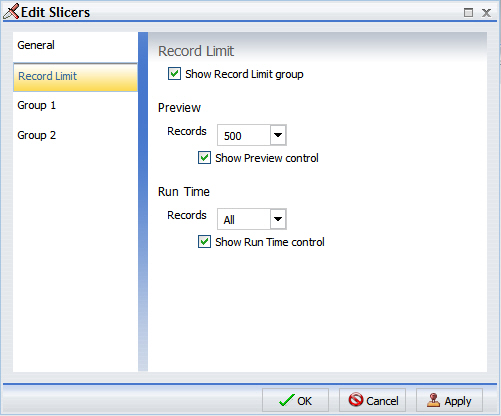
You can check
the Show Record Limit group check box to
display the Record Limit group on the Slicers tab. The Record Limit
group is shown in the following image.
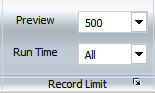
The
Record Limit group contains the Preview and Run
Time drop-down menus.
The Preview drop-down
menu controls how many records are displayed in the design-time
preview.
The Run Time drop-down menu
controls how many records are displayed at run time.
-
You can select
the Show Preview control check box to display
the Preview drop-down menu in the Show Record Limit group of the
Slicers tab on the Control Panel.
You can set the default
number of records to be shown at design time with the Records drop-down
menu in the Preview section.
-
You can select
the Show Run Time control check box to display
the Run Time drop-down menu in the Show Record Limit group of the
Slicers tab on the Control Panel.
You can set the default
number of records to be shown at run time with the Records drop-down
menu in the Run Time section.
-
Existing Groups
-
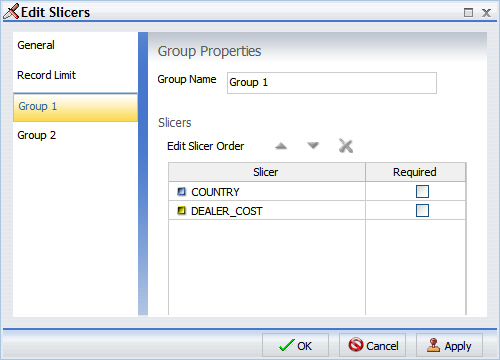
Provides
a text area to change the name of the group, an area to change the
order of the slicers in the group, and a required option for slicers.
Selecting a slicer and clicking the Remove from List button
will delete the slicer.
-
You can change
the name of the Slicer group by editing the name in the Group
Name text input area.
-
You can change
the order of the slicers by selecting a slicer and using the up and
down arrows to change its position.
-
You can set a
slicer to required by selecting the Required check
box. A slicer that is set to required must have a value selected
before the report can run. A required slicer will be denoted with
an asterisk, as shown in the following image.
