How to: |
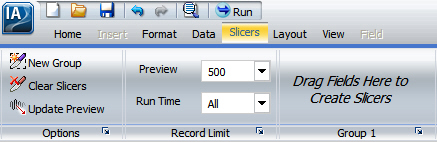
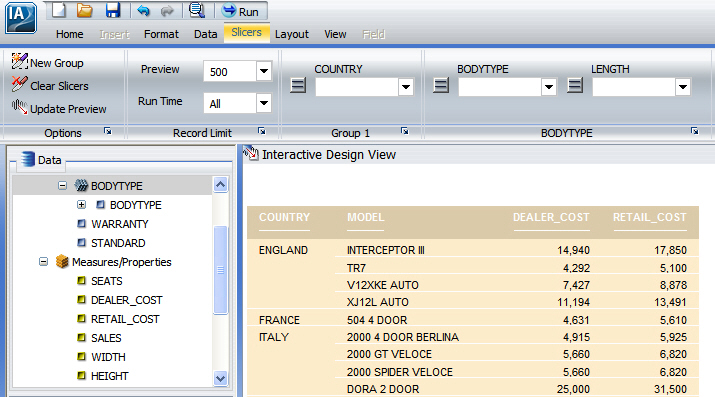
You can create slicers by dragging fields to the Slicers tab or through the context menu of a field. When you create a slicer group, it shows up on the slicers tab.
You can use slicers to dynamically filter reports at design time in InfoAssist. You can dynamically filter reports at run time when they are included in an InfoMini application. For more information on InfoMini, see Building InfoMini Applications.
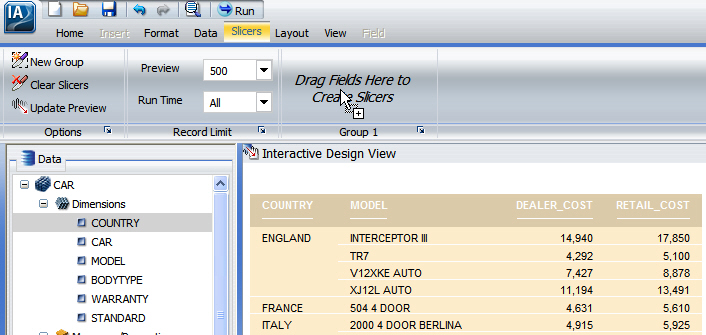
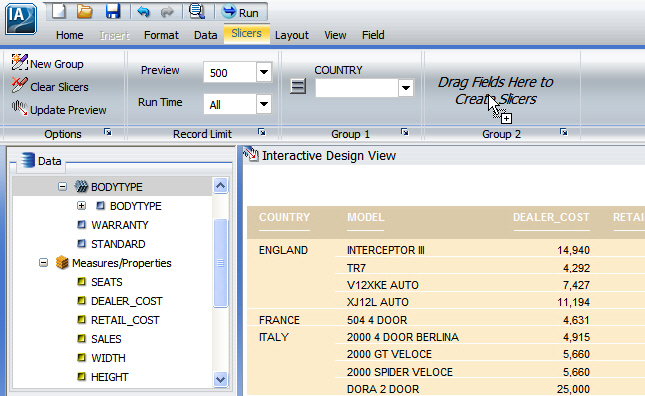
Select a field from the Data pane and drag it onto the Drag Fields Here to Create Slicers text of the Slicers tab, as shown in the following image.
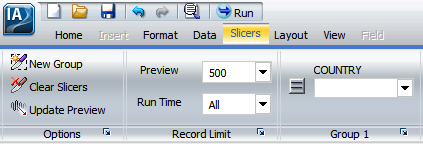
The field is added to the new group.
or
The field is added to the new group.
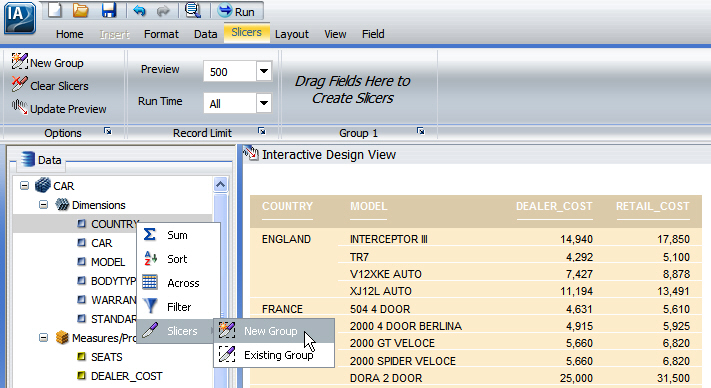
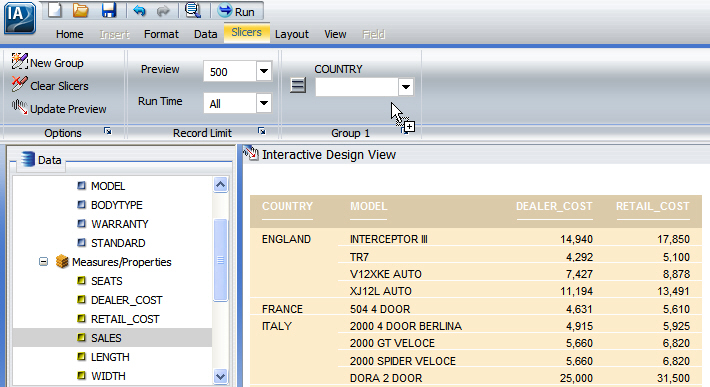
The new group is populated with the selected field, as shown in the following image.
or
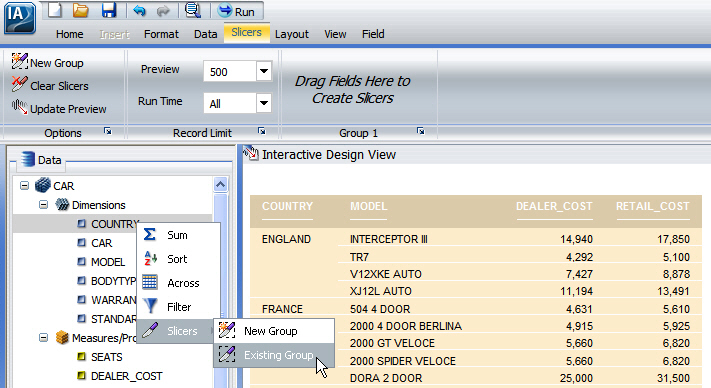
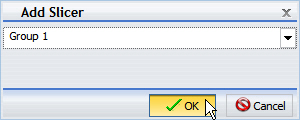
Select an existing group from the drop-down menu, then click OK, as shown in the following image.
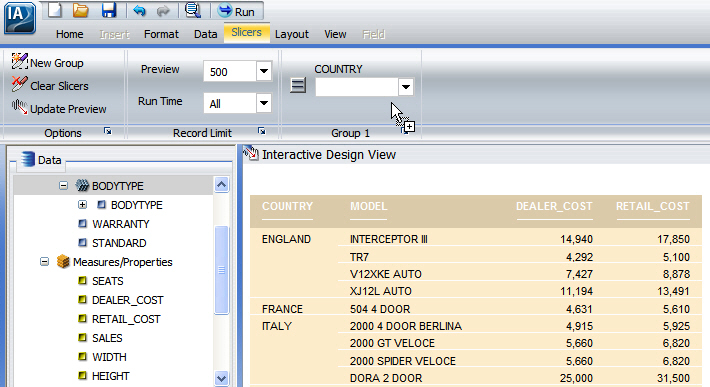
The field is added to the existing group.
The hierarchy is added as a new group, not as a slicer in the existing group. The new group is given the same name as the hierarchy, as shown in the following image.
or
Select a hierarchy from the Data pane and drag it onto the Drag Fields Here to Create Slicers text of the Slicers tab, as shown in the following image.
The hierarchy is added to the new group. The name of the new group changes to the name of the hierarchy automatically.
Note: Hierarchies cannot be added to existing slicer groups. If a hierarchy is dragged onto an existing slicer group, a new group will be created automatically.
There is no right-click context menu for hierarchies. To add a hierarchy as a slicer group you must drag and drop it into a new slicer group.
| WebFOCUS |