-
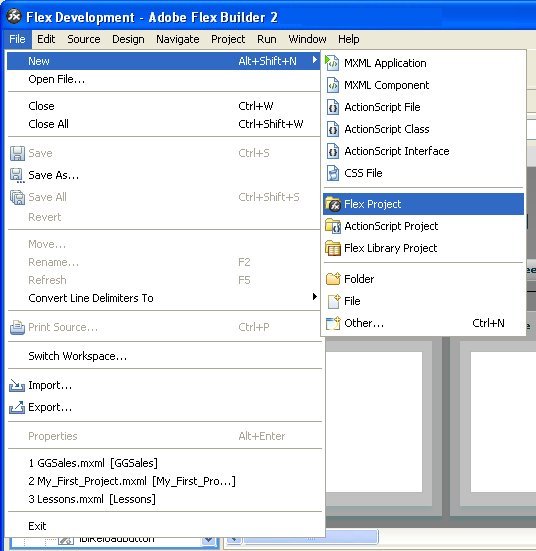
From the Flex
Development window, select File, New,
and Flex Project, as shown in the following
image.
-
Accept the
default configuration for the project (Basic) and click Next.
For information on other project types, see the Flex Builder documentation.
-
Enter a name
for the project and click Next. The name
of the project in this example is My_First_Project. To change the
project location from the default, see the Flex Builder documentation.
-
On the next
dialog box, select the Library path tab and
click Add SWC to import WebFOCUS Enable and
the Information Builders components. The WebFOCUS Enable installation
package has a .SWC extension.
-
Browse to
the directory in which the .SWC file is located, select it, and click OK.
Notice the additions in the Build path libraries field.
-
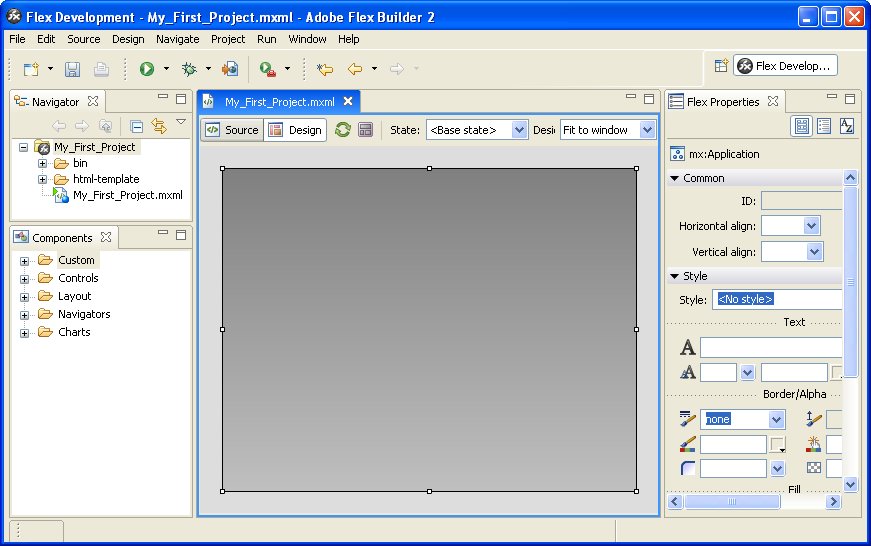
Click Finish.
The project, My_First_Project, and the application file, My_First_Project.mxml, have been created. In the Components pane on the left, Information Builders components appear in folders prefixed by Enable or WebFOCUSEnable. Displayed in blue in the middle of the window is the default application canvas for My_First_Project.mxml. On the right side is the Properties pane, which displays the properties of a selected component once you start developing the application. Property values are case-sensitive.