To create and name the procedure and select the tool you will use to create the report:
- If it is not already open, expand the OLAP project folder.
- Click the Procedures folder.
-
Now
right-click the Procedures folder and select New,
then select Procedure. The Add Procedure
dialog box opens.
If you can see the inactive procedures in the Procedures folder and want to hide them, click the binoculars
 icon.
icon. -
Name
the procedure TRADESREP and choose Procedure Viewer from
the Create with drop-down list.
-
Click Open.
The Procedure Viewer opens.
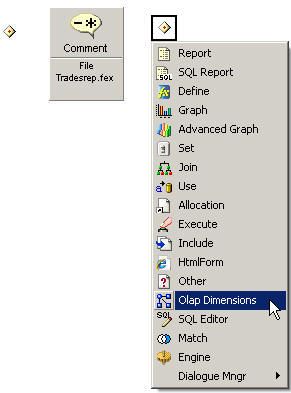
- In the Procedure Viewer, click the component connector (yellow diamond) to the right of the Comment component.
-
Select
the Olap Dimensions component from the component
connector toolbar.
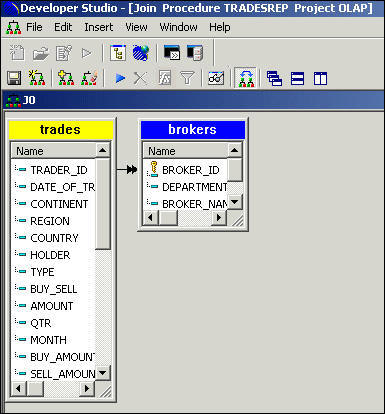
-
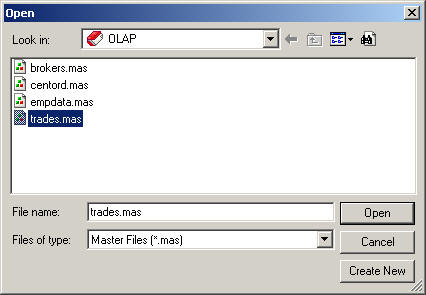
The
Open dialog box asks you to specify the data source you will be using
to create your hierarchy. Select TRADES.MAS.
-
Click Open.
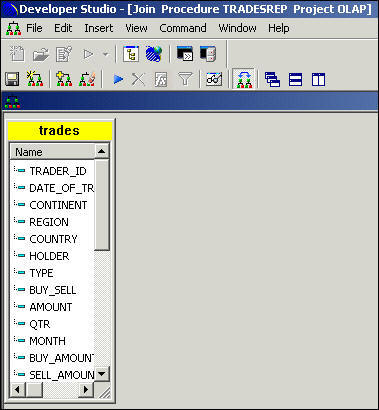
The Dimensions Tool opens.
-
From
the left side of the window, drag the CONTINENT field
and drop it directly onto the Dimensions label in the right pane
of the Dimensions Tool.
- Right-click the CONTINENT label (located below Dimensions) and select Rename.
-
Change
the CONTINENT label to Location.

- Drag and drop the REGION field onto the CONTINENT field in the right pane of the Dimension Builder. The REGION field appears below the CONTINENT field.
- Drag and drop the COUNTRY field onto the REGION field in the right pane of the Dimension Builder. The COUNTRY field appears below the REGION field.
- Drag and drop the QTR field onto the Dimensions label.
- Rename the QTR label as Date.
- Drag and drop the MONTH field onto the QTR field in the right pane of the Dimension Builder. The MONTH field appears below the QTR field.
-
Drag
and drop the DATE_OF_TRADE field onto the
MONTH field in the right pane of the Dimension Builder.
-
Close
the Dimensions Tool and click Yes to
update the procedure.
You have successfully created a hierarchy and return to the Procedure Viewer. From there, you will launch the Join tool to join two data sources.

 button.