How to: Reference: |
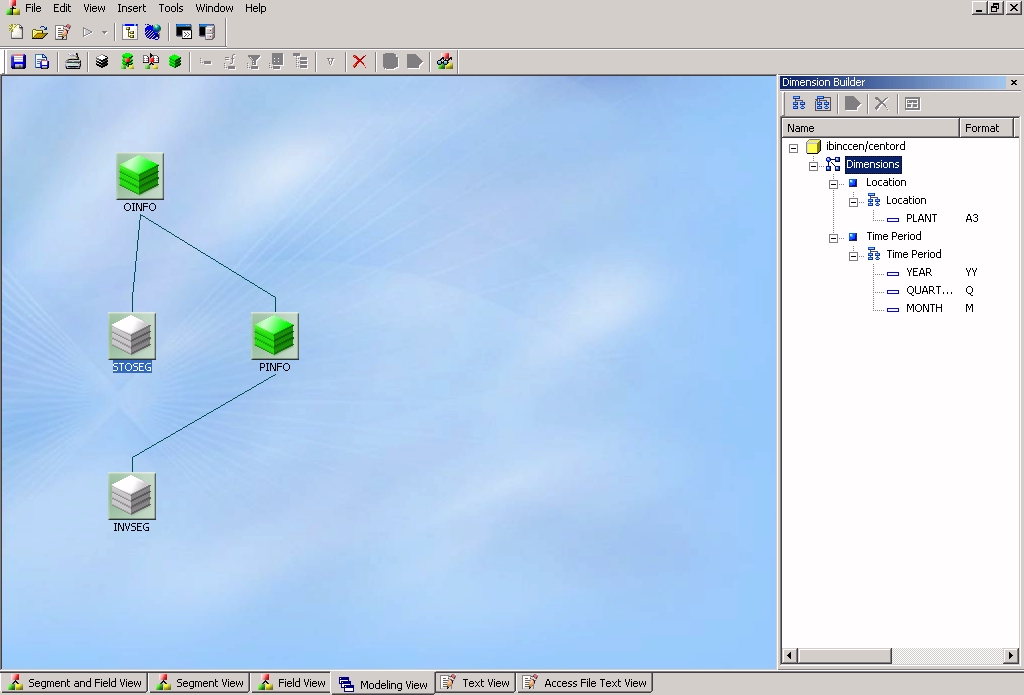
The Dimension Builder enables you to create logical views based on enterprise data (relational or legacy data sources) for multidimensional analysis without manually editing metadata. The Dimension Builder works with relational and FOCUS data sources. You can enable the Dimension Builder by selecting Dimension Builder from the toolbar, Tools menu, or from the Synonym menu.
-
From
the Synonym Editor, click the Modeling View tab.
-
Right-click
the dimension and select Parent/Child Hierarchy from
the Insert submenu.
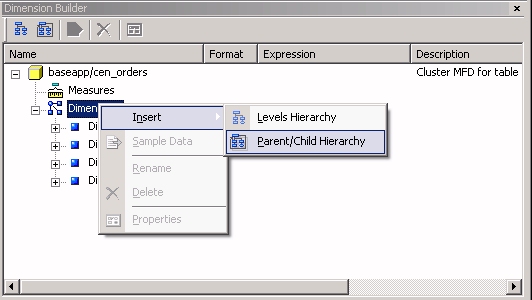
Note: You may also select this option by clicking the Add Parent/Child Hierarchy button from the Dimension Builder toolbar.
The Mandatory Properties for Parent/Child Hierarchy dialog box appears.
-
Select
a field from the Field Tree and click Assign to
assign a Unique ID for the hierarchy.
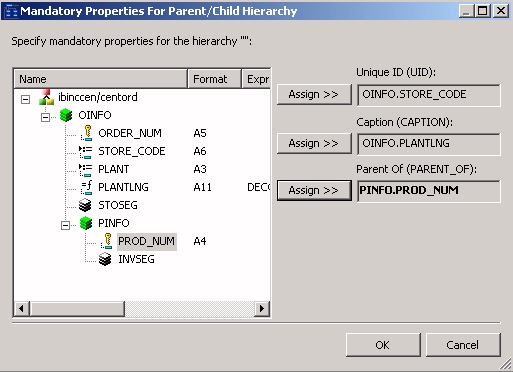
- Repeat Step 3 for the Caption and Parent hierarchy properties.
-
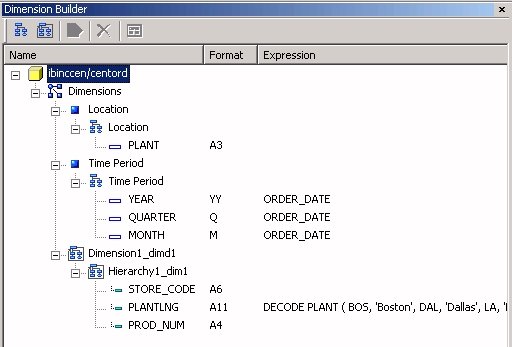
Click OK to
close the Mandatory Properties for Parent/Child Hierarchy dialog
box.
The Mandatory Properties are added to the Dimension Builder.
- Use the right-click menu to rename the dimension, view properties, or view sample data for the dimension.
- Click Save from the File menu to save the dimension.
To delete a dimension, right-click a dimension and select Delete, or click the Delete button from the Dimension Builder toolbar.
This process enables you to edit an existing Master File, add tables (for non-FOCUS Master Files), and create and modify dimensions.
- From the Synonym Editor, click the Modeling View tab.
-
Select
the Add Levels Hierarchy button from the
Dimension Builder toolbar.
A level is added to the hierarchy. Use the right-click menu to rename the dimension or keep the default name.
-
Right-click
the file icon in the Modeling View to toggle
to Table View, which enables you to see columns, sample data, and
sample data parent keys.
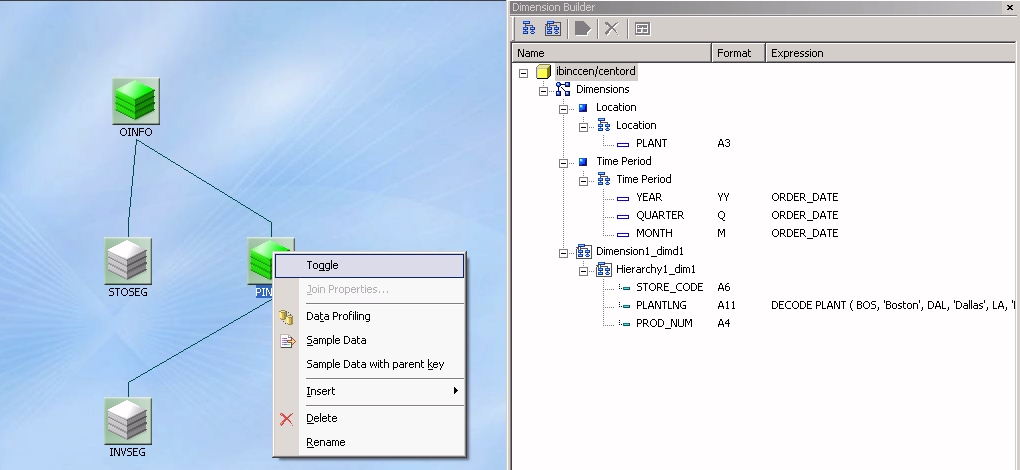
The Table View appears in the Modeling View.
Tip: You may also double-click a file icon to open the Table View.
-
Using
the Columns tab of the Table View, drag and drop selected fields to
the Dimension Builder hierarchy folder.
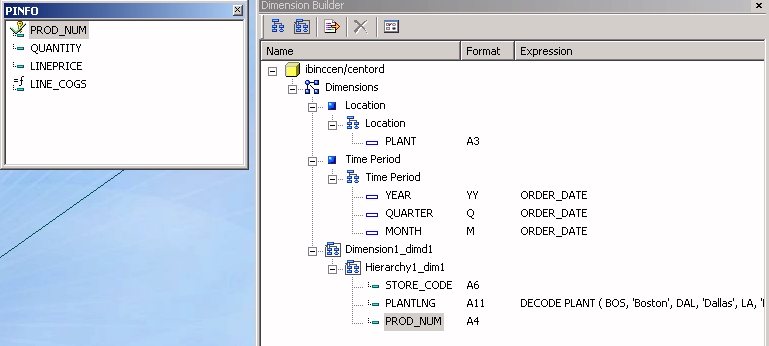
You may also drag and drop fields to and from other hierarchies using the Dimension Builder.
-
Click Save from
the File menu to save the dimension.
The dimension is saved and stored in the Master File.
You can access the following commands from the Dimension Builder toolbar.
|
Button |
Definition |
|---|---|
|
|
Adds a level hierarchy. |
|
|
Enables you to create a parent/child hierarchy and assign mandatory properties for the hierarchy. |
|
|
Deletes the selected item. |
|
|
Enables you to view and refresh sample data for the selected field. |
|
|
Enables you to switch back to properties in the Segment and Field View tab of the Synonym Editor. |


