- Click the Selection criteria tab.
-
Select a
field from the Available Fields window and drag the field to the Screening
conditions pane.
or
Press Alt+M, Tab to go to the Available Fields window, tab to the field and press Enter to add the chosen field.
The field name and EQUAL to and Select values appear in the Screening conditions pane.
- Select WHERE or WHERE TOTAL.
- Select an operator from the drop-down list (for example, EQUAL to) in the right pane.
- Click Select values to complete the expression.
-
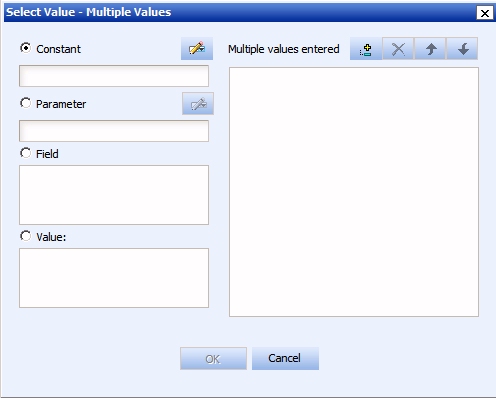
Select one
of the following compare type option buttons:
-
Constant. Enter
a value that will serve as a constant (a value that will not change).
For example, enter vehicle.
After you click OK, the constant, vehicle, appears in the WHERE statement which reads BODYTYPE EQUAL to vehicle.

-
Parameter. Enter
the name of the variable. For example, moped as shown in the following
image with the Parameter option button selected and the variable
name entered as moped.

You can set parameter properties, for details see Setting Parameter Properties.
After you click OK, the parameter, &moped, appears in the WHERE statement which reads BODYTYPE EQUAL to &moped.

Note: The ampersand is automatically added by WebFOCUS.
-
Fields. Select
a field from the list.
After you click OK, the field BHP appears in the Where statement which reads CAR.COMP.CAR EQUAL to CAR.SPECS.BHP.

-
Values. Select
a value for the field you initially chose (in this case, car).
After you click OK, the value, Audi, appears in the Where statement which reads CAR.COMP.CAR EQUAL to AUDI.
Note: In order to add a blank static value for a parameter value list, do not enclose it in quotes. Press the spacebar to create the blank value and add it. This is different than adding a blank value to a Define, Compute, or Where because in those contexts an expression is being created so quotes are needed. A value list is not an expression.

-
Constant. Enter
a value that will serve as a constant (a value that will not change).
For example, enter vehicle.