How to: |
First, a connection to communicate to the new RARG_SVC service on the repository server must be defined. Resource Management uses this connection when writing the monitor information to the relational tables. The connection definition is required for all Resource Management configurations because the monitor process on all servers uses direct passthru to communicate with the new service. The new service then communicates with the relational database defined by the SET SERVER command in the RARG_SVC service's connection pooling profile created when you configured the service on the repository server.
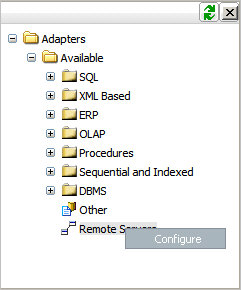
- On the toolbar, click Adapters.
-
In the navigation
pane, right-click Remote Servers and select Configure,
as shown in the following image.
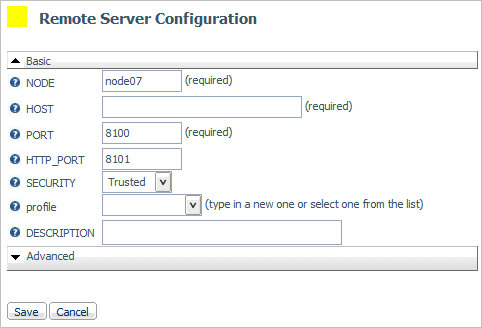
The Remote Server Configuration window opens, as shown in the following image.
-
Enter the
following values into the Basic options, but do not click Save after
entering.
- Type a value of RARGSVC in the NODE field.
- Type the name or IP address of the repository server in the HOST field.
- Type the port number you defined for the Resource Analyzer repository in the PORT field.
- Type the HTTP port number you defined for the Resource Analyzer repository in the HTTP_PORT field.
-
Select Explicit for the SECURITY type.
The pane expands to display the user, password, and domain fields.
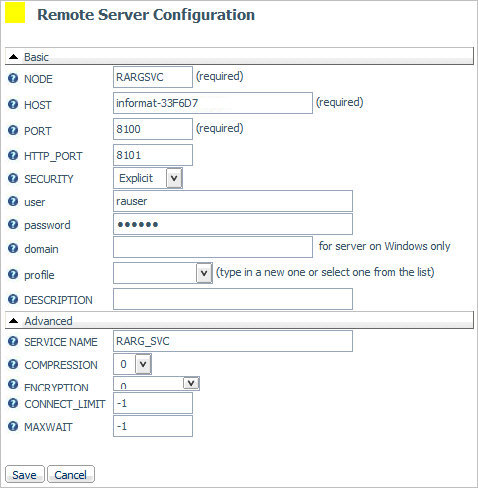
- Type the same user ID and password that you used when you added the RARG_SVC service.
- If appropriate, type the domain for your user ID in the domain field.
- Expand the Advanced area and type the Server Name you defined for the Resource Analyzer repository.
Note: The DESCRIPTION field is optional. There you may type comments you might wish to associate with the remote server you are adding.
The following image shows the Remote Server Configuration pane with the appropriate values and selections.
RARGSVC now appears in the tree under Remote Servers, as shown in the following image.
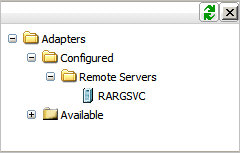
- Click Save to add the Remote Server configuration.
Note: Do not click the Create Synonym button displayed in the right pane. It is not required.
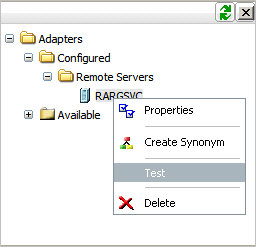
To test the new remote server connection:
-
In the navigation
pane under Remote Servers, right-click RARGSVC and
select Test from the context menu, as shown
in the following image.
-
If prompted,
enter a valid user ID and password and click Continue.
A sample report appears in the right pane indicating that the remote connection is properly configured, as shown in the following image.
- Close the Test Results window to continue working in the Web Console.