How to: |
The Metadata Wizard provides a step-by-step process for creating a cluster synonym and running a report. The wizard enables you to:
Once the cluster synonym is created, you can generate a report from it.
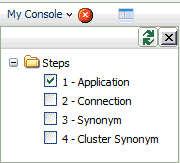
The Metadata Wizard displays these steps in the navigation pane. The check boxes show you which step you are on.

When you complete a task, the wizard automatically moves to the next step.
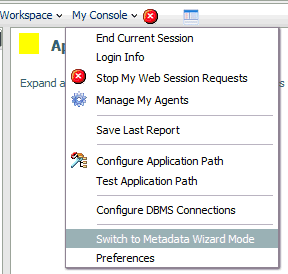
To use the Metadata Wizard, you must switch into Metadata Wizard mode.
From the My Console menu, select Switch to Metadata Wizard Mode.
The wizard opens the Create New Application pane.
The wizard opens the Create New Application pane.
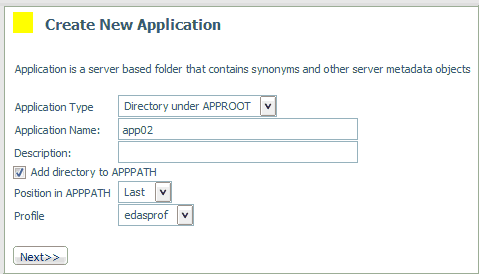
The application directory is added and the wizard moves to the Connection step.
After completing the Application step, the wizard moves to the Connection step.
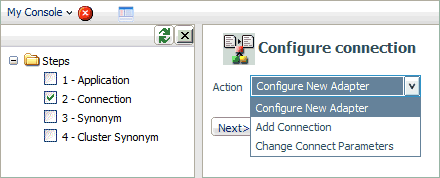
The Configure connection pane opens.
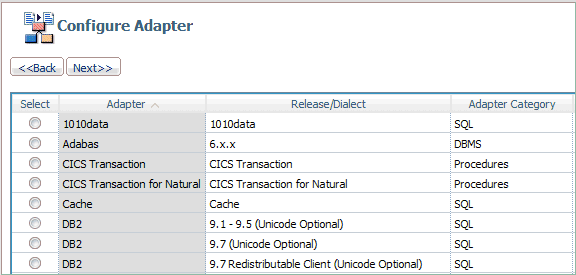
Note: You can click the Adapter, Release/Dialect, or Adapter Category column to sort the available adapters.
The Add Adapter to Configuration pane opens. Enter the parameters for the specific adapter and click Configure. For information on the parameters, see the Adapter Administration for UNIX, Windows, OpenVMS, IBM i, and z/OS manual.
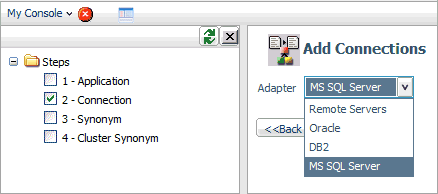
The Add Connection pane opens. Enter the parameters for the specific adapter and click Configure. For information on the parameters, see the Adapter Administration for UNIX, Windows, OpenVMS, IBM i, and z/OS manual.

Note: You can click the Adapter, Connection, Connection string, or Profile column to sort the available connections.
The Change Connect Parameters pane opens. Change the parameters for the specific connection and click Configure.
After completing the Connection step, the wizard moves to the Synonym step.
The Select connection to create synonym pane opens.
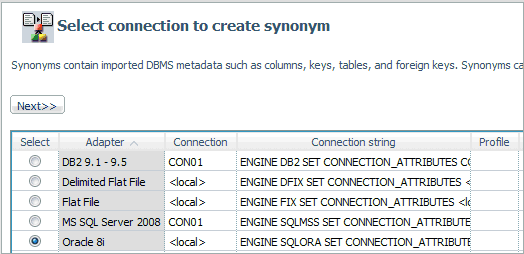
Note: You can click the Adapter, Connection, Connection string, or Profile column to sort the available adapters.
The Select Synonym Candidates or Select Metadata pane opens. Select or enter the parameters for each screen and click Next. For information on the parameters, see the Adapter Administration for UNIX, Windows, OpenVMS, IBM i, and z/OS manual.
The synonym is created in the application directory and the wizard moves to the Cluster Synonym step.
After completing the Synonym step, the wizard moves to the Cluster Synonym step.
The Select Fact Table pane opens.
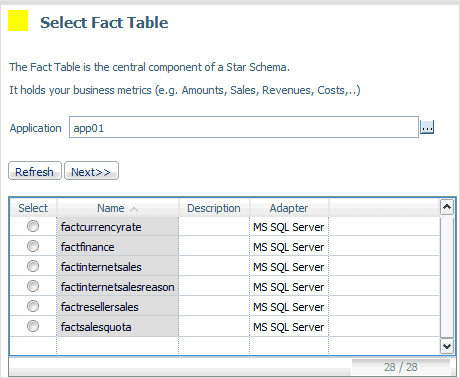
Note: You can click the Name, Description, or Adapter column to sort the available synonyms.
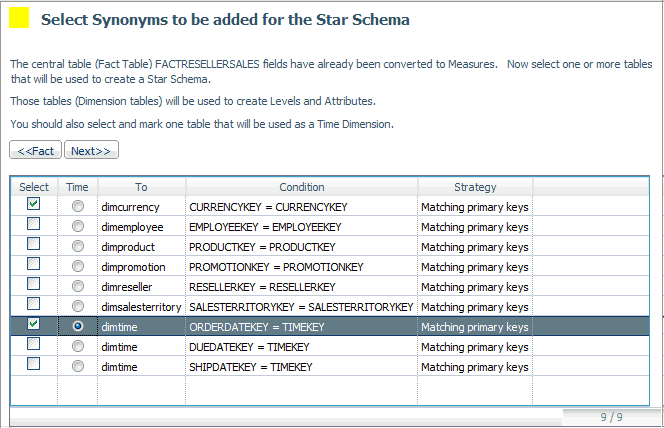
The Select Synonyms to be added for the Star Schema pane opens.
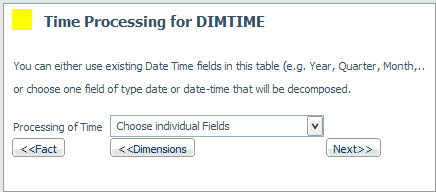
The Time Processing for pane opens.
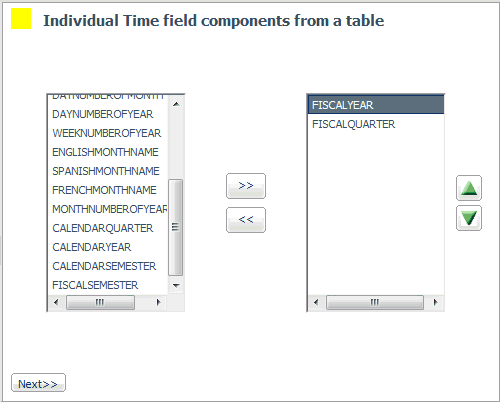
The Individual Time field components from a table pane opens.
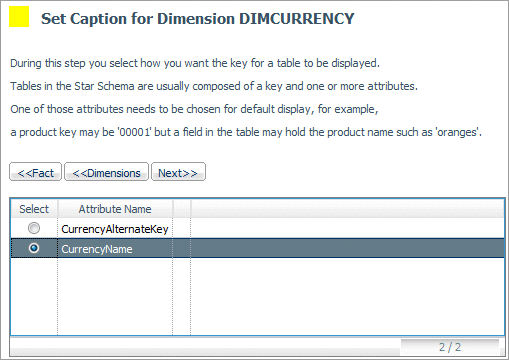
The Set Caption for Dimension pane opens.
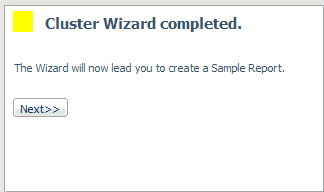
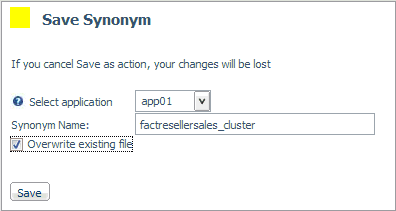
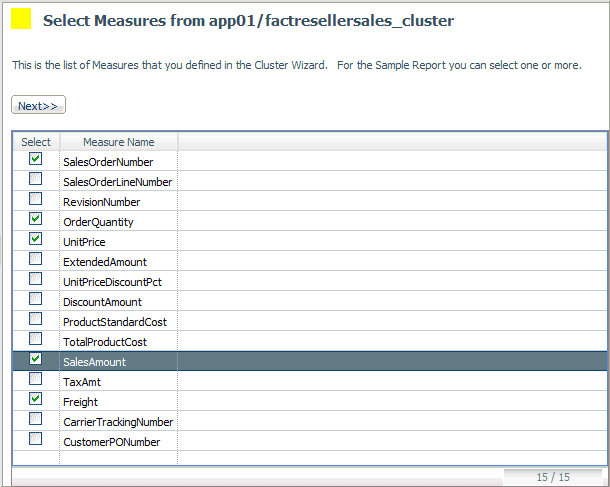
The Select Measures pane opens.
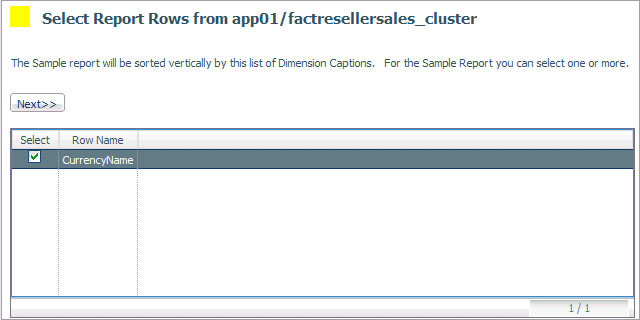
The Select Report Rows pane opens.
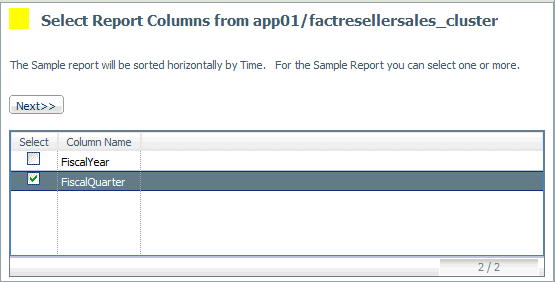
The Select Report Columns pane opens.
The report is displayed.

| iWay Software |