You must be an administrator for the local machine to run the installation.
-
Start the installation by executing the iway70.exe
installation program.
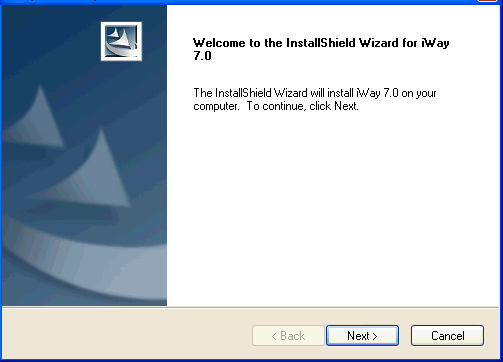
The installation begins by temporarily copying files and analyzing your environment. This may take some time. When this process completes, the Welcome window opens, as shown in the following image.
Note: If you receive an error, ensure you are installing as an administrator and there is at least 2 GB of free space on your operating system drive.
-
Click Next.
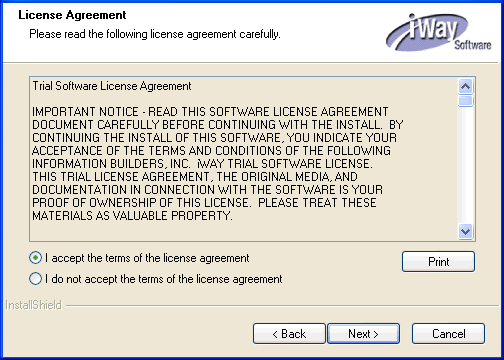
The License Agreement window opens, as shown in the following image.
-
Review the information, and select the appropriate option.
Click Next if you agree to the terms.
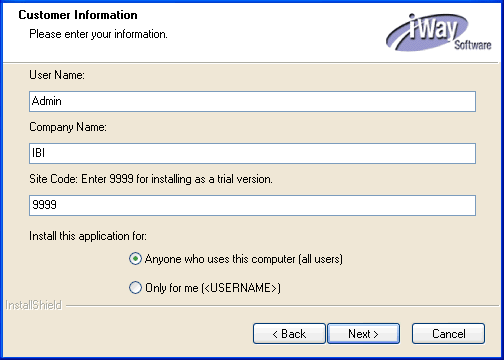
The Customer Information window opens, as shown in the following image.
-
Provide your User Name, Company Name,
and Site Code.
Important: The site code is a unique company identifier associated with a specific machine. Be sure to enter a valid and accurate site code in this step because this entry is used when generating your permanent license during the registration process. If you need assistance with the site code, contact your iWay Software sales representative.
-
Click Next.
The Setup Type window opens, as shown in the following image.
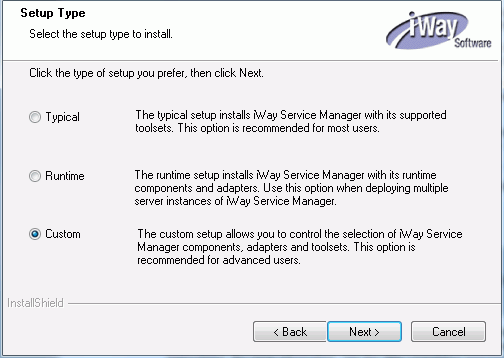
- Select Custom for the setup type.
-
Click Next.
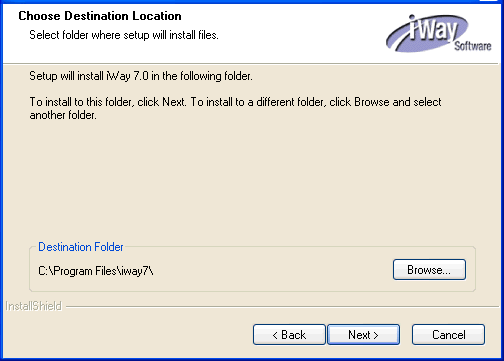
The Choose Destination Location window opens, as shown in the following image.
-
Accept the default location, which is C:\Program Files\iway7\,
or click Browse to specify a new location.
Then, click Next.
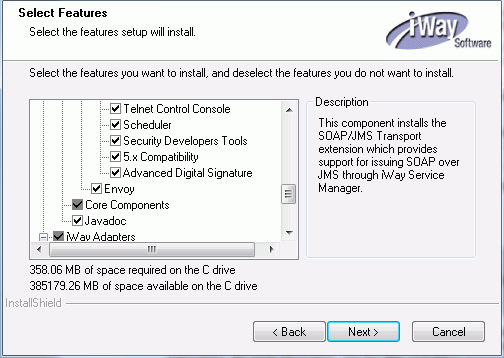
The Select Features window opens, as shown in the following image.
-
Ensure that the Envoy feature
is selected.
This feature should be selected only if iWay Sentinel has been licensed and installed. The selection of this feature will prompt you to provide additional configuration parameters to register the installed instance of iSM for remote monitoring and management through iWay Sentinel. If this feature is selected and iWay Sentinel is not available, your existing iSM instance or associated applications hosted by iSM are not affected. However, selecting this feature will pre-install Envoy components on the iSM instance that is being installed.
-
Click Next.
The iWay Service Manager Configuration options window opens, as shown in the following image.
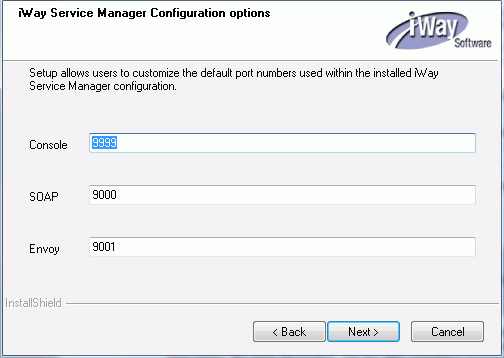
You are prompted to specify the ports that iWay Service Manager uses, as listed and described in the following table.
Name
Default Port
Purpose
Console Listener
9999
HTTP listener for the iWay Service Manager Administration Console.
SOAP Listener
9000
SOAP listener for iBSP and iWay Explorers.
Envoy
9001
Designated port for Envoy to allow Sentinel monitoring.
Note: The default port for Envoy communication is configured to be 9001.
-
Accept the default values, or specify new values, and
then click Next.
Note: Be sure to specify ports that are not being used by other programs or by another instance of iWay. If necessary, contact your system administrator for assistance in identifying available TCP ports.
If you selected to install the Envoy feature, the Sentinel Registration window opens, as shown in the following image.
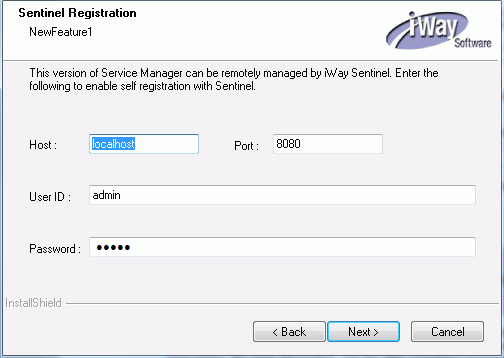
iWay Sentinel allows you to fully manage your current iSM instance remotely. By providing the requested information in this window, you will register the iSM instance that is being installed with iWay Sentinel
- Enter the host, port, user ID, and password of your iSM instance that you want to register with iWay Sentinel.
-
Click Next.
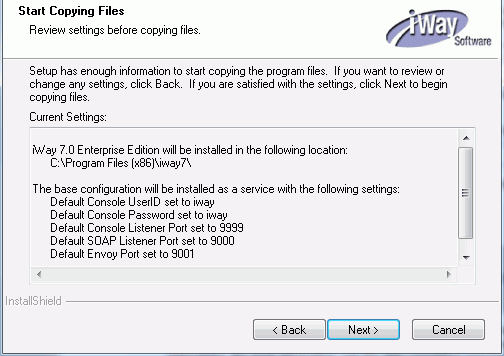
The Start Copying Files window opens, as shown in the following image.
-
Review the settings and then click Next to
start the installation.
Files are copied to your system in the directory you specified.
You have the option to start iSM when installation completes. If you choose this option, the iWay Service Manager Administration Console launches in your default web browser. You can log on to the iWay Service Manager Administration Console using the default user name, admin, and password, admin. You can also change the user name and password as required. For more information, see the iWay Installation and Configuration Guide.
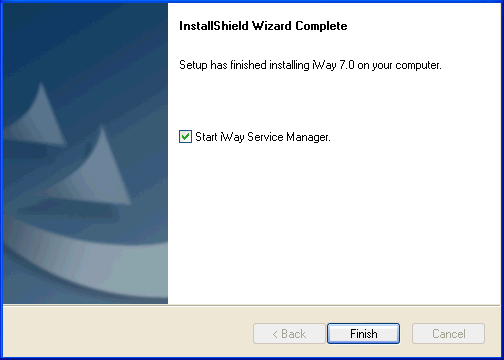
- Click Finish to complete the installation Wizard.