To create a profile:
-
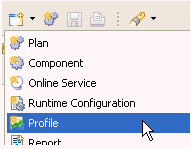
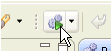
Click on the Create New Profile hyperlink
from the welcome screen, or click New and
select Profile from the toolbar or context
menu, as shown in the following image.
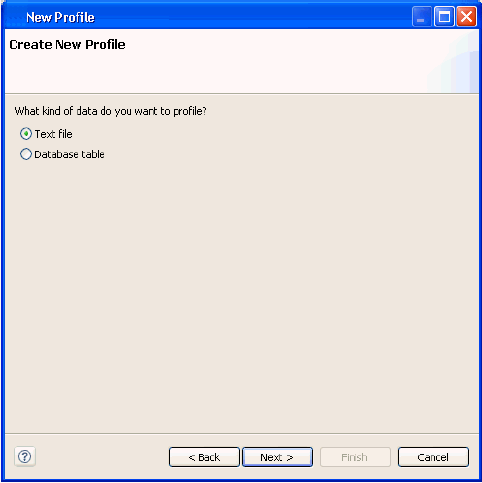
The New Profile window appears, where you will be given the option to create a profile from a text file or from a database table.
In order to profile a database table, you must have a database configured. For more information, see Connecting to a Database.
-
Choose the file you would like to profile, and click Next.
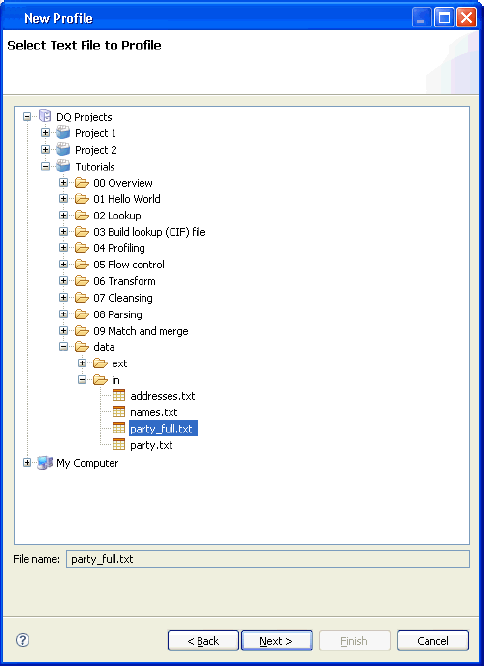
Note: You can skip these steps by right-clicking on a text file or database table and selecting Create Profile. This will take you directly to the next step.
You may need to assign metadata to your file to describe how it is formatted. If there is no metadata associated with the file, the following screen will appear.
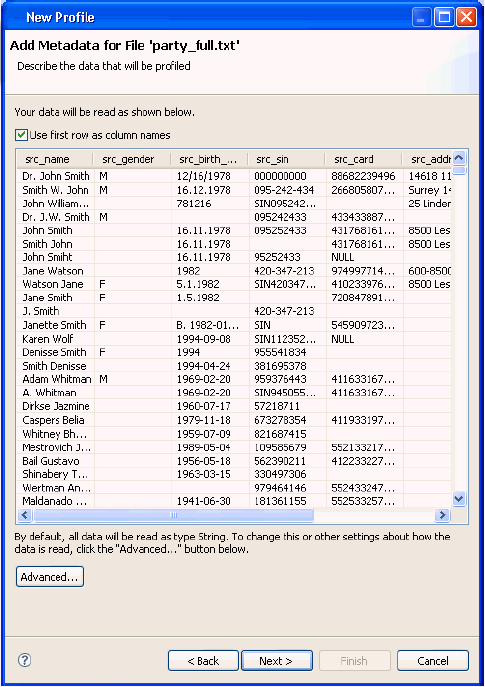
If the format shown is not correct, click on the Advanced button to customize the format and appearance of your data. Once the appropriate metadata has been assigned, the Configure Profile pane will appear.
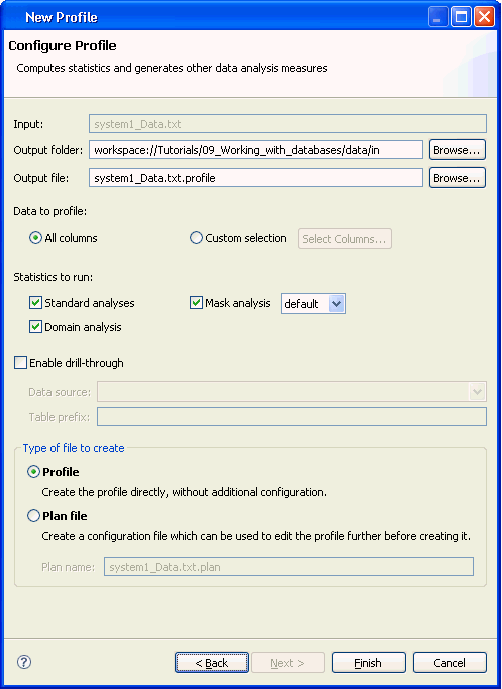
This panel allows you to configure the profile that you wish to create. You can specify where to create the profile as well as which columns to profile. The drill-through functionality allows you to see the individual records that comprise the statistics that are generated (database connection is required). Additionally, you also have the option to create a profile or a plan file.
Selecting the Profile option generates the profile immediately using the settings specified.
Creating a Plan file creates a plan that can be run to generate a profile. This option is useful if you wish to modify or filter the data before profiling it, or if you want to do some advanced configuration of the profiling algorithm (such as adding business rules or performing primary key analysis). If you select Profile and click Finish, the Profile will be generated and it will be opened in the profile viewer.
For more information on plan files, see Using the Plan Editor.
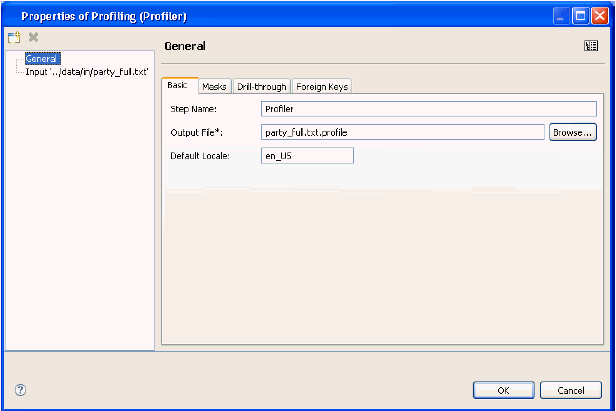
If you select the option to create a Plan file, a file will be created, as shown in the following image.
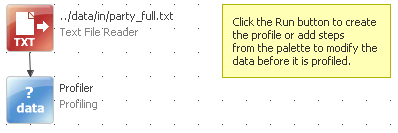
There are two steps in the Plan, one for reading the data and another to generate the profile. You can double-click on either of them to perform additional configurations.
- Select either Profile or Plan file and click Finish.
-
To create the Profile, click the Run icon in the toolbar,
as shown in the following image.
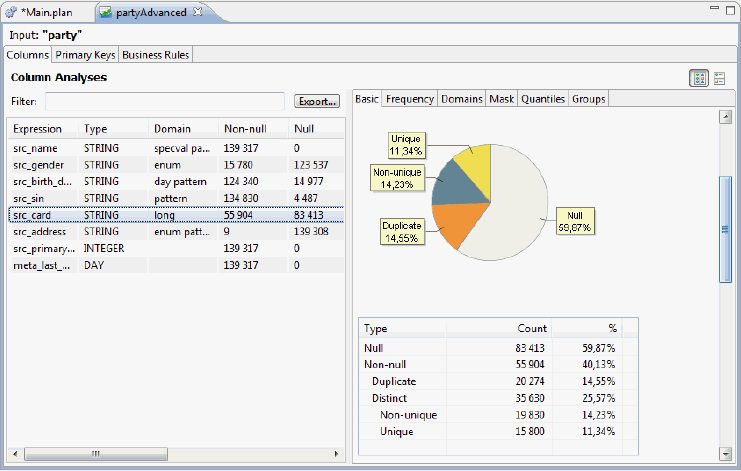
If you want to modify the profile that is created, you can double-click on the profiling step to open the Profiling step editor. Here you can edit the existing configuration or add additional analyses to run.