If you use WSO2 Identify Server only to authorize access with eXtensible Access Control Markup Language (XACML), then there is no need to create a WSO2 realm. You can proceed directly to Configuring the XACML Provider and XACML Service.
-
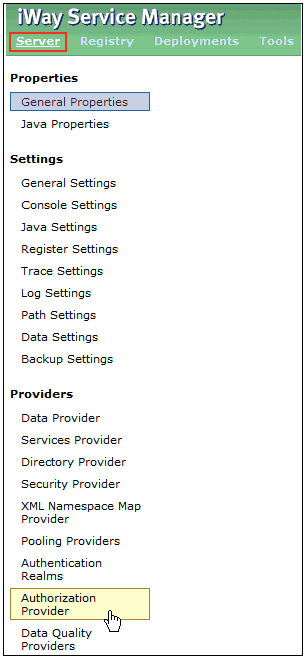
In the iWay Service Manager Administration Console,
click Server in the top pane, and then click Authentication
Realms in the left pane, as shown in the following image.
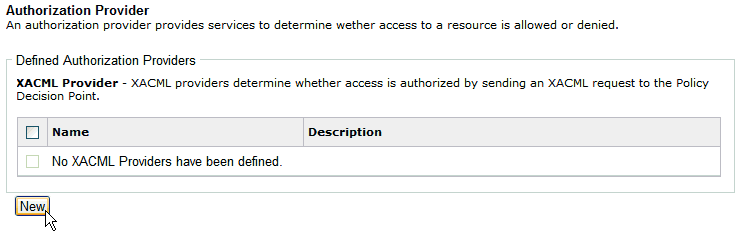
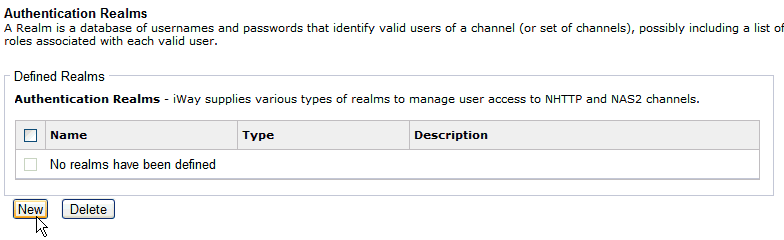
The Authentication Realms pane opens, as shown in the following image.
-
Click New.
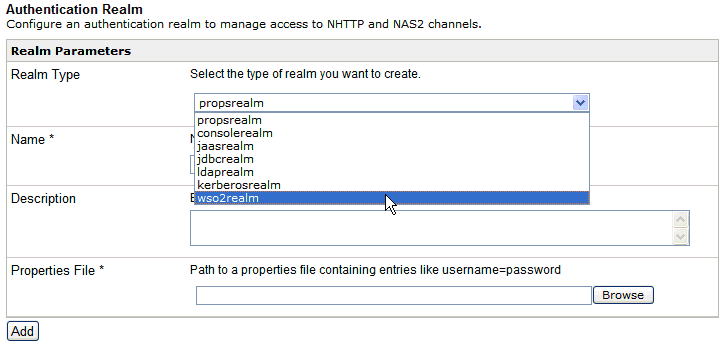
The Authentication Realm pane opens, as shown in the following image.
-
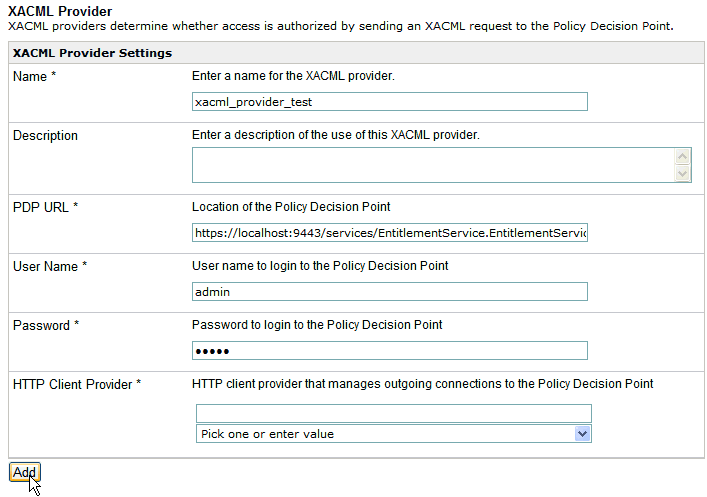
From the Realm Type drop-down list, select wso2realm.
The Authentication Realm pane is refreshed for the specific type of realm (in this case, WSO2), as shown in the following image.
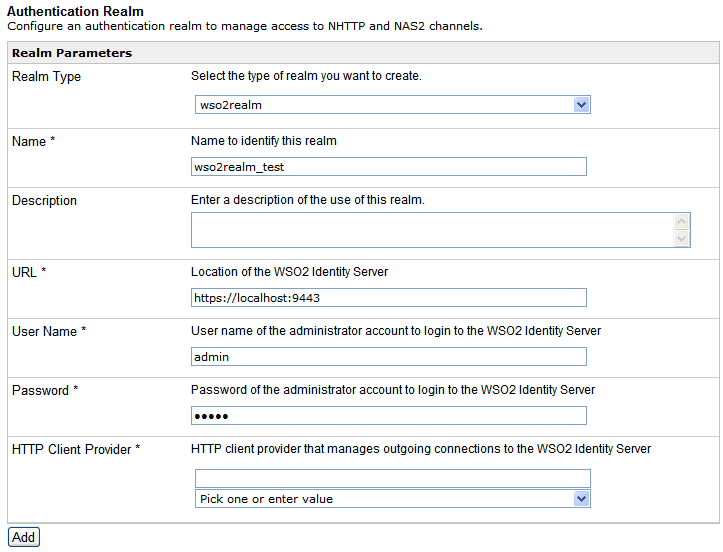
- Enter a name for the new realm you are creating (for example, wso2realm_test).
- Enter the name of the Provider and the location of the WSO2 Identity Server.
- Enter the URL where WSO2 Identity Server can be accessed.
-
Specify the user name and password for the administrator
account in WSO2 Identity Server.
The default user name and password is admin.
This account is used to login to WSO2 Identity Server through HTTP Basic Authentication. The password is sent essentially in clear text, but the connection is using SSL.
- From the HTTP Client Provider drop-down list, select the HTTP Client Provider that you defined earlier for the HTTP Client.
- Click Add.
Configure a listener that is realm-aware (for example, the NHTTP listener).
-
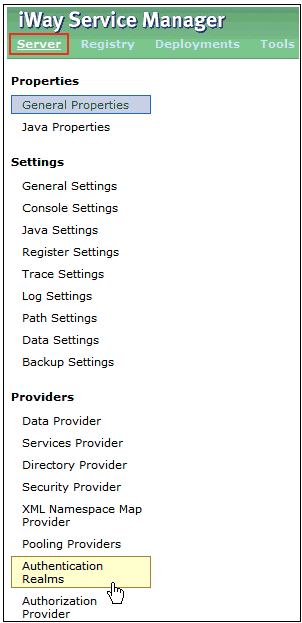
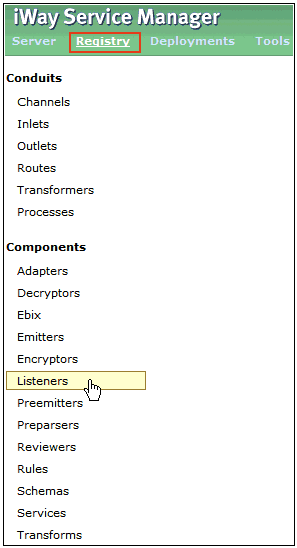
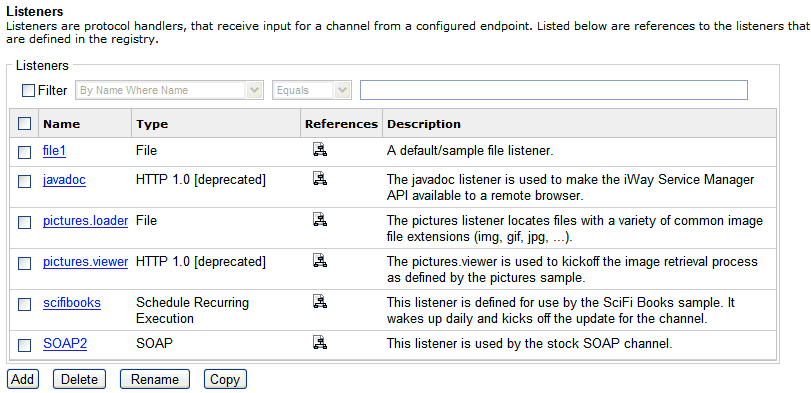
In the iWay Service Manager Administration Console,
click Registry in the top pane, and then
click Listeners in the left pane, as shown
in the following image.
The Listeners pane opens, as shown in the following image.
-
Click Add.
The Select listener type pane opens, as shown in the following image.
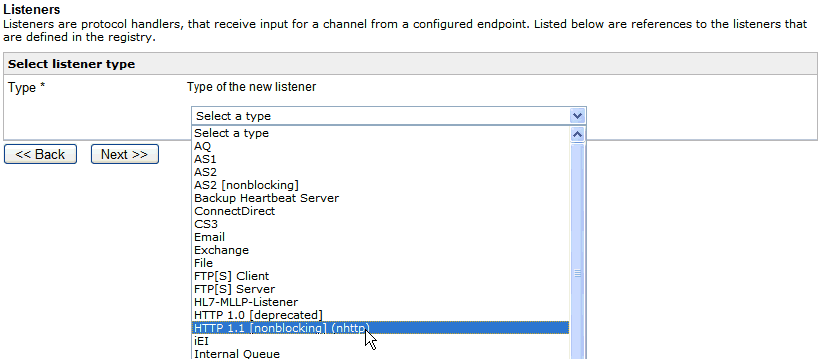
-
Select HTTP 1.1 [nonblocking] (nhttp) from
the Type drop-down list and click Next.
The configuration parameters for the NHTTP listener are displayed.
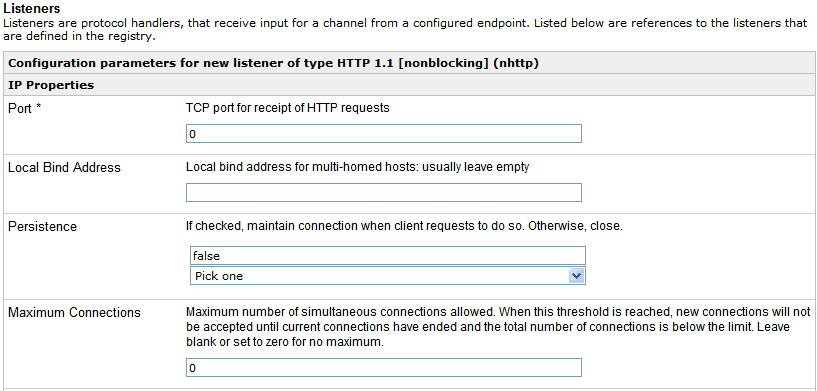
- Specify a port where HTTP requests will be received.
-
Scroll down to the Authentication Realm parameter and
enter the name of the WSO2 realm that was configured in the iSM
Administration Console.
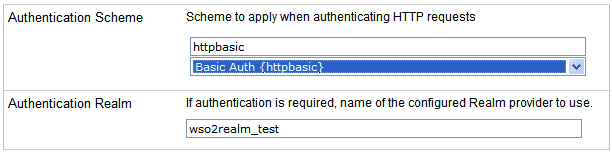
-
From the Authentication Scheme drop-down list, select Basic
Auth {httpbasic}.
Note: Basic Auth is insecure unless it operates under HTTPS.
-
Click Next at the bottom of the
page to continue.
A listener name and description pane opens, as shown in the following image.
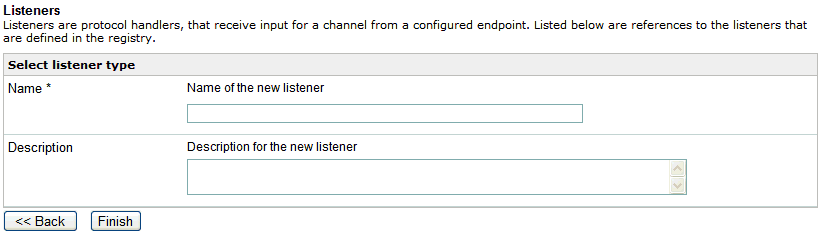
- Enter a name for the selected listener and a brief description (optional).
- Click Finish.
When this listener is deployed as part of a channel, it will ask for a user name and password, which will be checked against the user store within WSO2 Identity Server.