To use Telnet Designer in Recorder (REC) mode:
-
From
the Telnet Designer main menu, select Tools and
then Emulator. You can also click the Emulator
Tool icon.
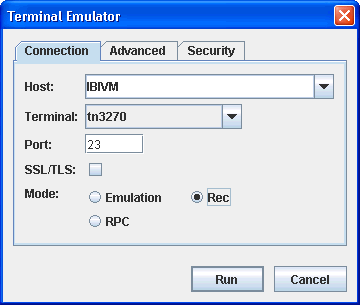
The Terminal Emulator window opens with the Connection tab active, as shown in the following image.
-
On the
Connection tab:
- From the Host drop-down list, select the system host from which you want to record.
- From the Terminal drop-down list, select either tn3270 or tn3250 as the terminal type used in the session.
- In the Port field, type the port number through which you will connect to the system.
- Select Rec as the Mode option.
-
For more
emulation options, click the Advanced tab.
The Advanced tab of the Terminal Emulator opens. Make a selection from the Language drop-down list. The Language selection determines the national language character set that will be used in your emulation session.
If you want to use a specific terminal name (LU) or pool name (LU pool) with your mainframe connection, type this value in the LU Name field. This option allows the mainframe to dedicate specific connections and privileges to specific telnet ports.
-
Click Run.
A connection is made to the mainframe online system.
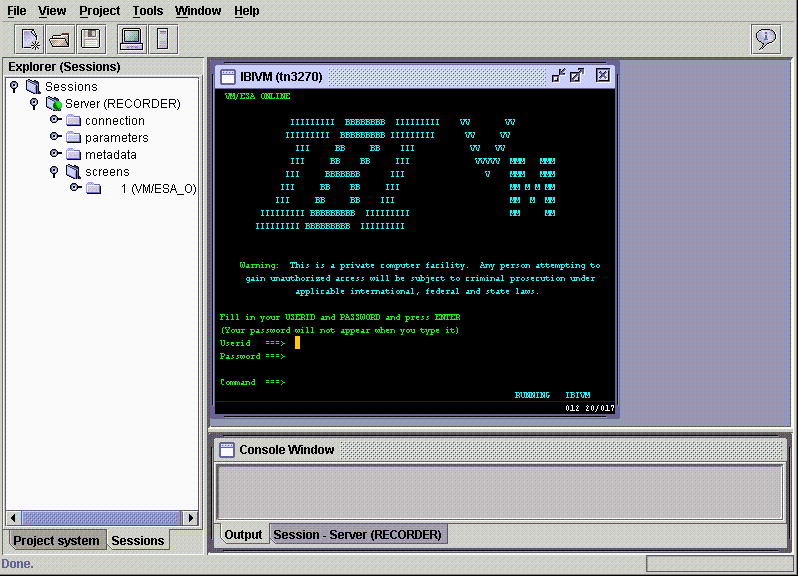
The mainframe session window opens in the right pane of Telnet Designer. The following image shows an example of a mainframe window in Telnet Designer.
-
Enter
the appropriate information to navigate through the mainframe online
system, as needed.
As you move through each screen of the mainframe, session information is written to a file.
- When you are finished with the mainframe session, log off of the mainframe. For example, for CICS, issue the CESF LOGOFF command.
- Close the mainframe session window by clicking the X in the upper right of the mainframe window.
-
To save
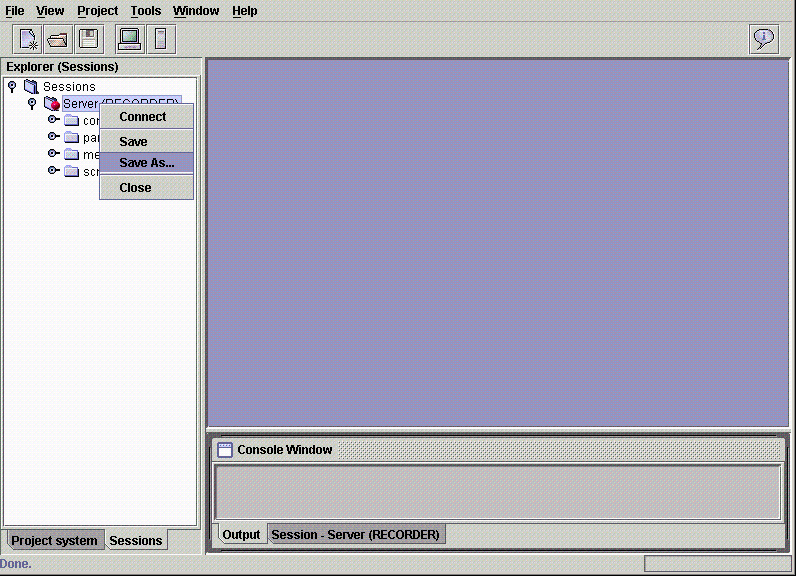
the prerecorded file, right-click the Server (RECORDER) node
in the left pane and select Save As, as shown
in the following image.
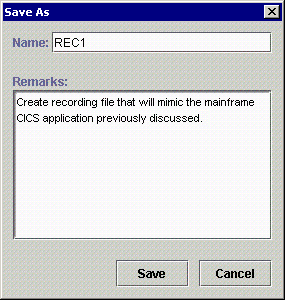
The Save As dialog box opens, as shown in the following image.
-
In the
Name field, type a name for the recorded session file, for example,
REC1.
Note: Entering information in the Remarks field is optional.
- Click Save.
-
In the
left pane of Telnet Designer, click the Project tab
and expand the dumps folder. When the recorded
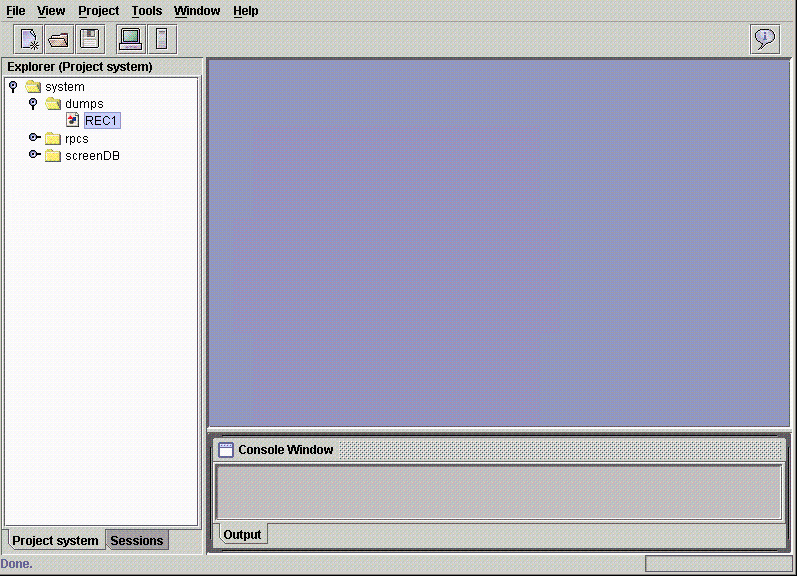
session is saved, it appears under the dumps folder.
The following image shows an example prerecorded file, REC1, under the dumps folder.
You are ready to develop against the prerecorded file.