Procedure: How to Import an Ebix Into the Workspace
-
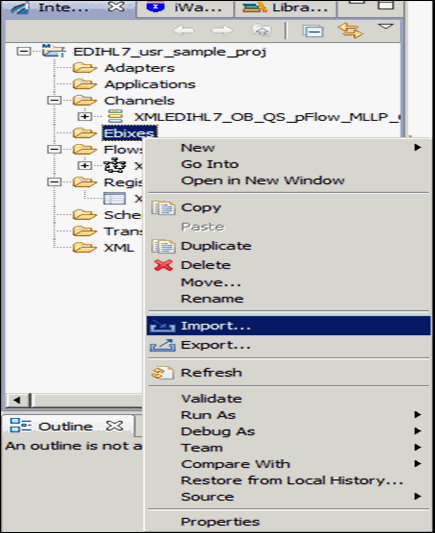
In the integration project EDIHL7_usr_sample_proj,
right-click the Ebixes folder and then select Import from
the context menu, as shown in the following image.
-
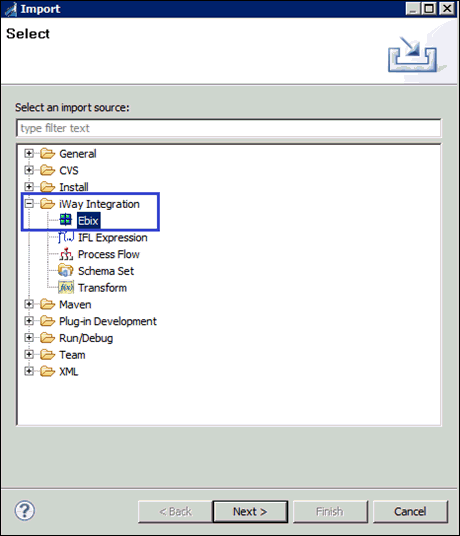
Expand the iWay Integration folder, select Ebix, and
then click Next, as shown in the following
image.
-
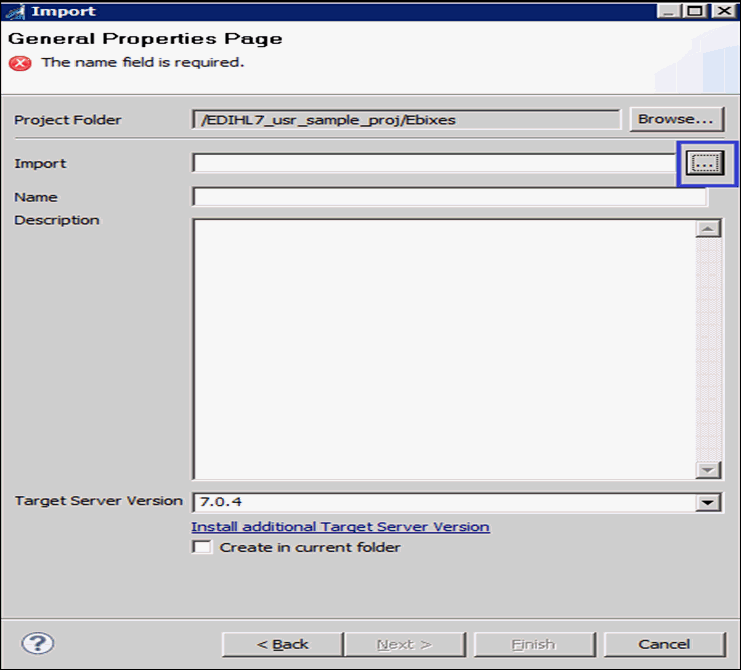
Click the ellipses (...) button to browse and import
the ebix from a specific folder location, as shown in the following
image.
-
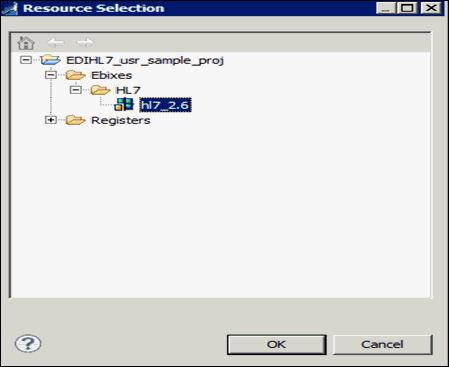
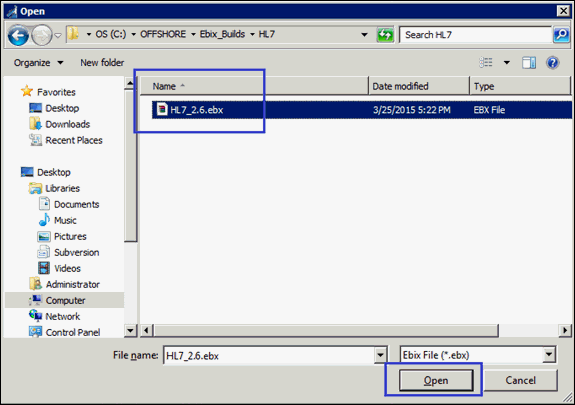
Select HL7_2.6 ebix from the folder
location and click Open, as shown in the
following image.
- In the Import wizard, click Next.
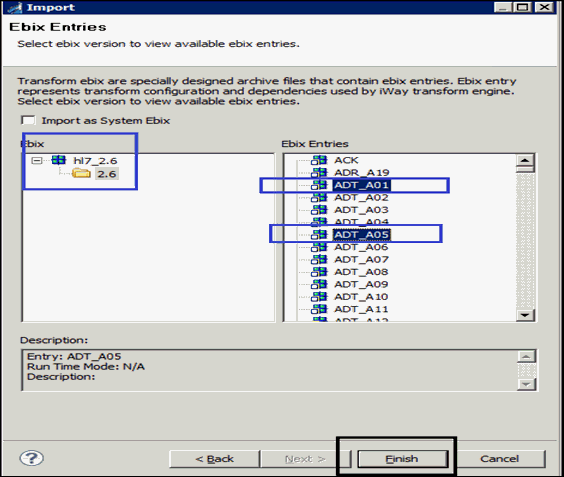
- Expand the hl7_2.6 ebix from the left panel and select the 2.6 folder.
-
Select the messages you wish from the right side panel
and click Finish, as shown in the following
image.
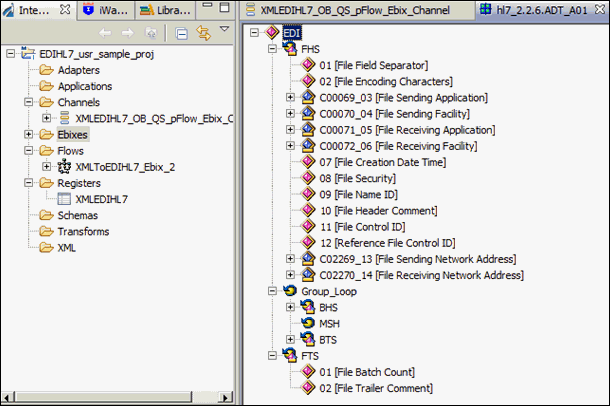
The iIT page should resemble the following image.
