-
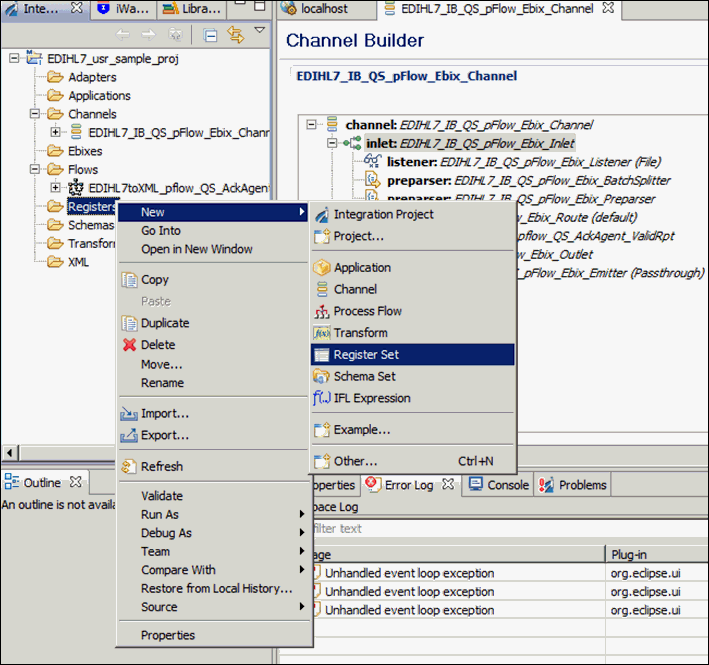
In the EDIHL7_usr_sample_proj project
tree, right-click the Registers folder, and select New,
and then click Register Set from the context
menu, as shown in the following image.
-
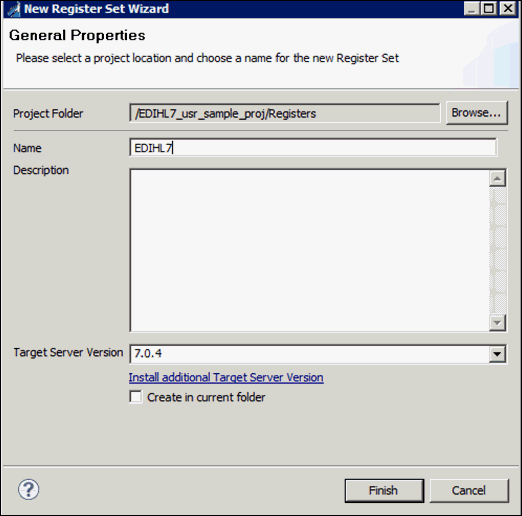
In the Name field, enter a name for the register set
and click Finish, as shown in the following
image.
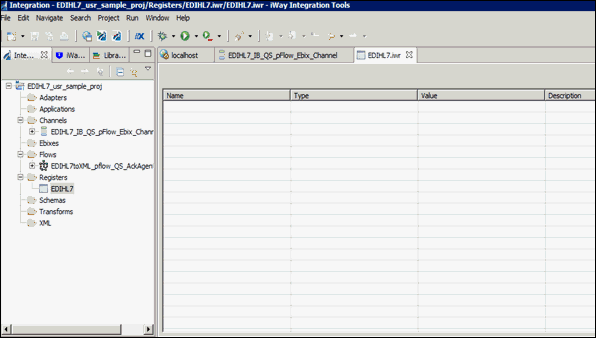
The new register set appears under Registers in the Registers folder, as shown in the following image.
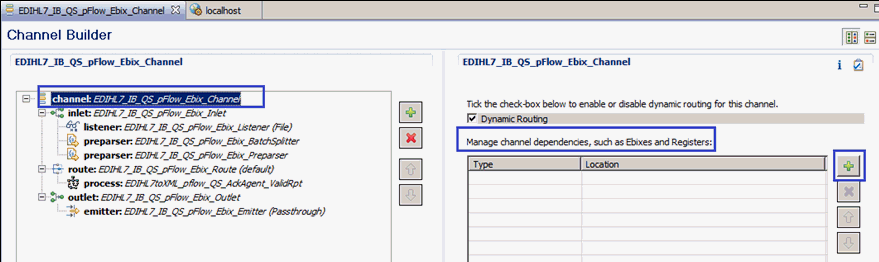
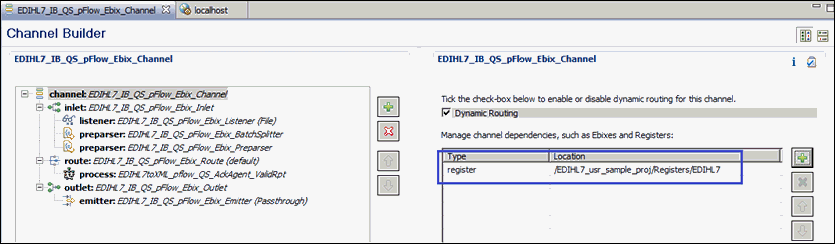
-
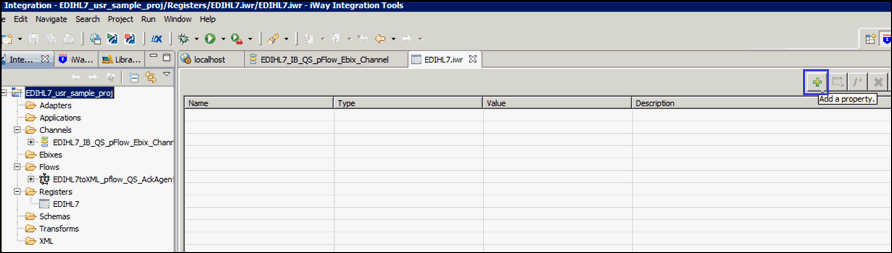
Click the Add a property icon
to add a register to the register set, as shown in the following
image.
-
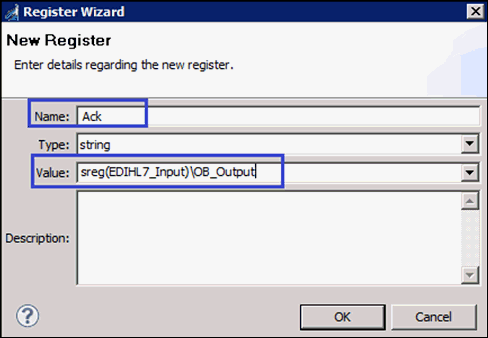
Enter a name for the new register in the Name field,
select a register type from the Type drop-down list (set to string by
default), and then enter a value in the Value field, as shown in
the following image.
- Click OK.
-
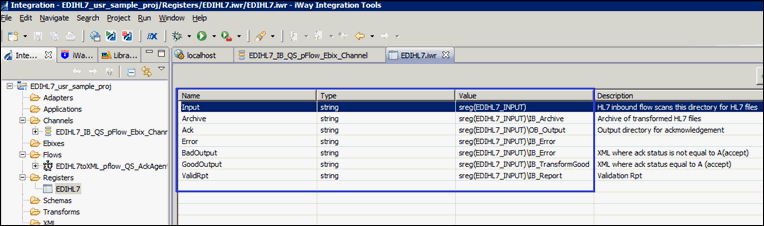
Create the following registers under the EDIHL7 registers
set you just created, along with the values shown in the table below.
Register Name
Value
Input
Name=Input, Value=sreg(EDIHL7_INPUT)
Error
Name=Error, Value=sreg(EDIHL7_INPUT)\IB_Error
GoodOutput
Name=Output, Value=sreg(EDIHL7_INPUT)\IB_TransformGood
BadOutput
Name=BadOutput, Value=sreg(EDIHL7_INPUT)\IB_Error
ValidReport
Name=ValidReport, Value=sreg(EDIHL7_INPUT)\IB_Report
Archive
Name=Archive, Value=sreg(EDIHL7_INPUT)\IB_Archive
After creating all of the required registers in register set, your iIT screen should resemble the following image.