By default, iWay Explorer stores the schemas it creates in subdirectories under the iWay home directory of the machine where it is installed. However, you can also export these schemas using iWay Explorer to any location you specify on your file system.
The exact location of the schemas differs depending on whether you deploy iWay Explorer with an iBSP configuration.
When the adapter is used with an iBSP configuration, iWay Explorer stores the schemas in a subdirectory of the iWay installation directory, for example,
iWayHome\config\base\wsdl\schemas\service\Oracle\Oracle_Target
where:
- Oracle_Target
-
Is the name of the connection (target) to the Oracle Applications system that you defined using iWay Explorer. Under this directory, iWay Explorer creates subdirectories containing schemas.
To create a pair of request and response service schemas for interaction with an Oracle base table using iWay Explorer:
- Connect to an Oracle E-Business Suite target, as described in Connecting to Oracle E-Business Suite.
- Locate an Oracle base table, for example, HR_LOCATIONS_ALL, as described in Browsing Base Table Metadata.
-
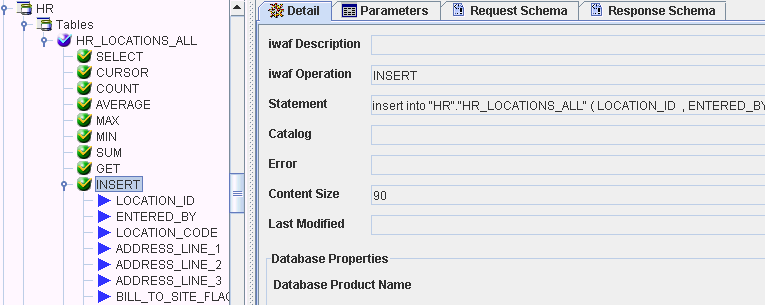
Click INSERT.
Important: Oracle recommends that users do not interact directly with application tables. The use of INSERT, DELETE, or UPDATE to modify data in application tables may jeopardize database referential integrity.
XML request and response schemas for the base table are automatically created and displayed.
-
Click
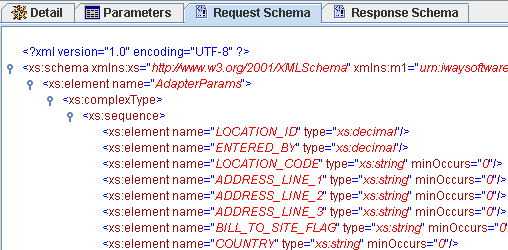
the Request Schema tab in the right pane.
The XML request schema appears in the right pane, as shown in the following image:
-
Click
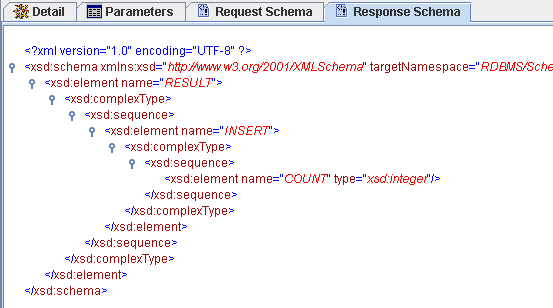
the Response Schema tab in the right pane.
The XML response schema appears in the right pane, as shown in the following image:
-
To export
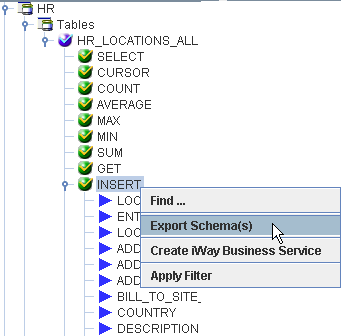
XML schemas, right-click the table in the left pane, and select Export Schemas,
as shown in the following image:
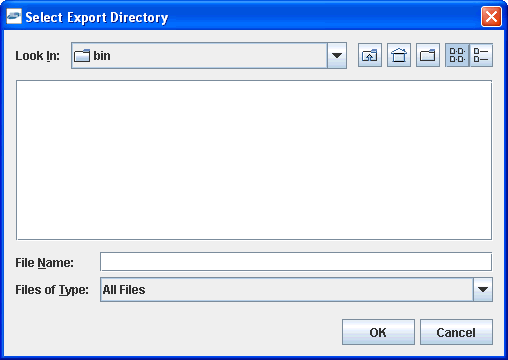
The Select Export Directory dialog box opens, as shown in the following image:
-
Navigate
to a directory on your file system where you want to export the
XML schemas.
The file path displays in the File Name field.
-
Click OK.
The XML request and response schemas are now exported to your local file system.
