Procedure: How to Create Base Tables
To create base tables in Oracle 11g using Oracle Enterprise Manager:
- From the Windows Start menu, select All Programs, Oracle - OraClient11g_home, Application Development, then click SQLPlus Worksheet.
-
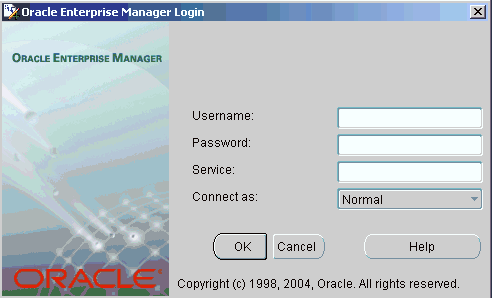
In the Oracle
Enterprise Manager dialog box, enter the user name, password, and
service name. Select Normal from the Connect as
drop-down list and click OK to connect, as
shown in the following image.
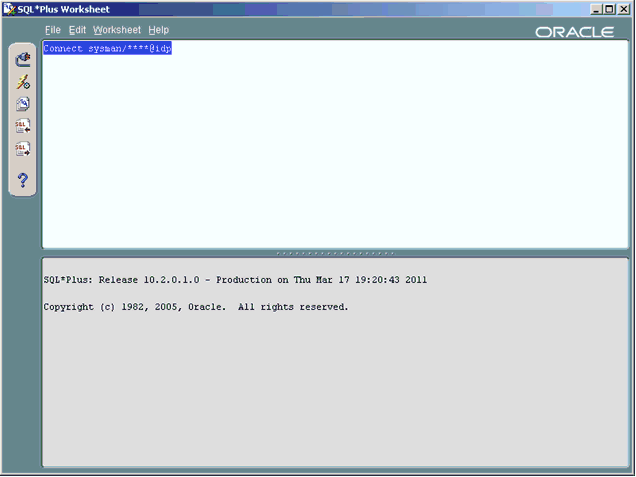
The workspace for the connected server is displayed, as shown in the following image.
-
Click File,
then select Open and browse to the Oracle_IDP.sql
script file, which is located in following directory:
<dphome>\idpweb\sql\Oracle_IDP.sqlwhere:
- <dphome>
Is the path on the file system where iWay Data Profiler is installed.
-
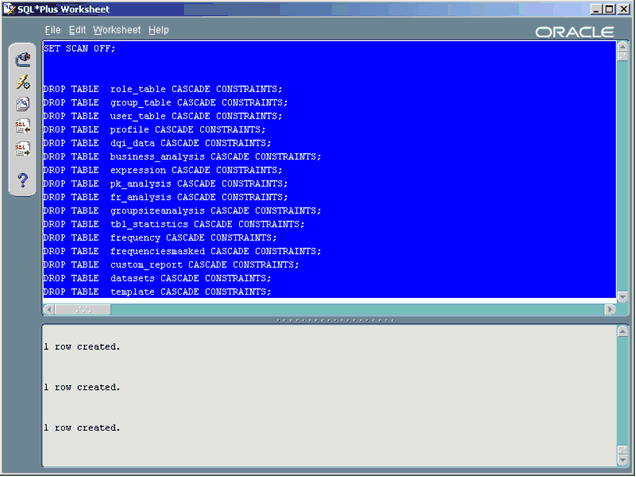
Click Execute.
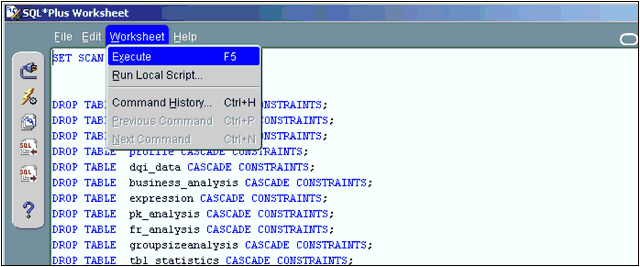
The script is executed and the tables are generated, as shown in the following image.