To create a DQS plan:
-
Double-click the dqs.exe file
to open iWay Data Quality Server (DQS).
If you have not installed iWay DQS, steps:
- Unzip the iWay DQS archive file to a local drive on your system.
- Copy the license file to the following directory:
[iWayDQSHOME]\runtime\license_keysNote: The location on your file system where the DQS archive file is extracted to is referred as [iWayDQSHOME].
- For your reference, all iWay DQS projects are stored in the
following directory by default:
[iWayDQSHOME]\workspace
-
Click OK to accept the license agreement.
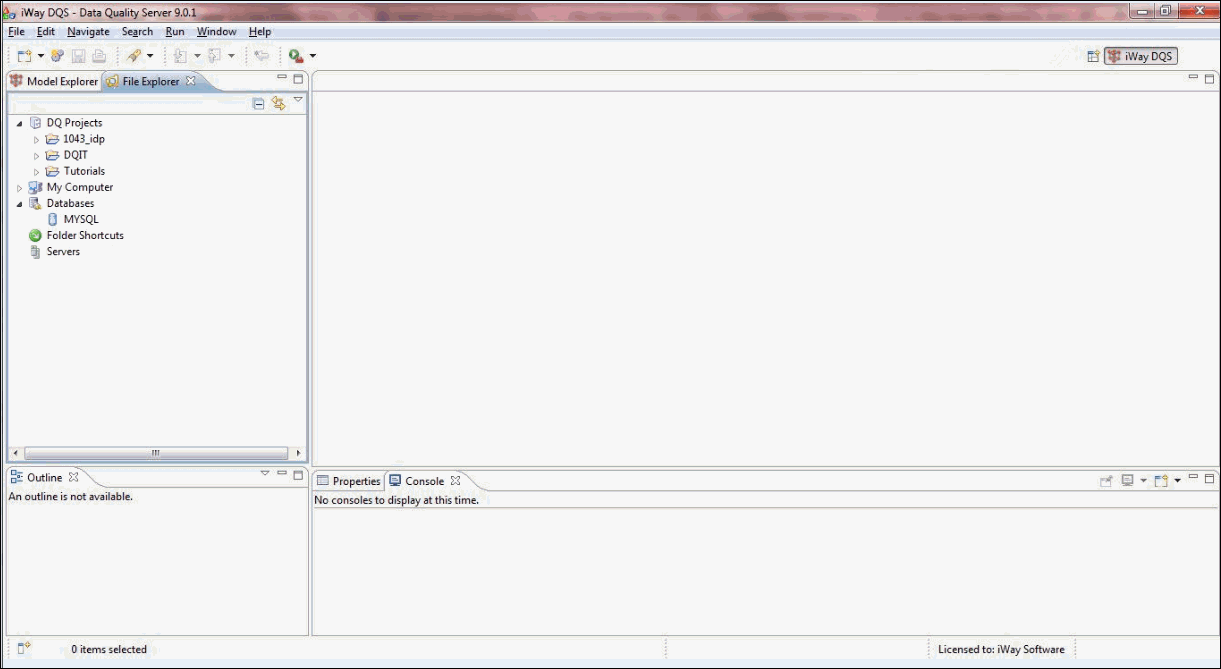
iWay DQS opens, as shown in the following image.
-
In the File Explorer tab, right-click DQ Projects, select New,
and then click Project.

The New Project dialog box is displayed.
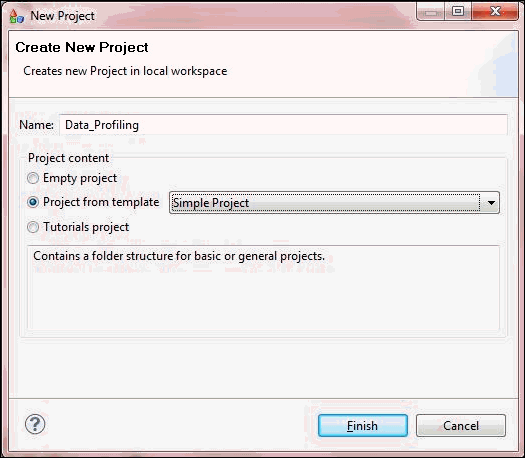
- Enter the project name (for example, Data_Profiling) in the Name field.
-
Select the Project from template option,
accept the default template that is selected (SimpleProject), and
then click Finish.
The new project (for example, Data_Profiling) is listed below the DQ Projects node in the File Explorer tab, as shown in the following image.
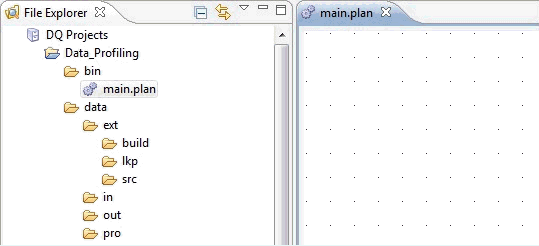
The Data_Profiling project contains the following folder structure:
- bin. Contains the actual DQS plan.
-
data. Contains the data files that are required and produced
by the DQS plan. It contains the following subfolders:
-
ext. Contains the following subfolders related to the
creation of lookup files:
- build. Contains the plan used to create the lookup file.
- lkp. Contains the lookup file.
- src. Contains the source used to create the lookup file (dictionary file).
- in. Contains the input files to the DQS plans.
- out. Contains the output files produced by the DQS plans.
- pro. Contains the profile files produced by the DQS plans.
-
ext. Contains the following subfolders related to the
creation of lookup files:
Note: This standard folder structure is created by iWay DQS for easy organization. Any number of folders and subfolders can be added if required.
-
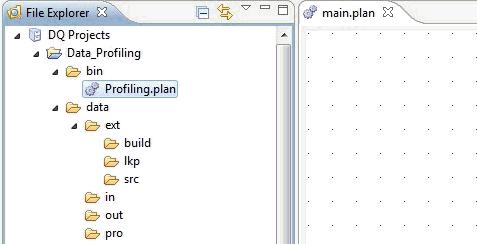
In the bin folder, rename Main.plan
to Profiling.plan, as shown in the following image.
-
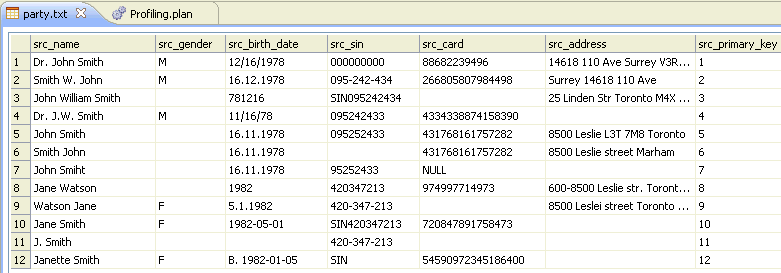
Double-click the party.txt file
(placed in the in folder) to view the existing
text file, as shown in the following image.
-
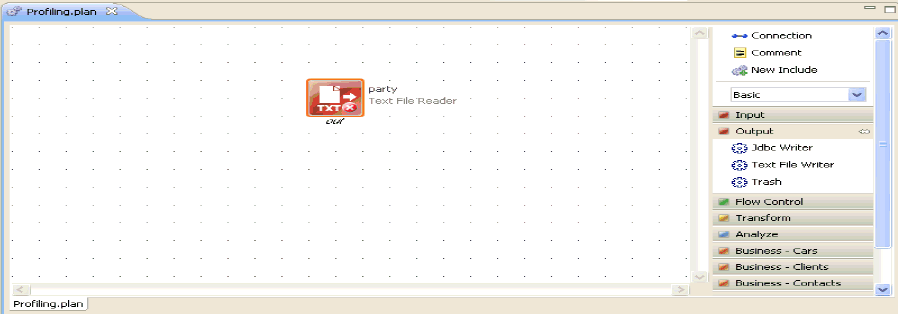
Drag and drop the party.txt file
into the Profiling.plan workspace area.
Note: The input file can consist of different formats. For example, an Excel spreadsheet, various databases, and so on. For more information, see the iWay DQS Reference Guide.
-
Drag and drop the Profiling step,
which is available in the Analyze category on the right pane.
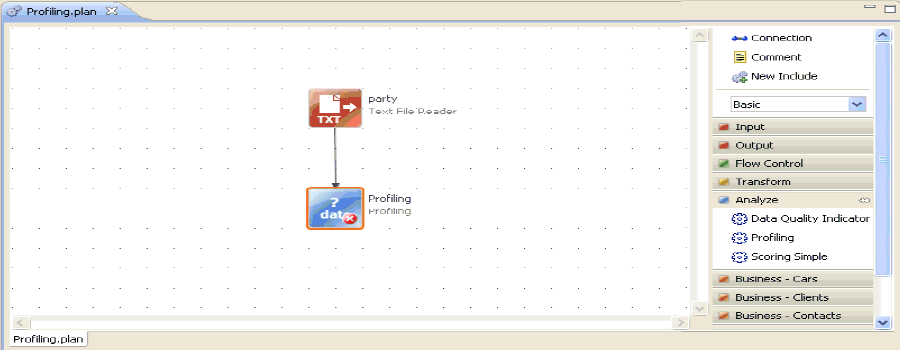
- Create a connection from the Text File Reader step to the Profiling step using the Connection object, which is also located on the right pane.
-
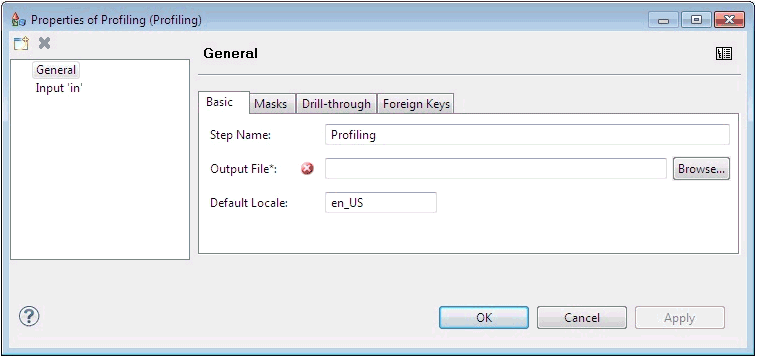
Double-click the Profiling step.
The Properties of Profiling dialog box opens, as shown in the following image.
Note: If the above dialog box does not open, skip the next step.
-
Click the icon in the top-right corner to view the normal
layout.

-
Specify the Output File path as follows:
../data/pro/party.profile
-
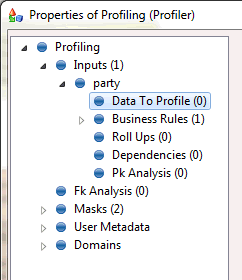
In the left pane, expand the Inputs node,
and then expand the in node.
-
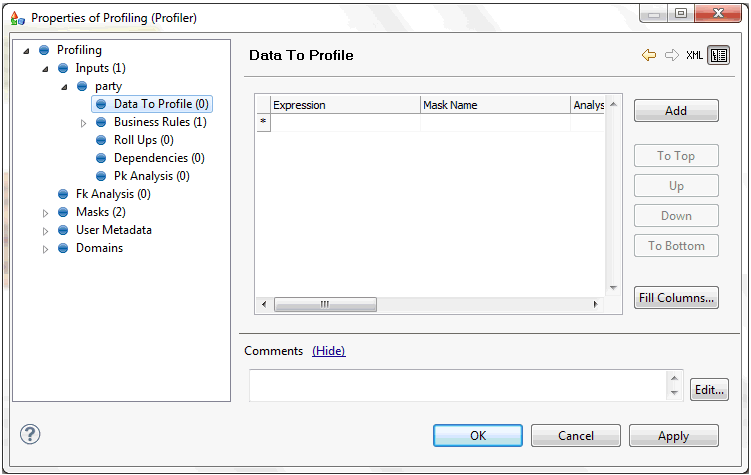
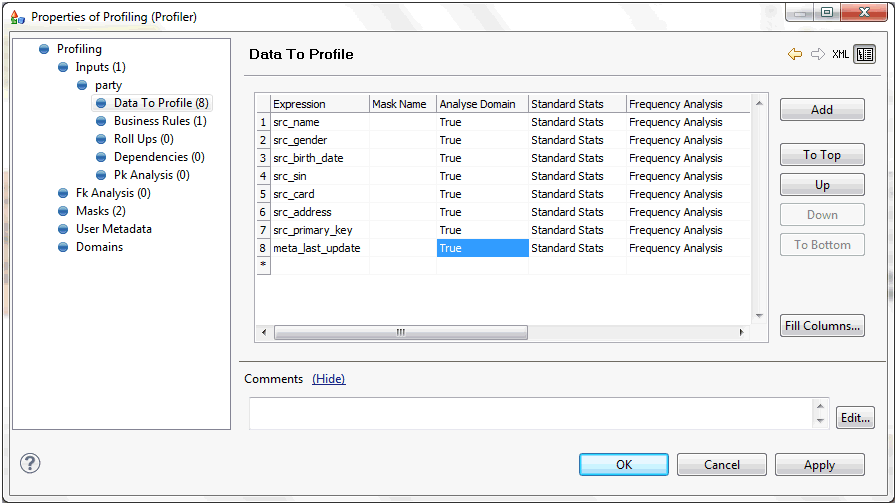
Click Data To Profile.
-
Click Fill Columns.
The Fill Columns dialog box opens, as shown in the following image.
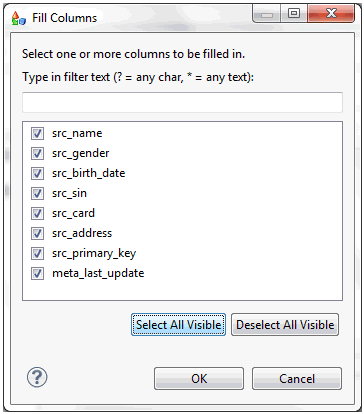
- Select the required columns for profiling or click Select All Visible to select all the columns.
-
Click OK.
You are returned to the Properties of Profiling dialog box (Data To Profile pane).
-
Set the rows in the Analyse Domain column to true for
the columns on which domain analysis must be performed.
Note: If want to specify Roll Ups and Drill-through in the profile, continue with steps 20 through 22.
-
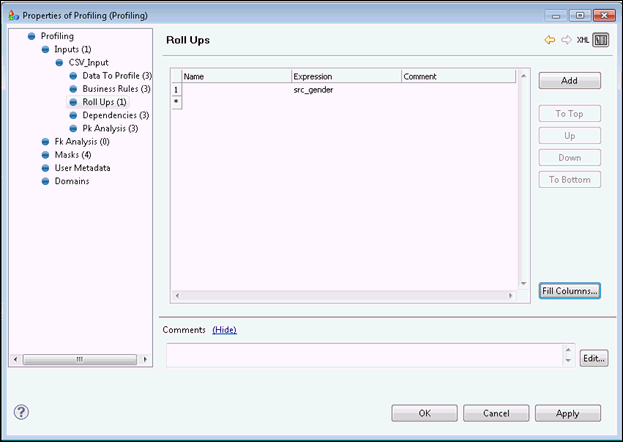
In the left pane, click the Roll Ups,
and then click Fill Columns.
The Fill Columns dialog box opens, as shown in the following image.
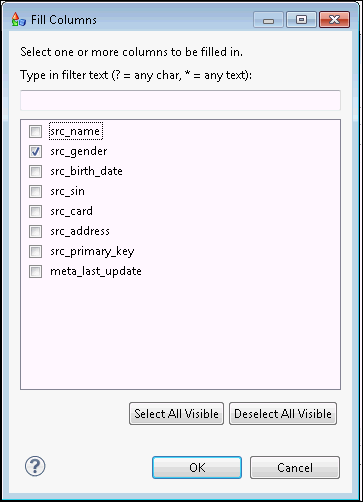
- Select the required columns for Roll Ups.
-
Click OK.
You are returned to the Properties of Profiling dialog box (Data to Profile pane), as shown in the following image.
-
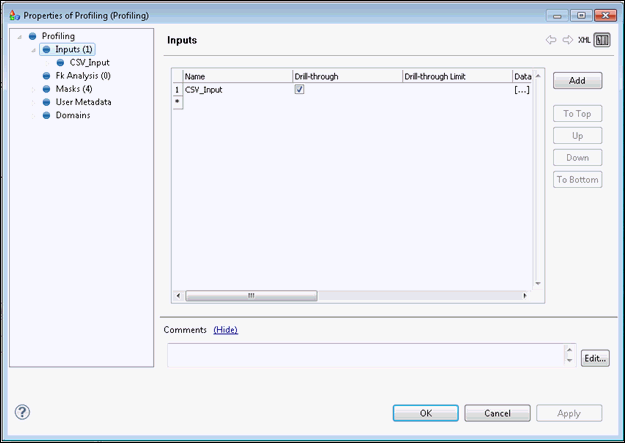
Click the Drill-through check box to enable drill-through
for the profile, as shown in the following image.
-
In the File Explorer tab, right-click Database, and
select New Database Connection, as shown
in the following image.
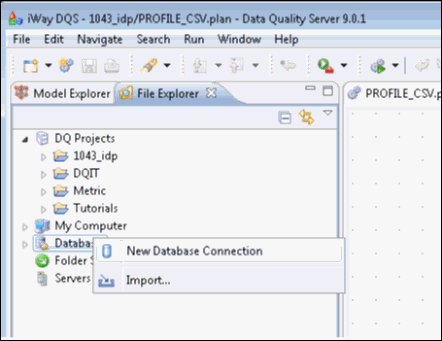
The New Database Connection pane opens, as shown in the image.
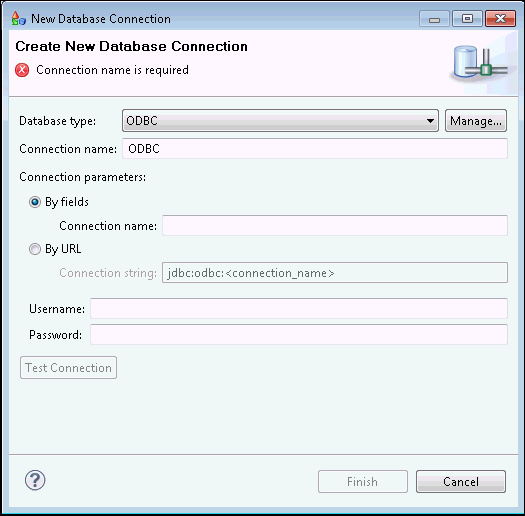
-
Click the Manage button, select
the required database to configure, and then click Add,
as shown in the following image.
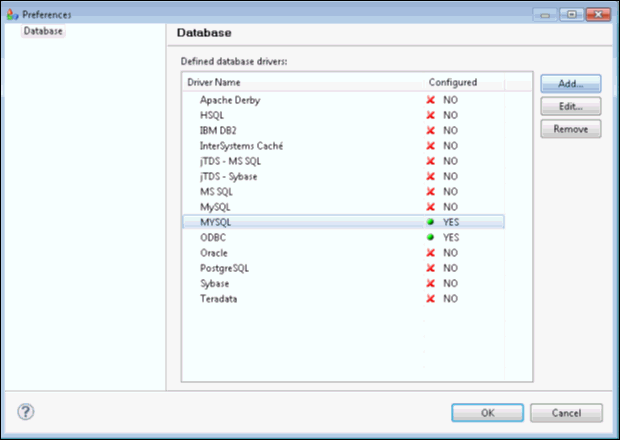
-
Provide the database credentials.
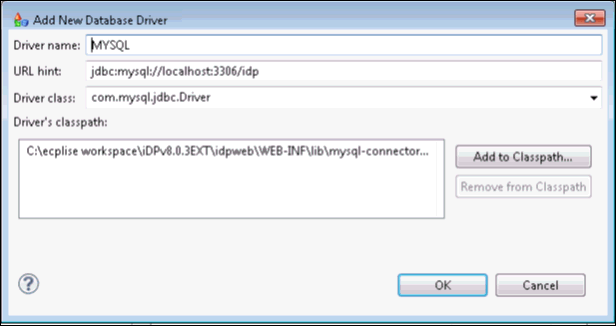
- Click OK.
-
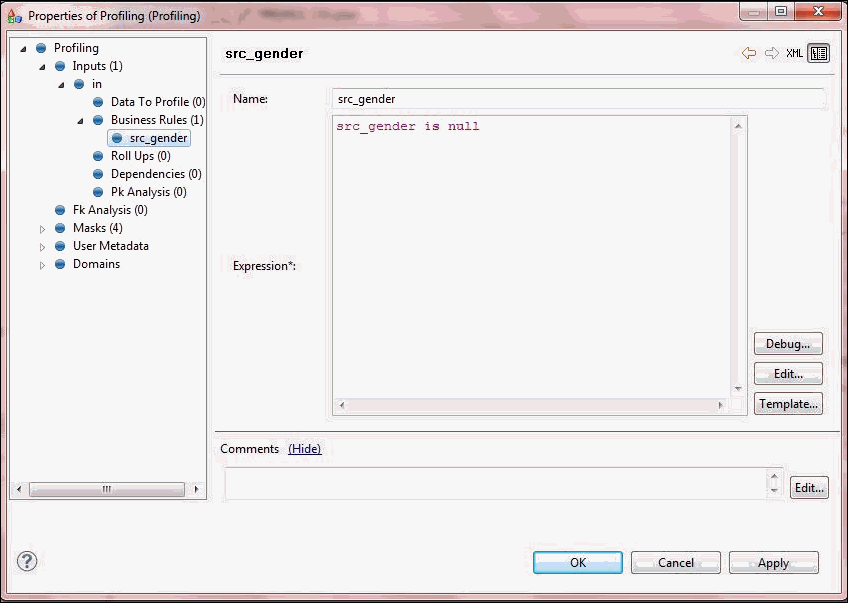
In the left pane, click the Business Rules node, and
then click Add.
-
Enter a name (for example, Gender is M or F) for the
new Business Rule and an associated expression.
For example:
src_gender is null
Note: You can add multiple Business Rules if required.
-
In the left pane, click the Dependencies node, and
then click Add.
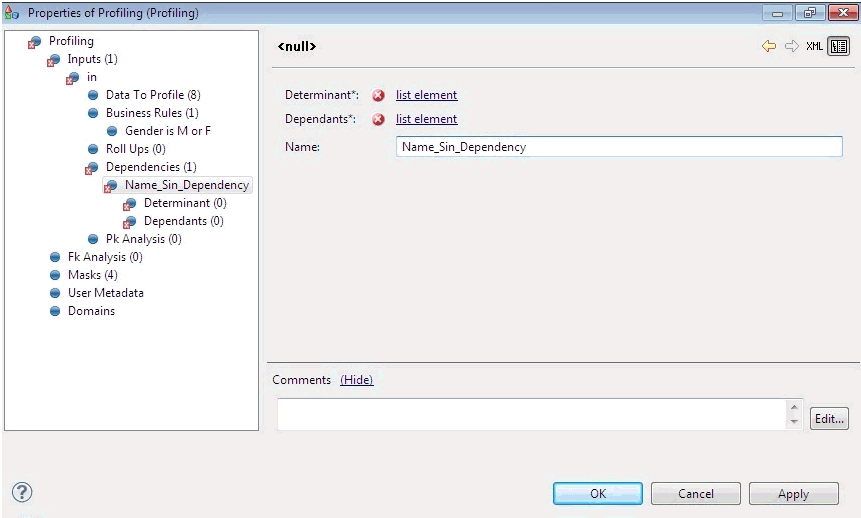
- Enter a name (for example, Name_Sin_Dependency) for the new Dependency.
-
Expand the tree further in the left pane to add the Determinants and Dependents,
as shown in the following image.
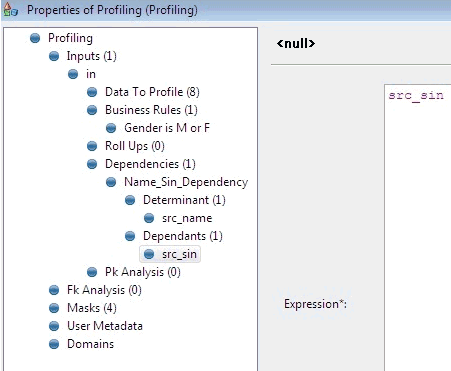
Note: Any number of Dependencies, Determinants, and Dependents can be added. Modify the Threshold parameter if required. For more information, see the iWay DQS Reference Guide.
- In the left pane, click the Pk Analysis node, and then click Add.
-
Add the components, as shown in the following image.
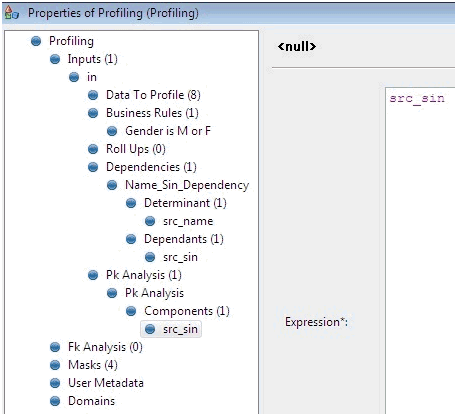
Note: Any number of components can be added to the Pk Analysis as required. By clicking Pk Analysis, you can specify the name for the Primary key. Any number of Pk Analysis instances can be added.
-
Click OK to set all of the properties
for the Profiling step you configured.
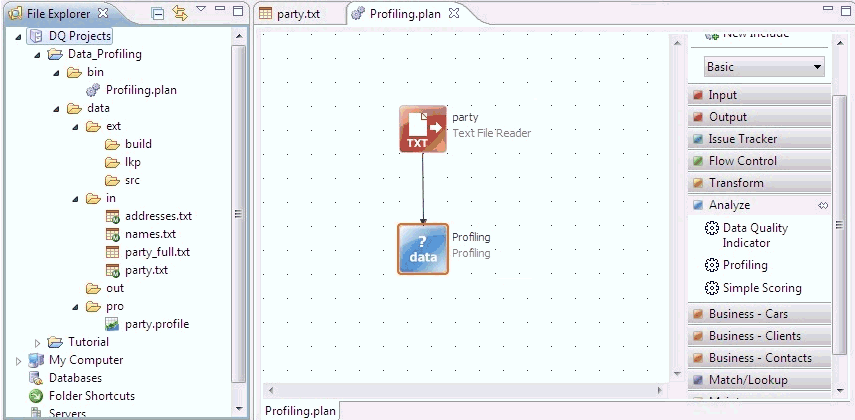
The final DQS plan is shown in the following image.
- Select and run the DQS plan (Profiling.plan) by clicking the Run icon or by pressing Ctrl+F11.
-
Right-click the pro folder in
the left pane and click Refresh to view the
output file, Profiling.profile.
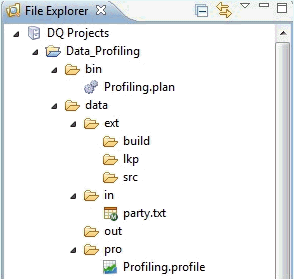
Note: The pro folder is located under the data folder, in the Data_Profiling project folder structure.