Configuring a Process Flow

How to:

After you have a target table available and verified connectivity, use iWay Designer to create and configure a process flow to consume an incoming XML document and map its data nodes to parameter values in a SQL statement.


Top of page

x
Procedure: How to Create a Process Flow

To create a process flow:

  1. From the Windows Start menu, select Programs, iWay 6.1 Service Manager, tools, and then iWay Designer.

  2. Connect to the repository from which you want to work, for example, iWay.
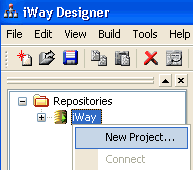
  3. Right-click the iWay node and select New Project from the drop-down list.
    The Designer Project Information dialog box opens, prompting you for a project name and optional description.
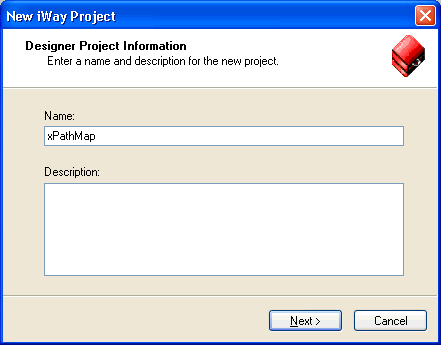
  4. In the Name field, type a project name (for example, xPathMap).

    In the Description field, type a brief description (optional) to describe the project.

  5. Click Next.

    The Designer Project Bindings dialog box opens.
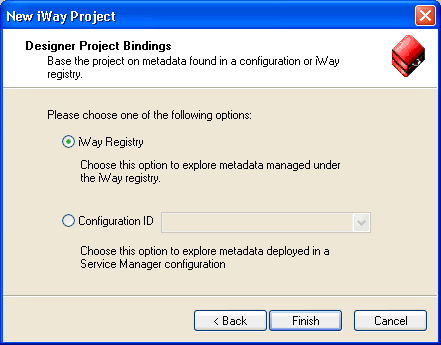
  6. To create the project in the iWay Registry, select iWay Registry and click Finish.

    The choice of project association depends on where you intend to publish (deploy) your process flow. If you are developing a process flow for use as part of a channel, you must publish it to the iWay Registry for subsequent deployment.

    The new project node (for example, xPathMap) appears under the repository in which it was created (for example, iWay).

  7. To save the project to the repository, right-click the project node and select Save from the context menu.
  8. Expand the new project node to expose the project elements (Processes, Services, Transforms, and so on).
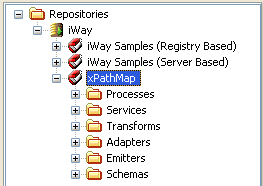
  9. Right-click the Processes folder and select New Process from the drop down list.
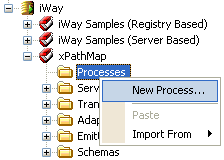
    The iWay Process Configuration dialog box opens.
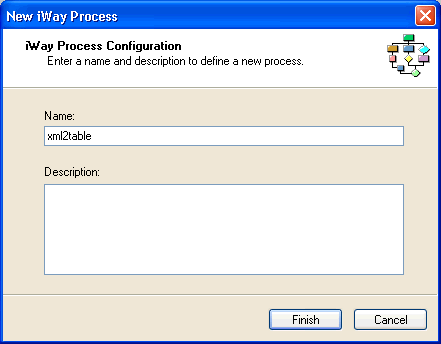
  10. In the Name field, type a name for the new process flow (for example, xml2table).

    In the Description field, type a brief description (optional) for the new process flow.

  11. Click Finish.

    The new process flow node appears under the Processes folder, and the workspace displays a Start object.
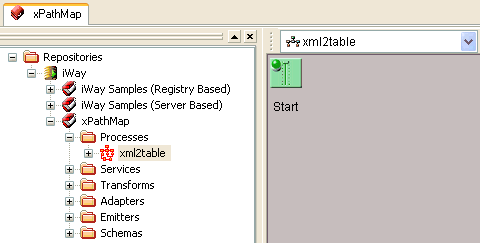
    You are ready to configure a process flow by configuring objects and specifying their relationships.
Top of page

x
Procedure: How to Configure a Process Flow

To configure a process flow:

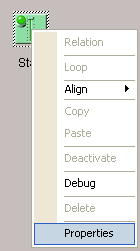
  1. Right-click the Start object and select Properties from the context menu.

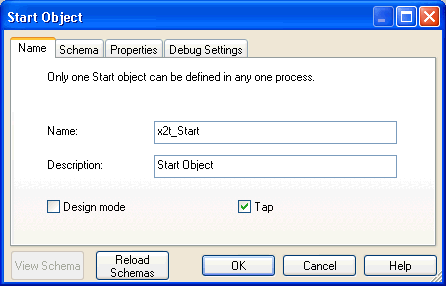
    The Start Object dialog box opens.

  2. Rename the object as x2t_Start and click OK.
  3. Drag and drop the SQL object from the toolbar to the workspace.

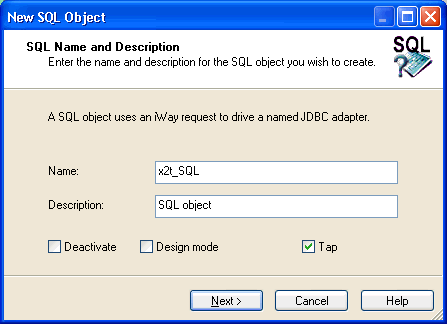
    The New SQL Object dialog box opens.

  4. In the Name field, type a name for the SQL object (for example, x2t_SQL).

    In the Description field, type a brief description (optional) for the SQL object.

  5. Click Next.

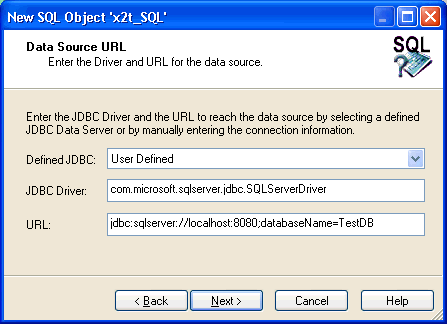
    The Data Source URL pane of the SQL Object dialog box opens.

  6. Enter a valid JDBC Driver class name and URL in the corresponding fields.
  7. Click Next.

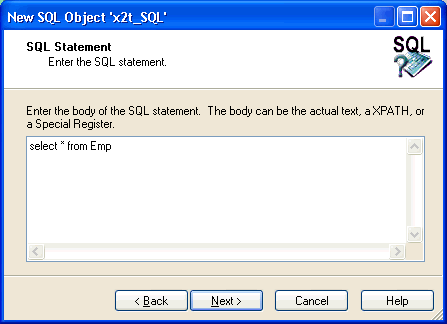
    The SQL Statement pane of the SQL Object dialog box opens.

  8. Enter a valid SQL statement. For example:
    select * from Emp

    Note: This sample SQL statement is only a placeholder for demonstration purposes and must be replaced with an actual SQL Insert statement that you prepared and tested.

  9. Click Next.

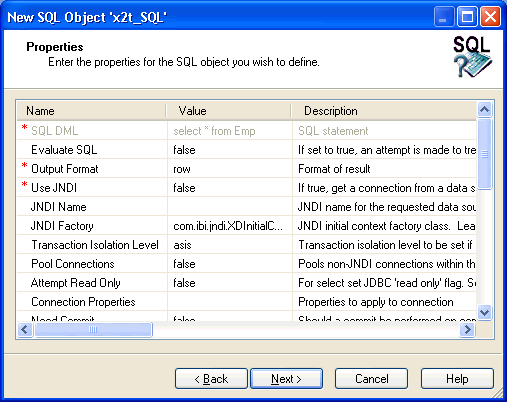
    The Properties pane of the SQL Object dialog box opens.

  10. Configure the properties for the SQL object according to your requirements and click Next.

  11. Click Finish.

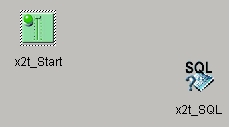
    The new SQL object (x2t_SQL) is added to the workspace, as shown in the following image.

  12. Drag and drop the End object from the toolbar to the workspace.

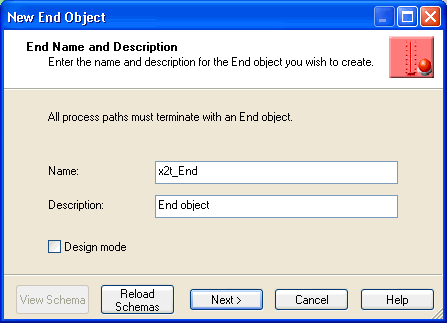
    The New End Object dialog box opens.

  13. In the Name field, type a name for the End object (for example, x2t_End).

    In the Description field, type a brief description (optional) for the End object.

  14. Click Next.

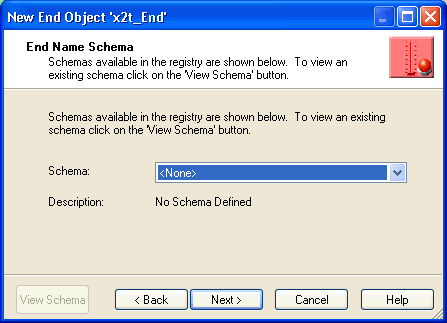
    The End Name Schema pane of the End Object dialog box opens.

  15. Click Next.

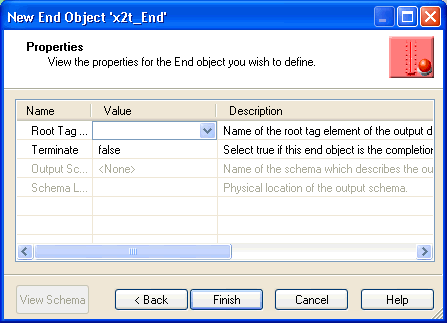
    The Properties pane of the End Object dialog box opens.

  16. Click Finish.

    The new End object (x2t_End) is added to the workspace, as shown in the following image.

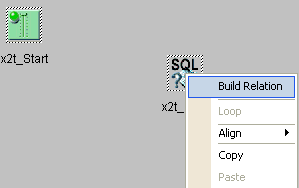
  17. Select the x2t_Start object, right-click the x2t_SQL object, and select Build Relation from the context menu.

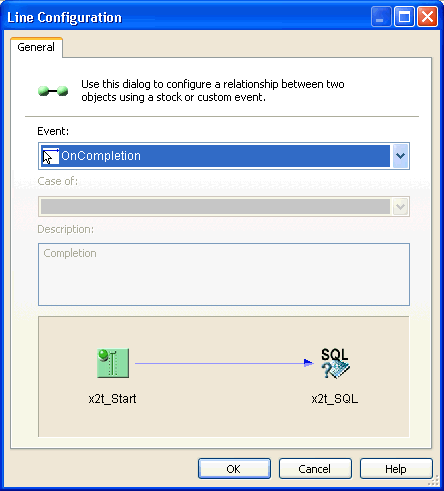
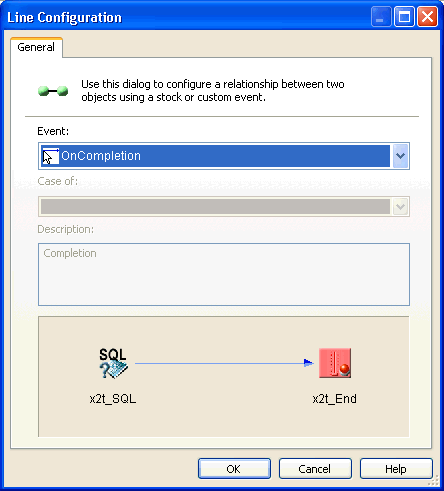
    The Line Configuration dialog box opens.

  18. From the Event drop-down list, select OnCompletion and click OK.

    This option indicates that there are no conditions that affect the path, and that the path between the two objects will always be followed.

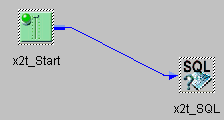
    A line appears between the x2t_Start and x2t_SQL objects to indicate that a relationship has been established.

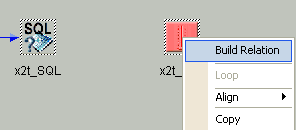
  19. Select the x2t_SQL object, right-click the x2t_End object, and select Build Relation from the context menu.

    The Line Configuration dialog box opens.

  20. From the Event drop-down list, select OnCompletion and click OK.

    This option indicates that there are no conditions that affect the path, and that the path between the two objects will always be followed.

    A line appears between the x2t_SQL and x2t_End objects to indicate that a relationship has been established.

  21. Click Save to save your process flow configuration.

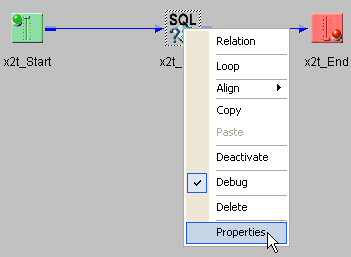
  22. Right-click the x2t_SQL object and select Properties from the context menu.

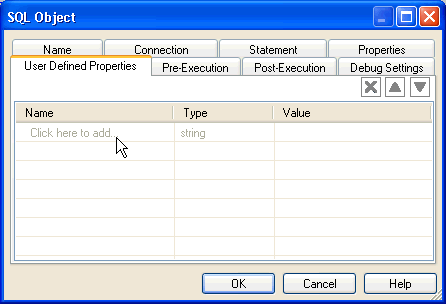
    The SQL Object dialog box opens.

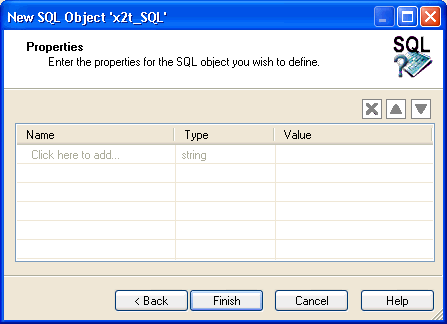
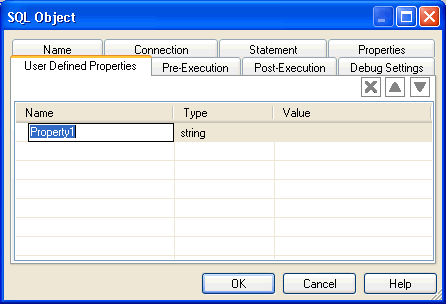
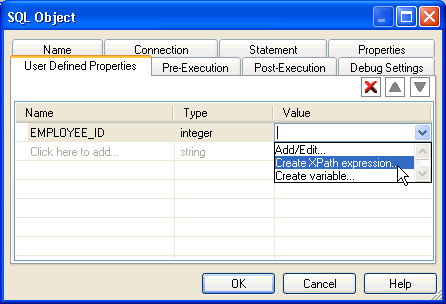
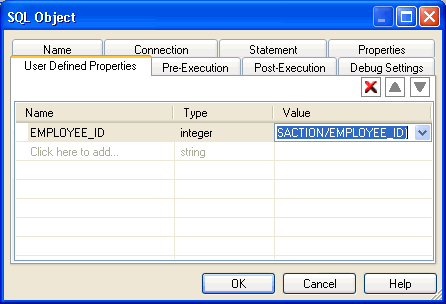
  23. Click the User Defined Properties tab, and then click the first cell in the table where “Click here to add...” is specified.

  24. Specify the property name defined in the EmpMetadata.txt file and then select one of the following data types from the Type column:
    • boolean
    • duration
    • decimal
    • integer
    • password
    • string (default)
  25. Click the cell in the Value column and select Create XPath expression from the drop-down list.

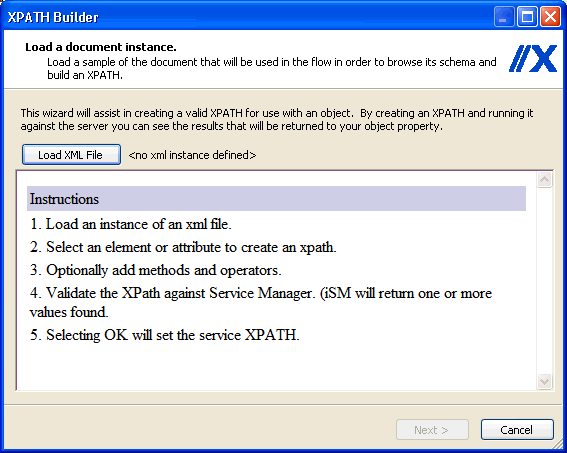
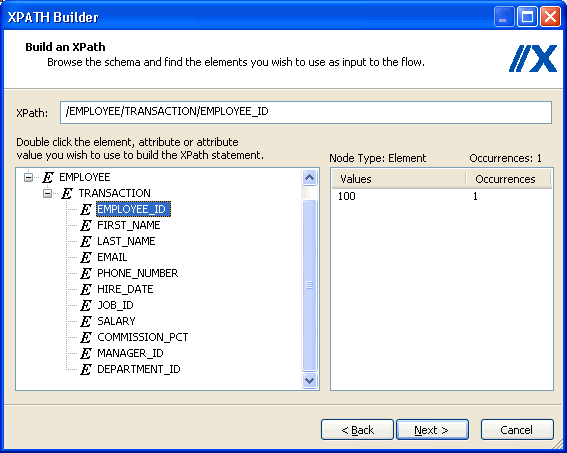
    The XPATH Builder opens, as shown in the following image.

    Note: When the XPATH Builder is opened for the first time, you are prompted to load an XML file. Once specified, this XML file will persist when the XPATH Builder is opened in subsequent instances.

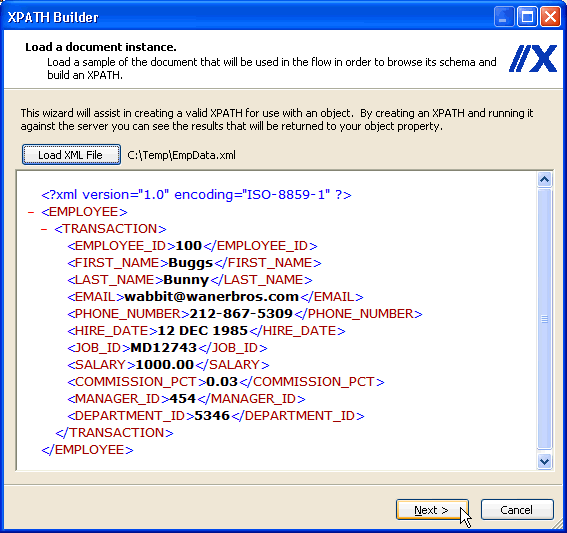
  26. Click Load XML File and browse to the location where the EmpData.xml file is located on your file system.

    To view a copy of the EmpData.xml sample XML document, see Employee XML Document (EmpData.xml).

  27. Click Next.

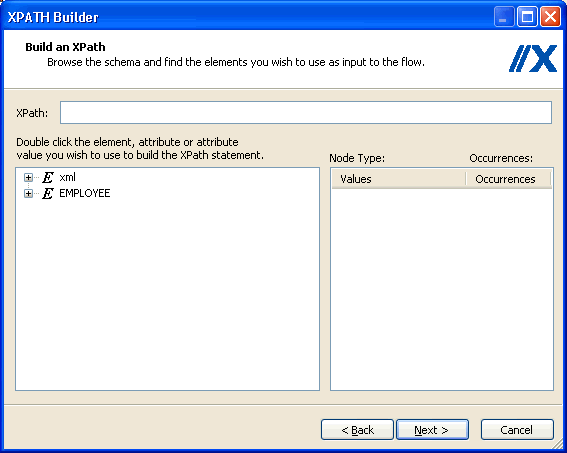
    The Build an XPath pane of the XPATH Builder opens.

  28. Follow the instructions that are provided to select an element.

    Note: Before you click Next, ensure that the XPath field has a path value. XPATH Builder can traverse the document and display information. Select the node that is associated with the property that you want to define.

    For example:

  29. Click Next.

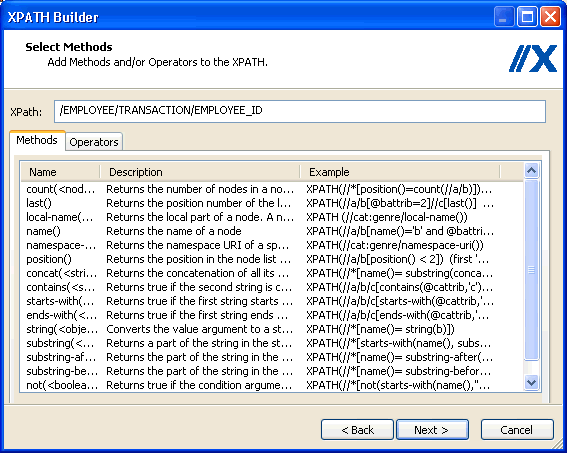
    The Select Methods pane of the XPATH Builder opens.

  30. Click Next.

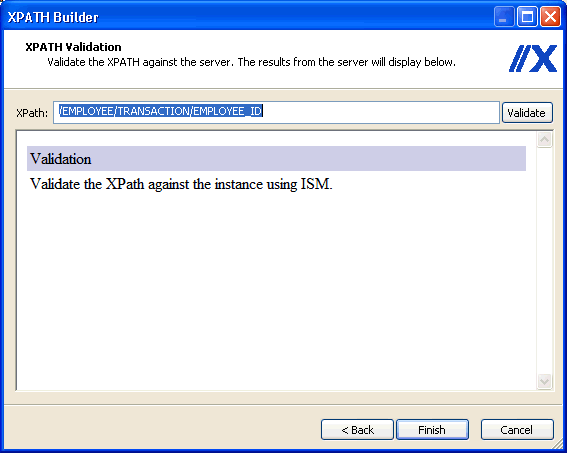
    The XPATH Validation pane of the XPATH Builder opens.

  31. Click Validate to validate the XPATH against the server.
  32. Click Finish.

    You are returned to the SQL Object dialog box.

  33. Repeat steps 23 to 33 for each property that is defined in the EmpMetadata.txt file.

    Note:

    • After you define each property in the SQL object, ensure that any sample SQL statement that is used as a placeholder in step 8 is replaced with an actual SQL Insert statement that you prepared and tested.
    • Replace any hard-coded parameter values with property names prefixed with a question mark character '?'. The question mark property field must follow the same parameter insert syntax as the hard-coded values that are being replaced.
    • If any hard-coded parameters were enclosed in quotes, then place the question mark property field in quotes. For example, if the parameterized hard-coded value for FIRST_NAME is 'Buggs' then the parameter substitution must be '?xFirstName'.
  34. Unit test xml2table by pasting contents of the EmpData.xml file in the input document dialogue of the testing process.
  35. Save the process flow that you have configured.

Top of page

x
Procedure: How to Publish a Process Flow

Once you have added and configured all of the required process flow components, you are ready to publish your process flow to the iWay Registry. To publish a process flow:

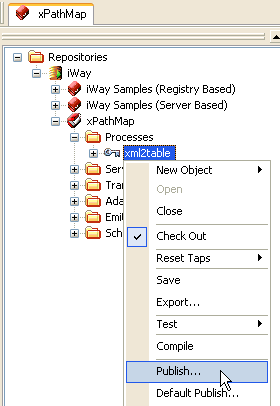
  1. Right-click the process flow xml2table in the left pane and select Publish from the context menu.

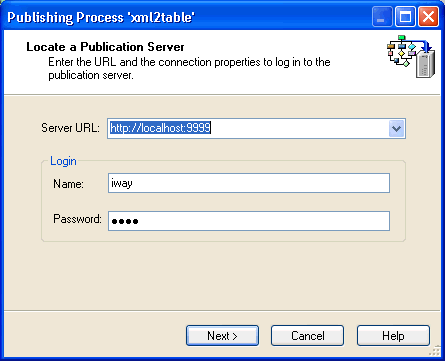
    The Publishing Process dialog box opens and you can select the server on which, you will be publishing your process flow.

  2. Enter the URL where your iWay Service Manager instance is deployed or accept the default selection (localhost).
  3. Click Next.

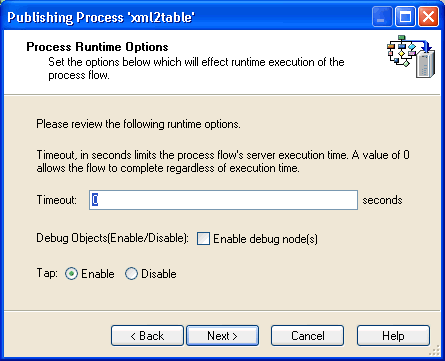
    The Process Runtime Options pane of the Publishing Process dialog box opens.

  4. Click Next.

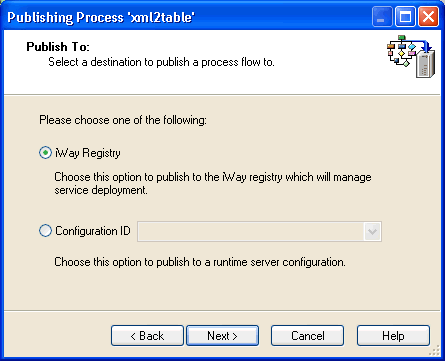
    The Publish To pane of the Publishing Process dialog box opens.

  5. Ensure that the iWay Registry option is selected and click Next.

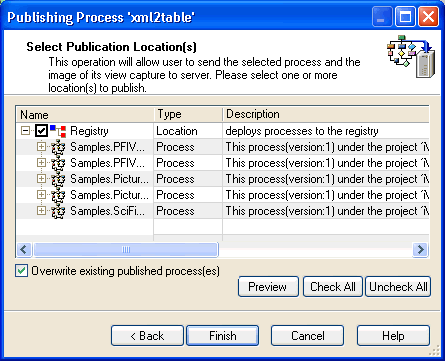
    The Select Publication Location(s) pane of the Publishing Process dialog box opens.

  6. Click Check All and then click Finish.

    Ensure that the following message is displayed in the Results tab of iWay Designer, which indicates that your process flow has been successfully published to the iWay Registry.


iWay Software