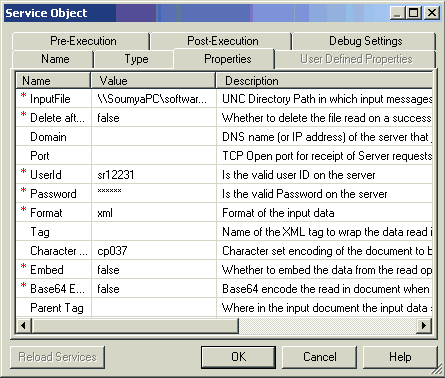
The following section describes how to configure the Samba listener.
To add a Samba listener:
-
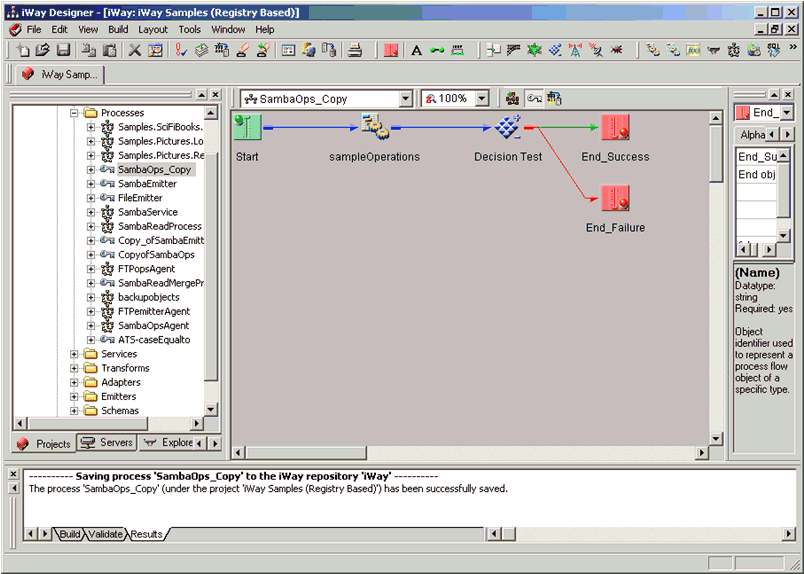
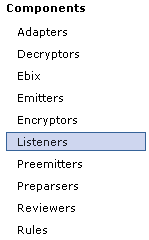
In the left console pane of the registry menu, select Listeners,
as shown in the following image.
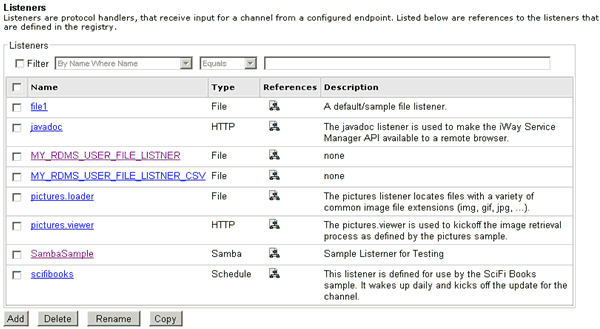
The listener pane opens, as shown in the following image.
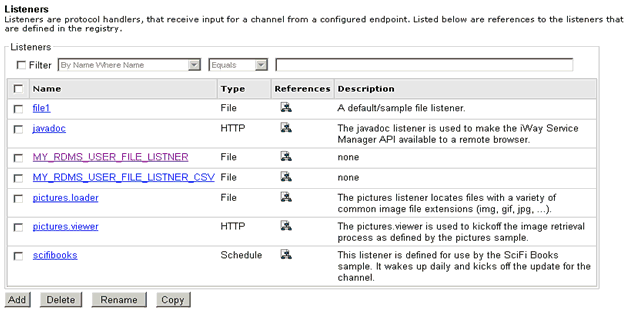
The table provided lists any existing listeners and short descriptions of each.
- Click Add.
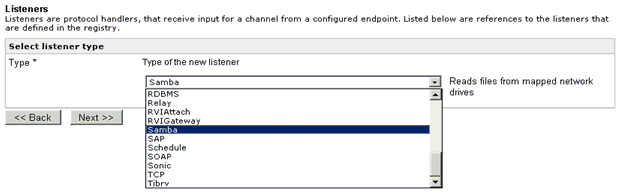
-
Select Samba from the list, and then
click Next.
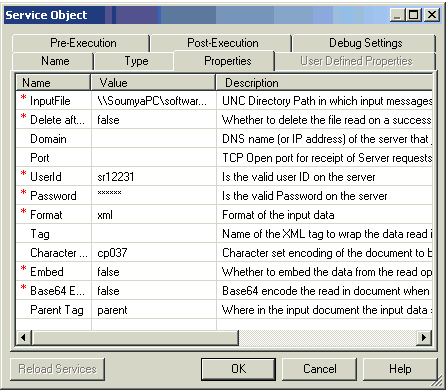
-
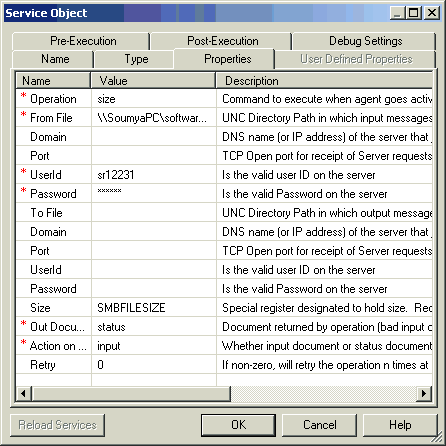
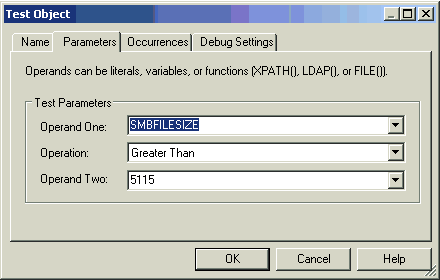
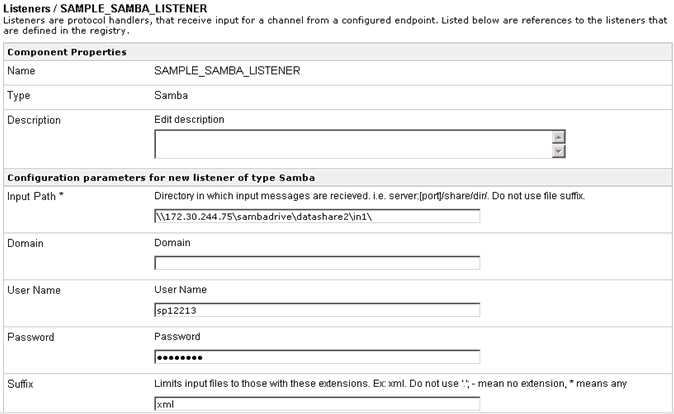
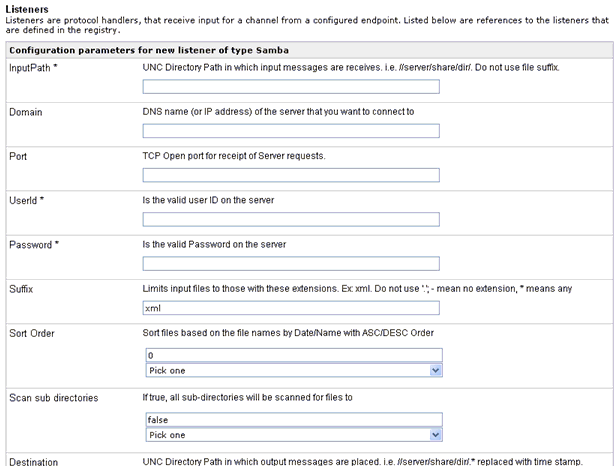
Provide the required configuration parameters for the new listener, which
are described in Samba Listener Configuration Parameters.
-
Click Next.
The Name and Description pane opens.
-
Enter a name and an optional description for the listener and
click Finish.
The listener is added to the list in the listeners pane, as shown in the following image.
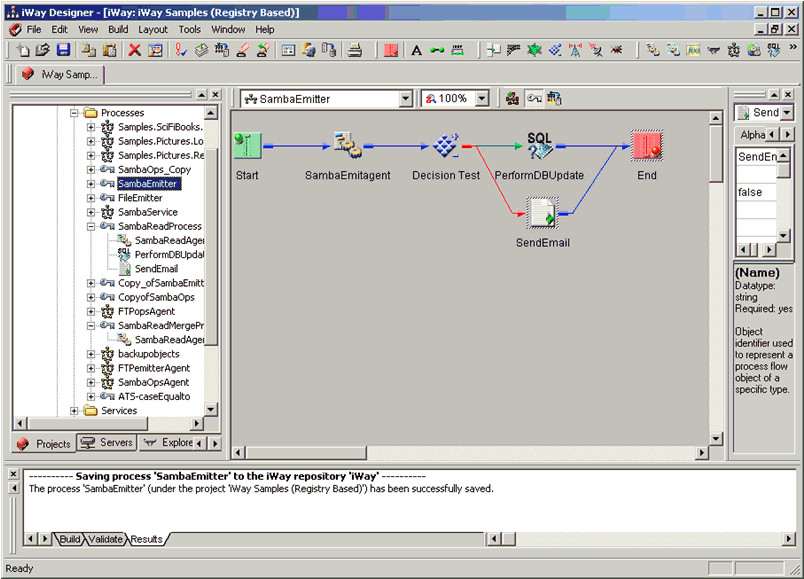
After a listener is added to iWay Service Manger, you can assign a listener to an inlet that is used to construct a channel.
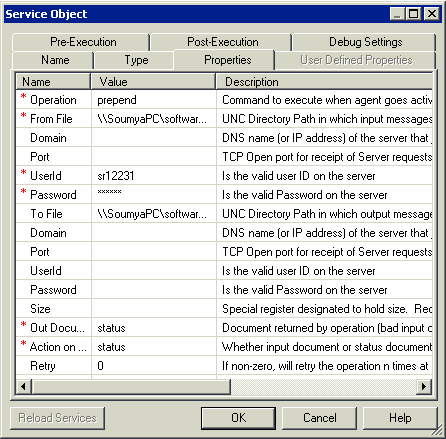
|
Parameter |
Description |
|---|---|
|
InputPath |
The UNC directory path where input messages are received. For example: //server/share/dir/ Note: Do not use a file suffix. |
|
Input Domain |
A DNS name (or IP address) of the server that you want to connect to. |
|
Port |
The TCP open port for receipt of server requests. |
|
UserId |
A valid user ID on the server. |
|
Password |
A valid password on the server. |
|
Suffix |
Limits the input files to those with these extensions. For example, xml. |
|
Sort Order |
The sort files based on the file names by date/name with ascending/descending order. |
|
Scan sub directories |
If set to true, all subdirectories will be scanned for files. |
|
Destination |
The UNC directory path where output messages are placed. For example: //server/share/dir/.* Note: The asterisk character (*) is replaced with a time stamp. |
|
Output Domain |
The DNS name (or IP address) of the server to which you want to connect. |
|
Port |
The TCP open port for receipt of server requests. |
|
UserId |
A valid user ID on the server. |
|
Password |
A valid password on the server. |
|
Accepts non-XML (flat) only |
If set to true, the listener expects flat (non-XML). Preparsers do not run. |
|
Optimize Favoring |
Select one of the following options:
Note: Selecting memory is useful if you are using large input documents. |
|
Multithreading |
The number of documents that can be processed in parallel. The default value is 1. |
|
Maximum threads |
Parallel threads can grow to this count automatically on demand. The default value is 1. |
|
Execution Time Limit |
The time limit for document execution (in seconds) before it is terminated. |
|
Polling Interval |
The interval at which to check for new input. The default value is 2.0. |
|
Default Java File Encoding |
The default encoding if an incoming message is not self-declaring, for example XML. The default value is Cp1252. |
|
Agent Precedence |
The changes the order by which the engine selects agents. This is used to manage iWay documents. The default value is 1 - <document> overrides <listener>. |
|
Always reply to listener default |
If set to true, the default reply definition is used in addition to the defined replies. |
|
Error Documents treated normally |
If set to true, error documents are processed by any configured preemitters. |
|
Listener is Transaction Manager |
If set to true, agents run within a local transaction managed by the listener. |
|
Initialization Agent |
The name (parms) of the processing module called at listener startup. |
|
Record in Activity Log(s) |
If set to true, activity on this channel is recorded in the activity logs. If set to false, the activity is not recorded. |
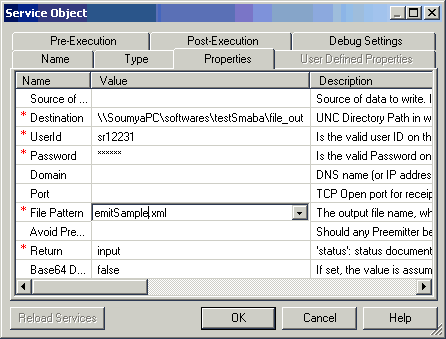
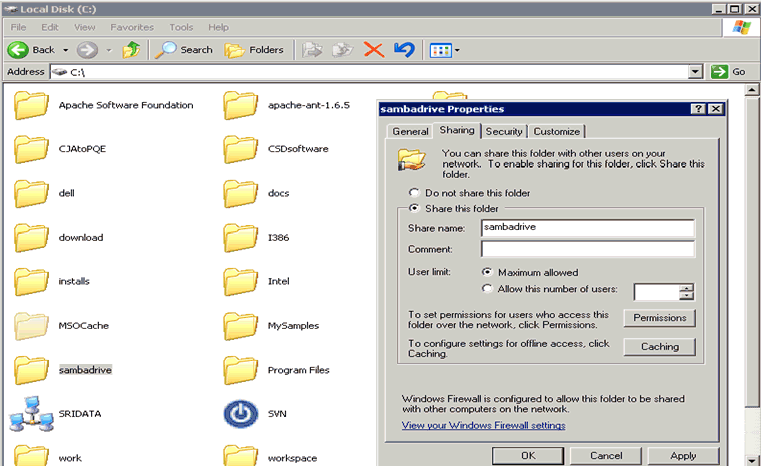
To add a Samba emitter:
-
In the left console pane of the Registry menu, select Emitters,
as shown in the following image.
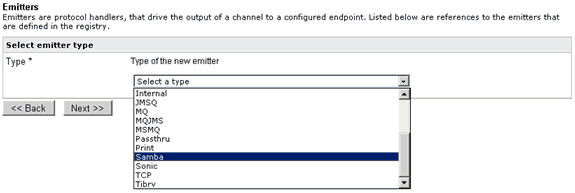
-
Click Add.
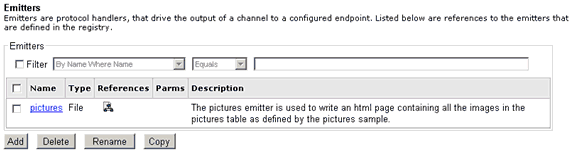
The Emitters type pane opens, as shown in the following image.
-
Select Samba from the list of protocols
and click Next.
The configuration parameters pane for the Samba emitter opens.
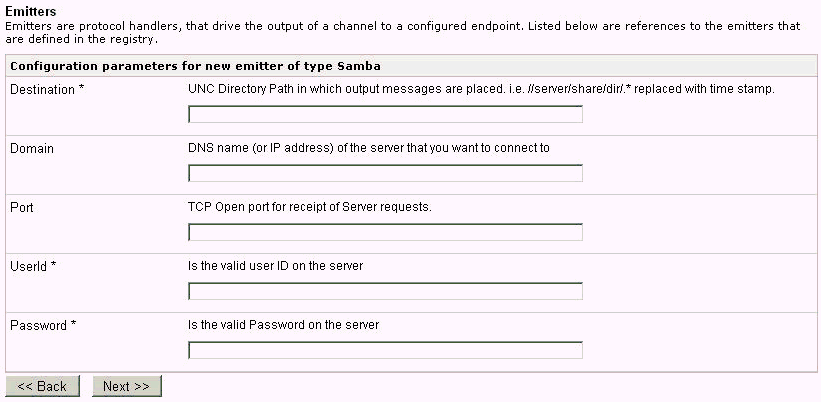
- Provide the required parameters for the Samba emitter, which are described in Samba Emitter Configuration Parameters.
-
Click Next.
The Name and Description pane opens.
-
Provide a name and an optional description for the Samba emitter
and click Finish.
The Samba emitter is added to the list in the emitter pane, as shown in the following image.
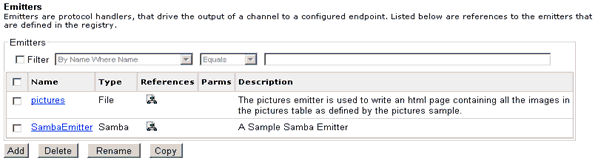
After an emitter is added to iWay Service Manger, you can assign an emitter to an outlet that is used to construct a channel.
|
Parameter |
Description |
|---|---|
|
Destination |
The UNC directory path where output messages are placed. For example: //server/share/dir/.* Note: The asterisk character (*) is replaced with a time stamp. |
|
Domain |
The DNS name (or IP address) of the server to which you want to connect. |
|
Port |
The TCP open port for receipt of server requests. |
|
UserId |
A valid user ID on the server. |
|
Password |
A valid password on the server. |