This section provides a basic tutorial for iWay Integration
Application (iIA).
x
Preparing Your Environment
Before starting this tutorial, you must prepare your
environment by performing the following steps:
- Ensure that iWay
Integration Tools (iIT) is started and that a workspace location
is set.
- Create a new Integration
Project called iIALab1.
- Create a process
flow called Channel1_Flow.
- Add a Service object
of type Move and an End object.
- Connect the objects
using the default connection type and publish the process flow.
- Go to the iSM Administration
Console and create a new channel in the registry called Channel1.
- Create a new Inlet
called Channel1_Inlet and create a File listener called Channel1_Listener.
Set
the input to _sreg(input) and destination to a _sreg(destination).
Add the listener to the inlet. Add the default outlet to the channel.
- Create a new route
called Channel1_Route and add the Channel1_Flow process flow to
the route.
- Build the channel
to verify validity.
- Export the channel
to your iIALab1 Integration Project using iWay Explorer.
x
Creating an iWay Integration Application
This section describes how to create an iWay Integration
Application (iIA).
x
Procedure: How to Create an iWay Integration Application
-
Right-click
the Applications folder in your Integration
Project, select New and then Application from
the context menu.
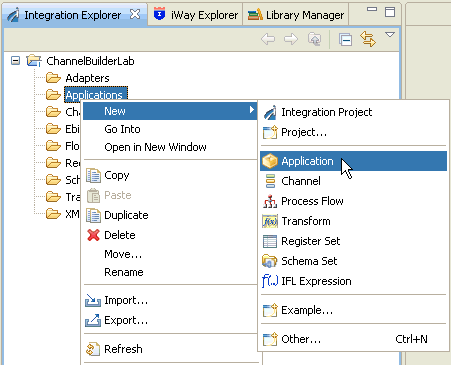
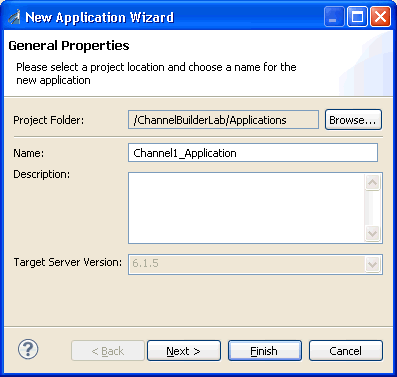
The New Application
Wizard opens, as shown in the following image.
-
In the Name
field, enter Channel1_Application and click Next.
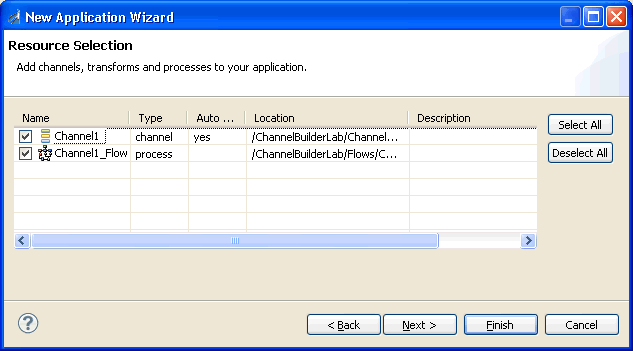
The Resource Selection pane opens, as shown in the following
image.
-
Click Select
All and then click Next.
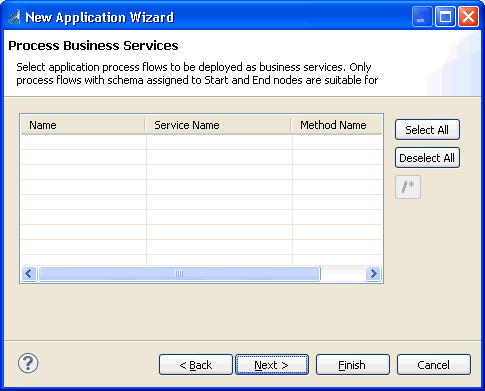
The Process Business Services pane opens, as shown in the
following image.
-
Since there are currently no application process flows
available for selection, click Next.
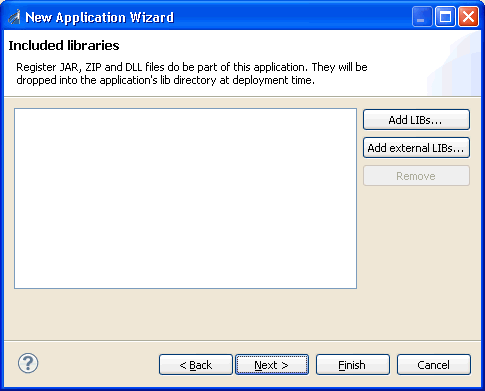
The Included libraries pane opens, as shown in the following
image.
-
Since there are currently no library files available
for selection, click Next.
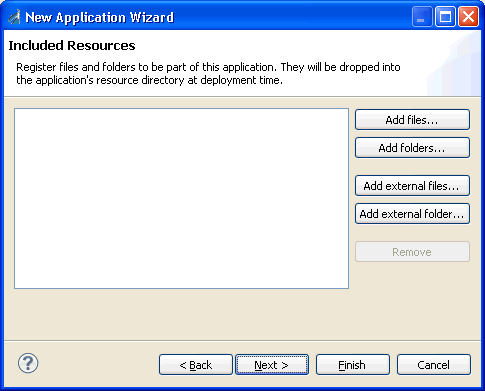
The Included Resources pane opens, as shown in the following
image.
-
Since there are currently no resources available for
selection, click Next.
The Bindings pane opens, as shown in the following image.
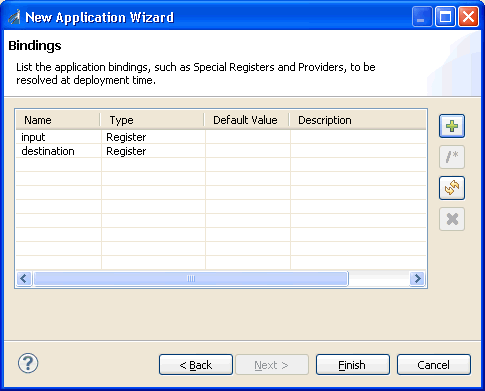
-
Click Finish.
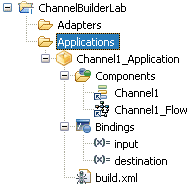
The new application (Channel1_Application) is included
in your Integration Project under the Applications folder, as shown
in the following image.
x
Building and Publishing the iWay Integration Application
This section describes how to build and publish the
iWay Integration Application.
x
Procedure: How to Build and Publish an iWay Integration Application
-
Right-click
the new application (Channel1_Application), select Integration
Tools, and then Build from the
context menu.

The status of the
build process is provided in the INFO mode of the iIT Message Console,
as shown in the following image.

-
To publish the application, right-click the new application (Channel1_Application),
select Integration Tools, and then Publish from
the context menu.
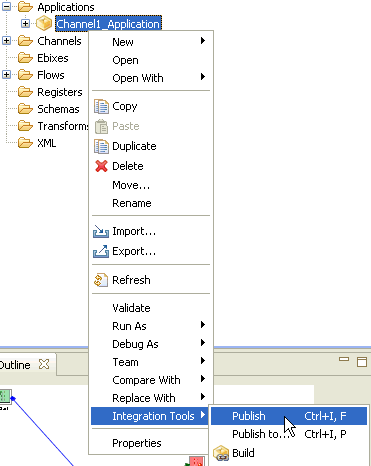
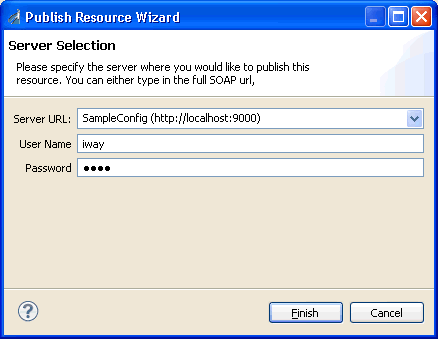
The Publish Resource
Wizard opens, as shown in the following image.
-
Enter the
SOAP URL for the iSM instance you want to publish to, or select
it from the drop-down list if you have added it to iWay Explorer.
-
Click Finish.
-
To verify
that the publish operation is successful, go to the iSM Administration
Console and click the Management link.

-
Click Applications in
the left pane.
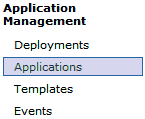
The new application
(Channel1_Application) is listed in the Applications pane, as shown
in the following image.

x
This section describes how to create a template.
x
Procedure: How to Create a Template
-
Open the
iSM Administration Console and click the Management link.

-
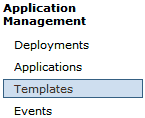
On the left,
click Templates.
-
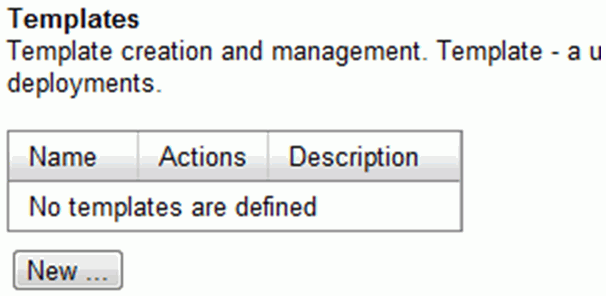
Click the New button
under the Templates heading.
-
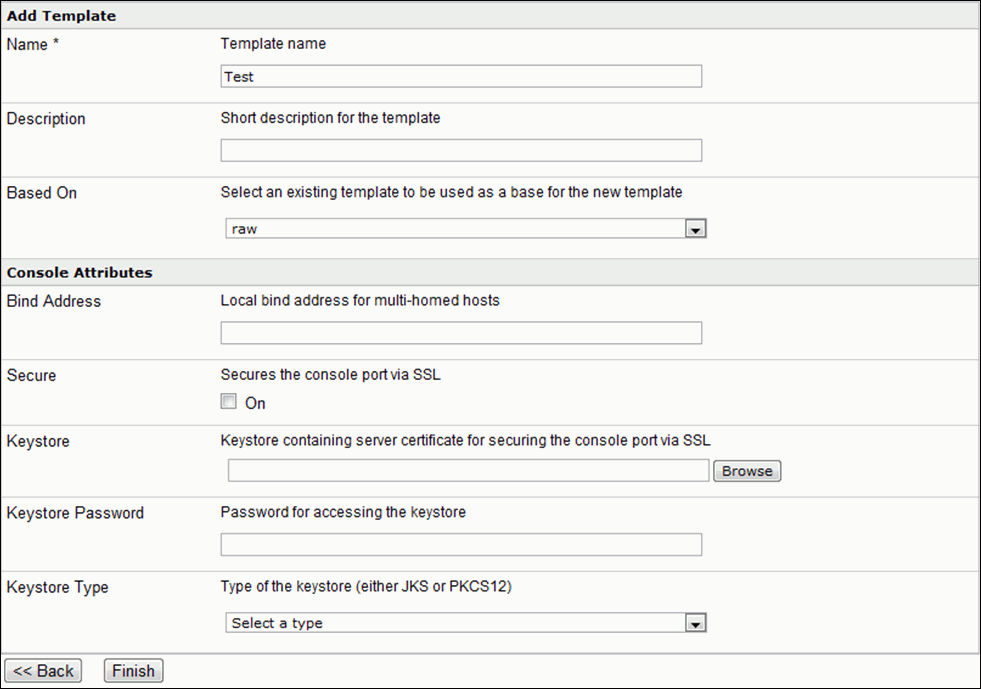
Enter Test in the Name field and
click Finish.
x
This section describes how to configure a template.
x
Procedure: How to Configure a Template
-
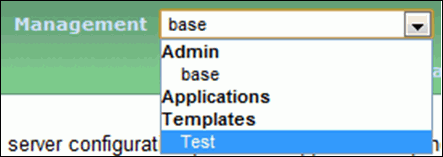
Open the
template by selecting it from the drop-down list next to the Management
link.
-
Click Server on
the upper-left of the console.

-
In the left pane, click Template Bindings from the
Template category.

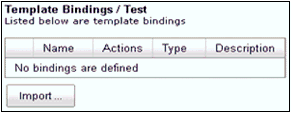
The Template Bindings
pane opens, as shown in the following image.
-
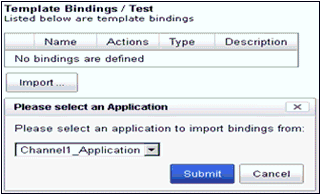
Click Import.
The Please select an Application menu is displayed, as
shown in the following image.
-
Select the new application you created (Channel1_Application)
from the drop-down list and click Submit.
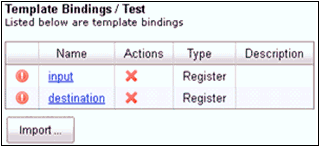
The Template Bindings pane indicates that there are two
unresolved bindings (exclamation marks in the first column), as
shown in the following image.
-
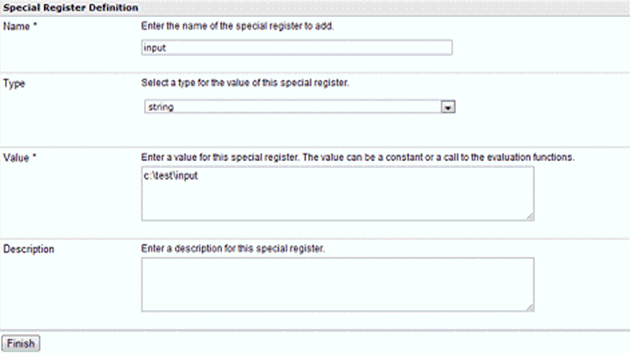
Click the input link in the Name column.
The Special Register Definition pane opens, which allows
you to define the selected binding (for example, input), as shown
in the following image.
-
Specify an input path for the Value parameter (for example, c:\test\input)
and click Finish.
-
Repeat steps 6 and 7 for the destination binding and
specify a destination path for the Value parameter (for example,
c:\test\destination).
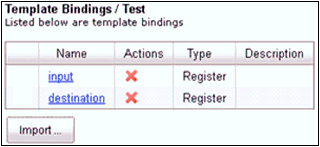
The exclamation marks are removed from the first column
in the Template Bindings pane, which indicates that both bindings
are now resolved, as shown in the following image.
x
Deploying the iWay Integration Application With the Test Template
This section describes how to deploy the iWay Integration
Application with the test template.
x
Procedure: How to Deploy the iWay Integration Application With a Test Template
-
Open the iSM Administration Console and click the Management link.

-
Click Applications in
the left pane.

-
Click the Deploy button
for the Channel1_Application.

-
Select the
Test template and click Deploy.
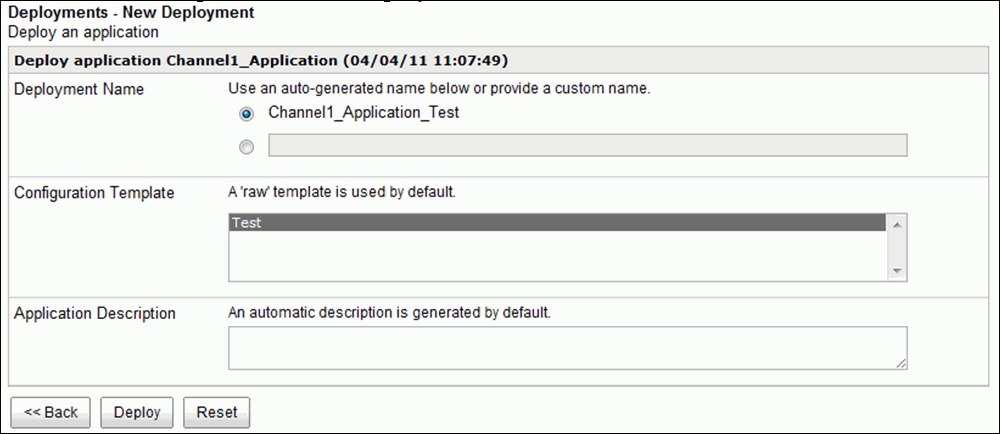
The
deployed application is added to the Deployments section.

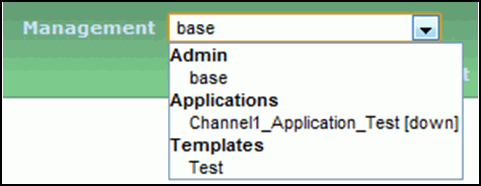
A
new configuration called Channel1_Application_Test is listed under
Applications in the Management drop-down list.
x
This section describes how to start the application.
x
Procedure: How to Start the Application
-
Open the
console window and navigate to the iSM Home directory.
-
Enter the
following command:
> iway61.cmd Channel1_Application_Test -c
-
You should
see a listener started for the location set for the Special Register
in the Test template. For example, INFO (Channel1) File listener
started for directory 'c:\test\input'.
-
You can
now test the channel by copying an XML file into the input directory
and verify that it is moved to the destination directory.


