Quick Start to EDI X12 Outbound Processing
The channel described in this section transforms XML
outbound messages. The channel produces an EDI X12 outbound transaction
and an XML validation report. EDI X12 outbound data is written to
a directory designated for valid output if X12 validation is passed.
An EDI X12 validation failure produces an XML validation report
and is routed to the rpt subdirectory. EDI X12 outbound data
will not be generated if X12 validation fails.
x
The following are required in order to create the X12
outbound processing channel:
-
A working knowledge
of the iWay Service Manager.
-
The archived channel
zip file: XMLtoX12_OB_QS_Pflow_Channel.zip.
Note: For
your convenience, the XMLtoX12_OB_QS_Pflow_Channel.zip file is attached
to this PDF.
For PDF-compatibility purposes, the file extension
of the XMLtoX12_OB_QS_Pflow_Channel.zip file is temporarily renamed
to .zap. After saving this file to your system, you must
rename this extension back to .zip before it can be imported
to iWay Service Manager.
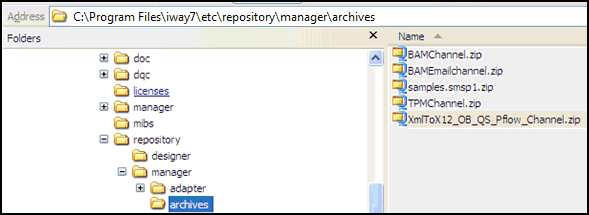
Save the XMLtoX12_OB_QS_Pflow_Channel.zip
file to the following location:
<iWaySMHome>\etc\repository\manager\archives
where:
- <iWaySMHome>
Is the directory where iWay Service Manager is installed
(for example, C:\Program Files\iWay61).
-
The input data
files representing valid and invalid data (X12_4010_311_good_sample.xml
and X12_4010_810_bad_sample.xml).
Note: For your convenience,
the input data files are also attached to this PDF.
-
X12 Ebix (e-Business Information Exchange)
from http://techsupport.informationbuilders.com.
Outbound X12 Directory Structure
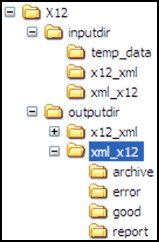
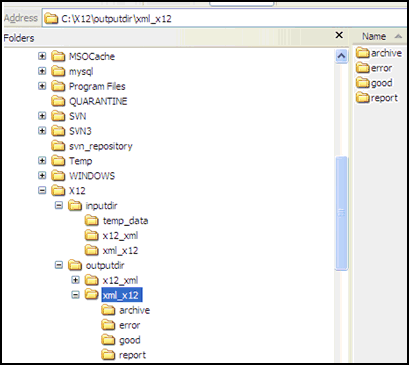
Create an outbound X12 directory structure on your local drive
(C or D) for all your files, as shown in the following image.
x
Procedure: How to Download and Save the X12 Ebix
In
order to download and save the X12 Ebix:
-
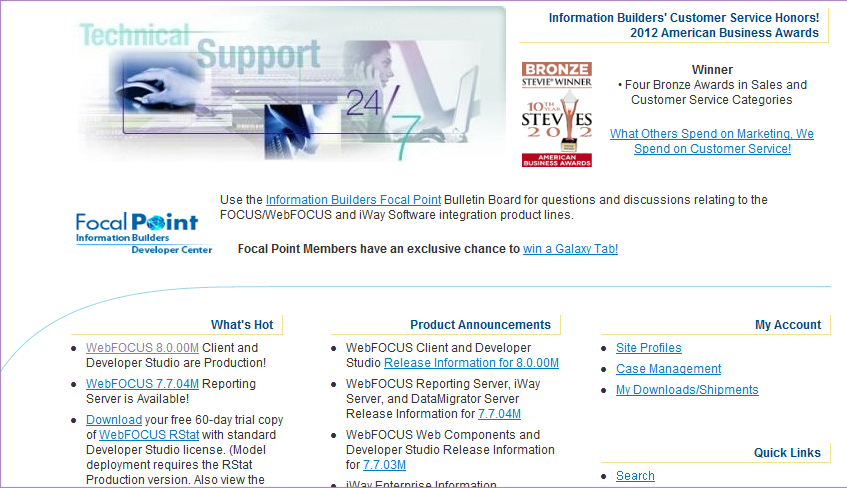
Enter the following URL in a web browser:
http://techsupport.informationbuilders.com
-
On the right-hand
side of the webpage, click My Downloads/Shipment.
A logon window is displayed.
-
Login using
your Global ID and password.
Note: If you do not have a Global ID and password,
you must contact iWay Technical support.
-
Download
the X12_4010_pipeline.ebx file.
-
Save the
downloaded X12 Ebix file to the following directory
<iWaySMHOME>\etc\manager\packages
where:
- <iWaySMHOME>
Is the directory where iWay Service Manager is installed
(for example, C:\Program Files\iWay61).
x
Procedure: How to Import Components from a Repository Archive
To
import components from a repository archive:
-
Open the
iWay Service Manager Administration Console, click Tools in
the top pane, and then Archive Manager in
the left pane.
-
Select Import
components from a repository archive and click Next.

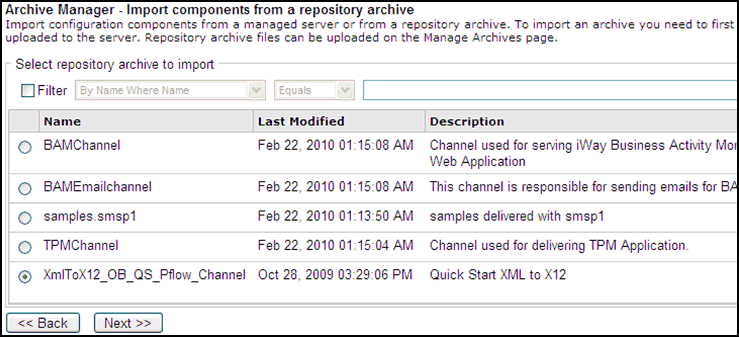
A
list of available repository archives is displayed.
-
Select XMLtoX12_OB_QS_Pflow_Channel and click Next.
Note: You must ensure that the XMLtoX12_OB_QS_Pflow_Channel.zip
file has been copied to the <iWaySMHome>\etc\repository\manager\archives
directory to see the repository archive listed as shown in the above
image.
A confirmation pane that informs you whether the import
was successful is displayed.
-
Click Next,
and then click Finish.
x
Procedure: How to Update Outbound Registers
If
your outbound X12 directory structure was created on a local drive
other than C, you must update the outbound registers. To update
the outbound registers:
-
In the iWay
Service Manager Administration Console, click Registry in
the top pane, and then Registers in the left
pane.
-
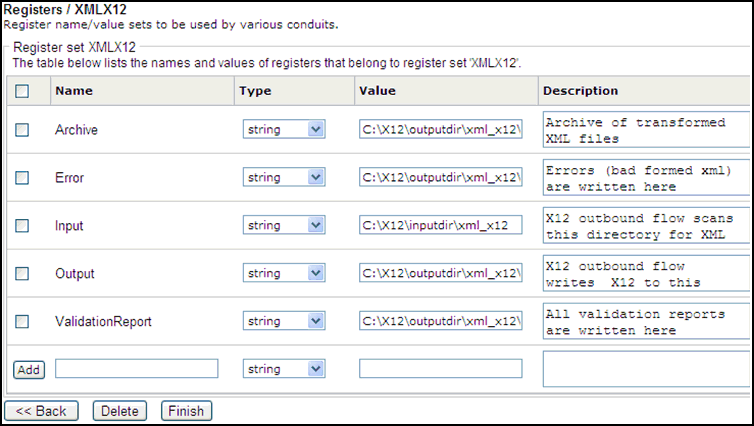
Select XMLX12 in the Name column.

The
Registers / XMLX12 pane is displayed.
-
In the Value
column, update the drive letters accordingly for the outbound X12
directory structure.
-
Once all
the drive letters are updated, click Finish.
x
Procedure: How to Upload the X12 Ebix to iWay Service Manager
Note: This
section can be skipped if the X12 Ebix was downloaded and saved
during the inbound quick start configuration, as described in Quick Start to EDI X12 Inbound Processing.
To upload the
X12 Ebix to iWay Service Manager:
-
In the iWay
Service Manager Administration Console, click Registry in
the top pane, and then Ebix in the left pane.
-
Click the Add button.
-
Click Browse and
navigate to the directory where the downloaded Ebix was saved (<iWaySMHome>\etc\manager\packages).

-
Select the X12_4010_pipeline.ebx file.

-
Click Next.
-
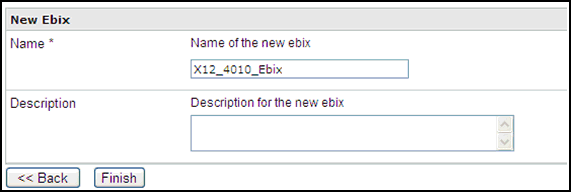
Enter a
unique name to identify the X12 Ebix and an optional description.
-
Click Finish.
x
Procedure: How to Add X12 Ebix Components to a Channel
To
add the X12 Ebix components to a channel:
-
In the iWay Service Manager Administration Console, click Registry in
the top pane, and then Channels in the left
pane.
-
Click the
number (0) in the Ebix column for XMLtoX12_OB_QS_Pflow_Channel.

-
Click the Add button.
-
Select the
added X12 Ebix component (X12_4010_Ebix).

-
Click Finish.
x
Procedure: How to Build, Deploy, and Test Your Channel
To
build, deploy, and test your channel:
-
In the iWay
Service Manager Administration Console, click Registry in
the top pane, and then Channels in the left
pane.
-
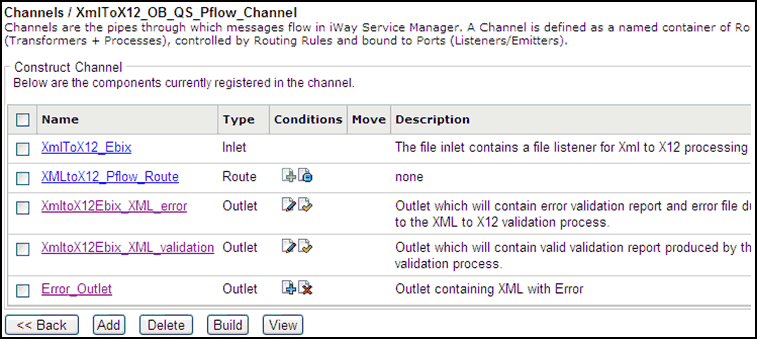
Select the
imported outbound X12 channel (XMLtoX12_OB_QS_Pflow_Channel).
The following pane is displayed.
-
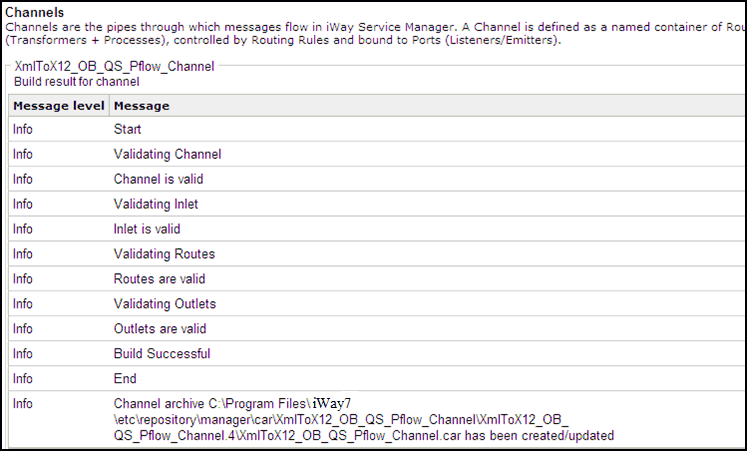
Click Build.
The build results for the outbound channel (XMLtoX12_OB_QS_Pflow_Channel)
are displayed.
-
Click Deployments at
the top of the console.

The
Channels pane is displayed.

-
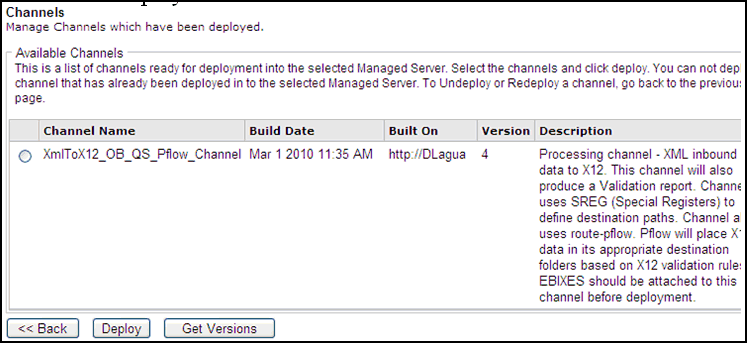
Click Deploy.
A list of available channels that are ready for deployment
is displayed.
-
Select XMLtoX12_OB_QS_Pflow_Channel and click Deploy.

-
Click the
red X in the Status column to start the channel.
A green check mark is now visible in the Status column.

The
channel (XMLtoX12_OB_QS_Pflow_Channel) is ready to accept inbound
XML data.
-
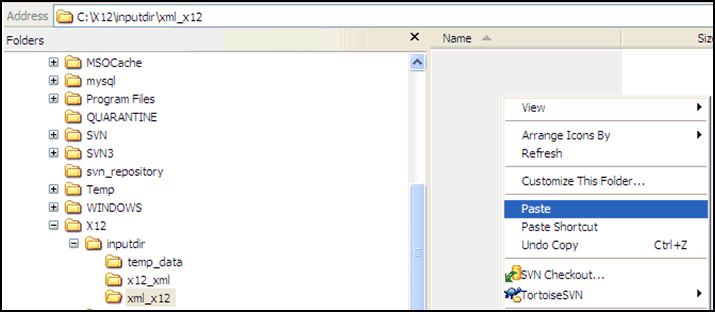
From Windows
Explorer, copy the provided test file, X12_410_311_good_sample.xml
(compliant EDI X12 file), as shown in the following image.

-
Paste the
test file into the following input directory:
C:\X12\inputdir\xml_x12
The
output is placed in the outputdir subdirectories, which have
been created in the outbound X12 directory structure.
