To create an HL7 adapter target:
-
Under the Explorer tab of the iWay Designer tool,
open the Repositories folder, expand iWay,
and then open the Services folder, as shown
in the following image.
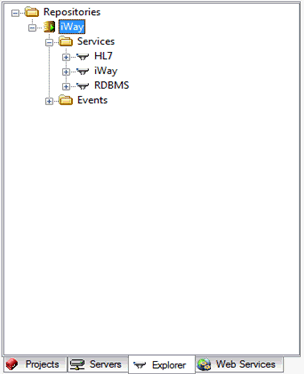
- Ensure that the HL7 node is listed as one of the adapters. If the HL7 node is not listed, proceed to step 3. If it is listed, skip to step 5.
- Open iWay Properties, click the Adapter Settings tab and select HL7 from the Available Adapters pane.
-
Click the greater than symbol (>) to move it to the
Selected Adapters pane, and click OK to save
and close, as shown in the following image.
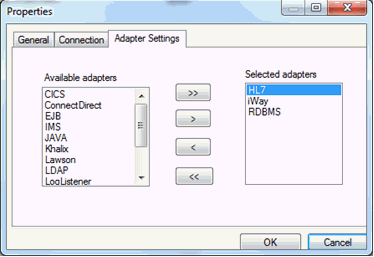
The HL7 adapter is now listed and appears in the Services folder under the iWay node.
-
Right-click the HL7 adapter node and select Create Target.
The following window opens, which allows you to specify a name, type, and description.
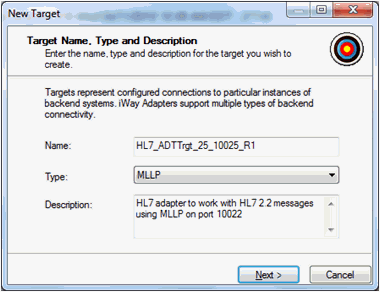
The following table describes the properties you can configure.
Property
Description
Name
Name to be used for this HL7 Adapter Target.
Type
Type of communication mechanism to be used for sending out HL7 messages.
The options are:
- File System Write
- HTTP
- IBM MQ Series
- TCP Session
- JMS
- MLLP
Description
Brief description to be made available to users of the new target.
-
Provide a name and description, and then select MLLP from
the Type drop-down list and click Next.
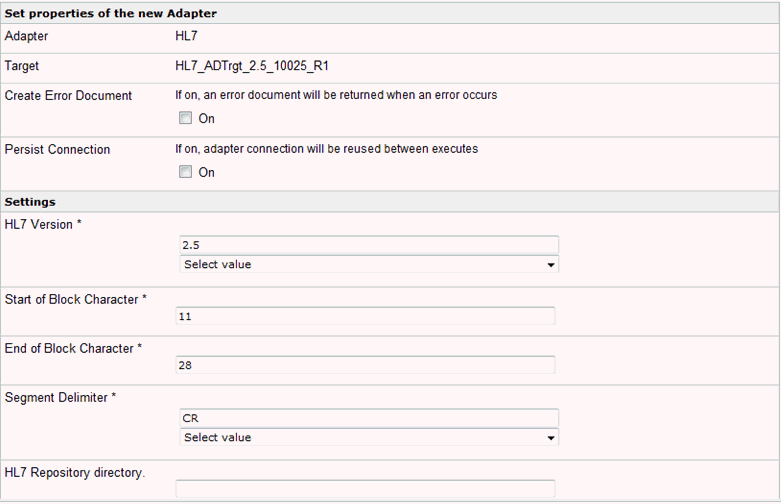
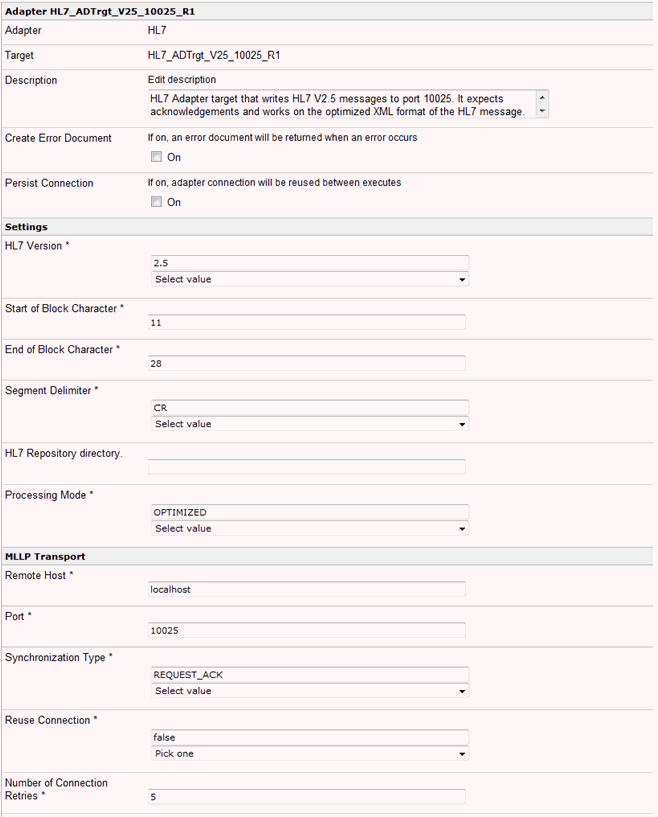
The Configuration pane appears, as shown in the following image.
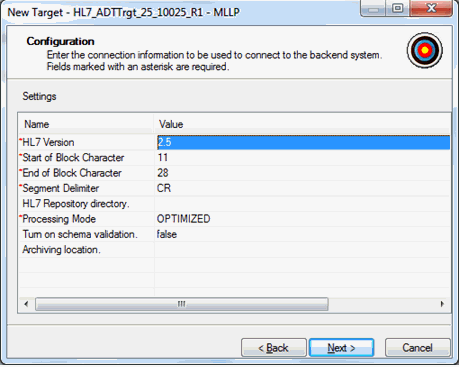
The following table lists and describes the configuration properties.
Parameter
Description
*HL7 Version
Select the HL7 version for this target. Messages will be created using specifications for the selected version.
The options are:
- 2.1
- 2.2
- 2.3
- 2.3.1
- 2.4
- 2.5
- 2.6
*Start of Block Character
Character that will mark the beginning of a Message block. The default is 0x11.
*End of Block Character
Character that will mark the end of a message block. The default is 0x28.
*Segment Delimiter
Character sequence to be used as segment delimiter when generating HL7 messages.
The options are CR, CRLF, LF.
HL7 Repository Directory
Specify the directory containing the message specifications to be used while generating HL7 messages. This is used when you are required to change the HL7 message specification using specific schema files (.xsd).
*Processing Mode
Indicates whether or not the XML representation of messages will have empty elements. Recommended mode is OPTIMIZED.
The options are OPTIMIZED, FULL, and FULL_MINIMIZED.
Turn on Schema Validation
Indicates whether the generated messages are to be validated against the message specification. False indicates validation is not required.
The options are true and false.
Archiving Location
Folder path where a copy of generated HL7 messages needs to be stored. Missing folder location implies no archiving required.
-
Provide the required parameters of the configuration,
or any parameter with an asterisk (*), and click Next.
The following window appears, which captures the transport specific configurations.
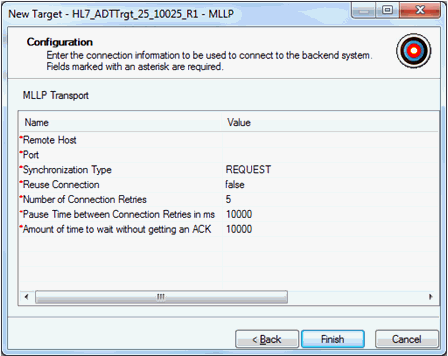
The following table describes the parameters and its values.
Parameter
Description
Remote Host
The host name or IP address of the receiving entity. Multiple Adapter targets need to be created if messages need to be sent to multiple receivers.
Port Character
The port number where the receiving entity is listening for this message.
Synchronization Type
Allows the user to determine the message transaction sequence.
The options are REQUEST and REQUEST_ACK.
Reuse Connection
Allows you to define if the connection with the receiving entity can be reused for sending additional messages.
The options are true and false.
Number of Connection Retries
The number of times the system should be retried before assuming connectivity failure.
Default value is 5.
Pause Time between Connection retries in ms
The number of milliseconds that the system should wait before retrying the connection.
Default value is set to 10000.
Amount of time to wait without getting an ACK
The duration in minutes that the system should wait for receiving an Acknowledgment after sending the message.
Default value is set to 10000.
- Provide the required values in asterisks (*), select the Synchronization Type as Request_Ack to receive Acknowledgment for the generated message, and click Finish.
-
Ensure that format conversions are available under the
newly created HL7 target.
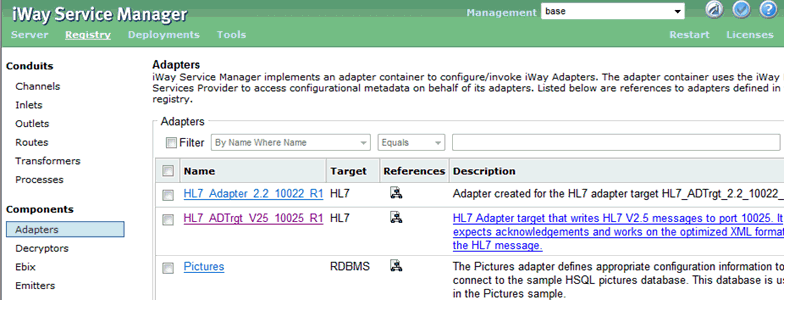
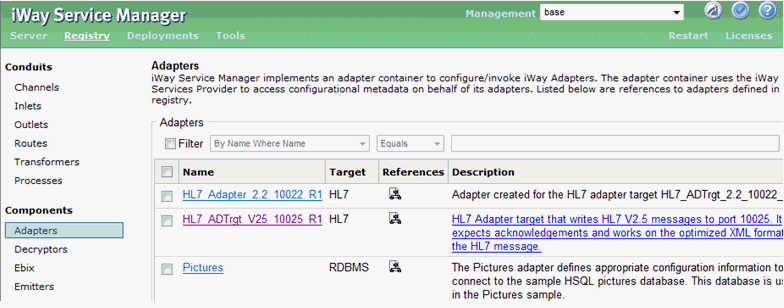
The HL7 Adapter is now successfully created and available for use under Registry.
