To create a Component Interface:
- Open the PeopleSoft Application Designer.
-
From the
File menu, select New.
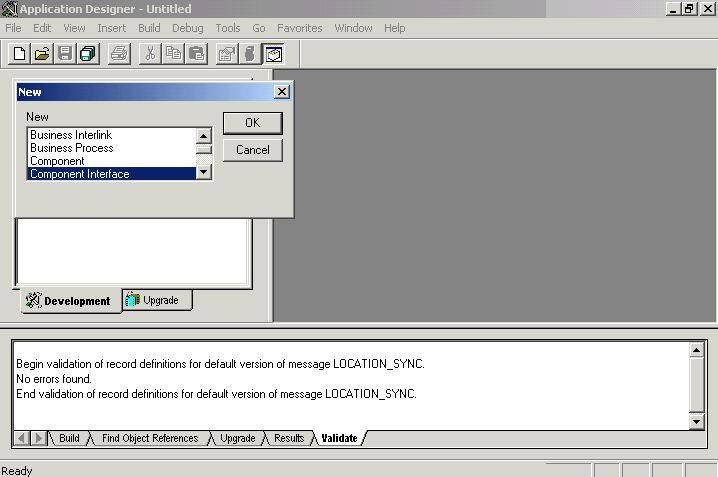
The New dialog box opens in the PeopleSoft Application Designer, with a list of objects, as shown in the following image.

- Select Component Interface.
-
Click OK.
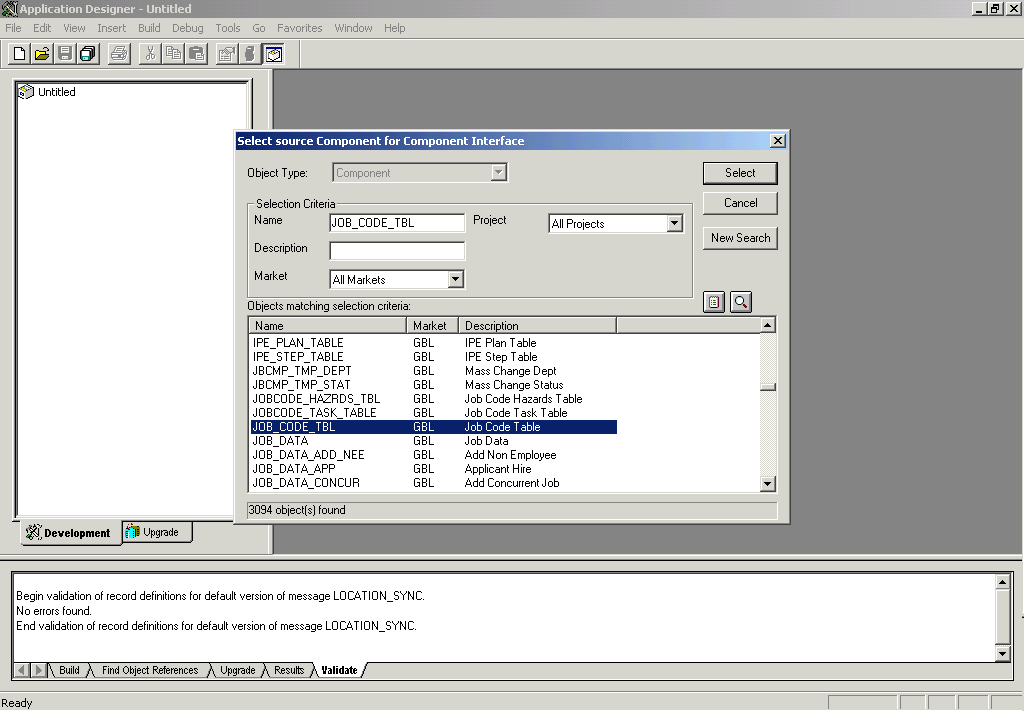
The Select Source Component for Component Interface dialog box opens as shown in the following image. It contains the following: Object Type drop-down list (unavailable), the Selection Criteria pane (which includes a Project drop-down list and Name, Description, and Market fields), and an Objects marking selection criteria pane. It also contains Select, Cancel, and New Search buttons.

-
Highlight
the component to use as a basis for the Component Interface and
click Select.
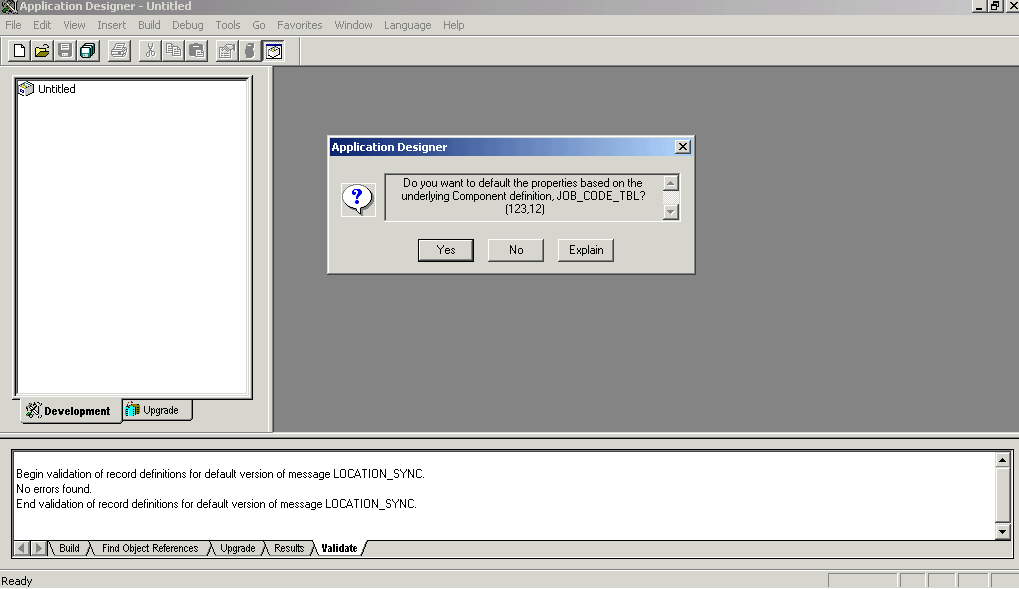
The Application Designer dialog box, which asks a question and contains Yes, No, and Explain buttons, opens as shown in the following image.

Note: If the Component Interface is large, expose the component properties manually.
-
Choose
one of the following options:
To create the Component Interface without displaying properties and to expose component properties manually, click No.
- Drag the relevant fields from the left pane to the right pane.
-
To select the functions to perform, right-click either the
right or left pane, depending on which pane is active.
For a complete list of functions, see the PeopleBooks documentation.
To create the Component Interface and to display the properties of the underlying Component Interface, click Yes.
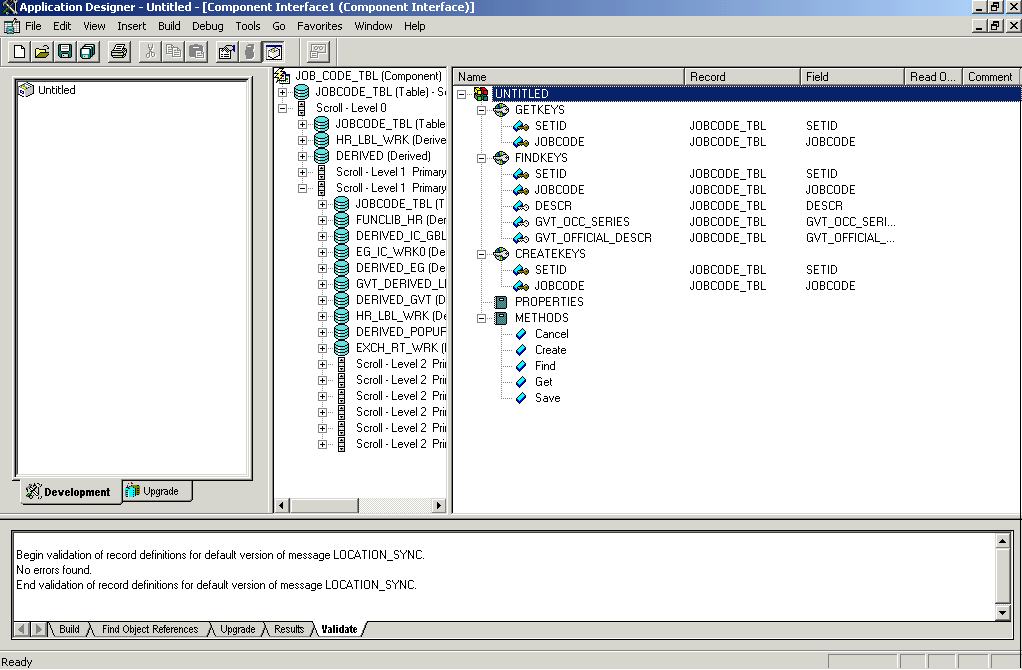
The following image shows the Application Designer component interface. The underlying properties appear in the right pane in a tree structure with information in columns for Name, Record, Field, Read, and Comments.
