To construct a channel using the iWay Service Manager Administration Console:
-
In the
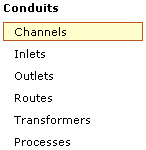
left console pane of the Registry menu, select Channels.
The Channels pane opens, as shown in the following image.
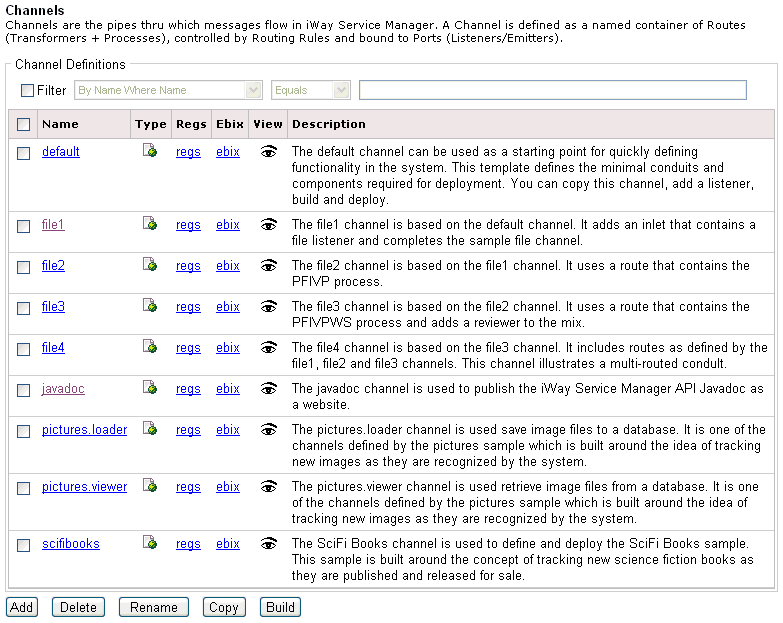
The table that is provided lists each channel that is defined with a brief description.
-
Click Add.
The New Channel Definition pane opens, as shown in the following image.

- Enter a name, for example, SampleChannel, and description for the channel.
-
Click Finish.
The Construct Channel pane opens, as shown in the following image.

The table that is provided is used to list the components that are currently registered with the channel.
-
Click Add.
The Select component type pane opens, as shown in the following image.
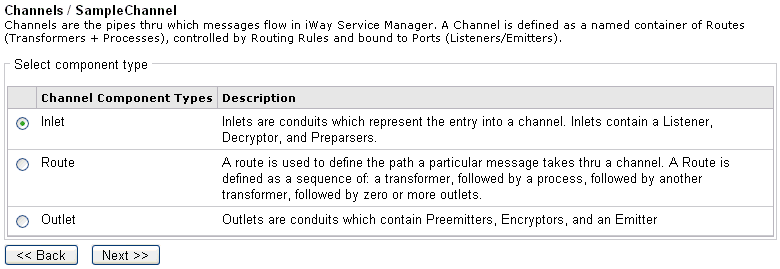
The table that is provided lists the component types you can select and register with the channel you are defining.
- Inlet - Conduits that represent the entry into a channel.
- Route - Used to define the path a particular message takes through a channel.
- Outlet - Conduits that consist of Preemitters, Encryptors, and Emitters.
-
Select Inlet from
the list of component types and click Next.
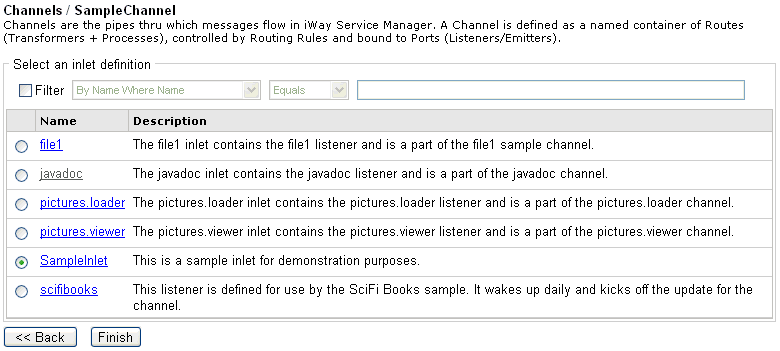
The select an inlet definition pane opens, as shown in the following image.
-
Select
an available inlet, for example, SampleInlet, from the list and click Finish.
As shown in the following image, you are returned to the Construct Channel pane, which now includes the inlet (SampleInlet) you defined earlier.

You are now ready to add a route to the channel.
-
Click Add.
The Select component type pane opens, as shown in the following image.

Notice that only the Route and Outlet component types are listed, since you have already added an inlet to the channel.
-
Select Route from
the list of component types and click Next.
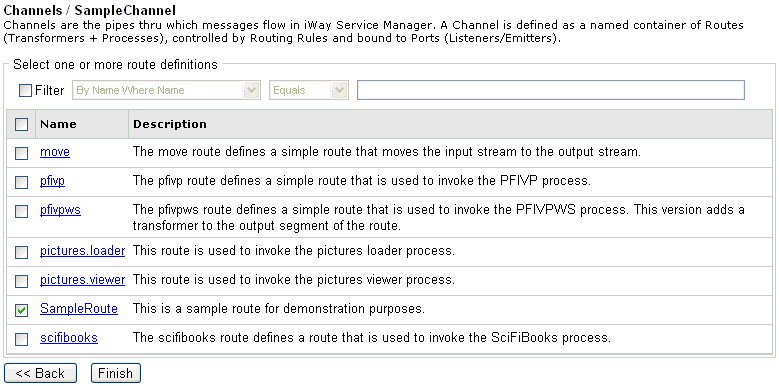
The select one or more route definitions pane opens, as shown in the following image.
-
Select
an available route, for example, SampleRoute, from the list and click Finish.
As shown in the following image, you are returned to the Construct Channel pane, which now includes the inlet (SampleInlet) and route (SampleRoute) you defined earlier.

You are now ready to add an outlet to the channel.
-
Click Add.
The Select component type pane opens, as shown in the following image.

-
Select Outlet from
the list of component types and click Next.
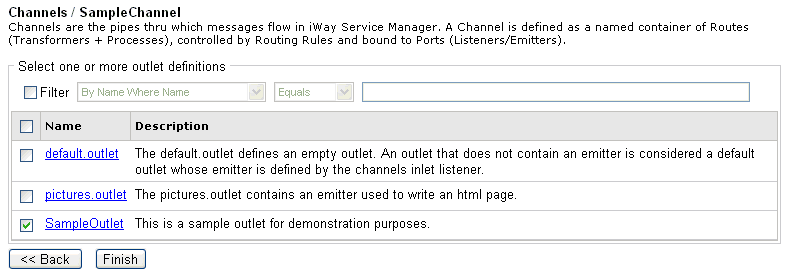
The select one or more outlet definitions pane opens, as shown in the following image.
-
Select
an available outlet, for example, SampleOutlet, from the list and click Finish.
You can assign multiple routes and multiple outlets to the channel.
As shown in the following image, you are returned to the Construct Channel pane, which now includes the inlet (SampleInlet), route (SampleRoute), and outlet (SampleOutlet) you defined earlier.

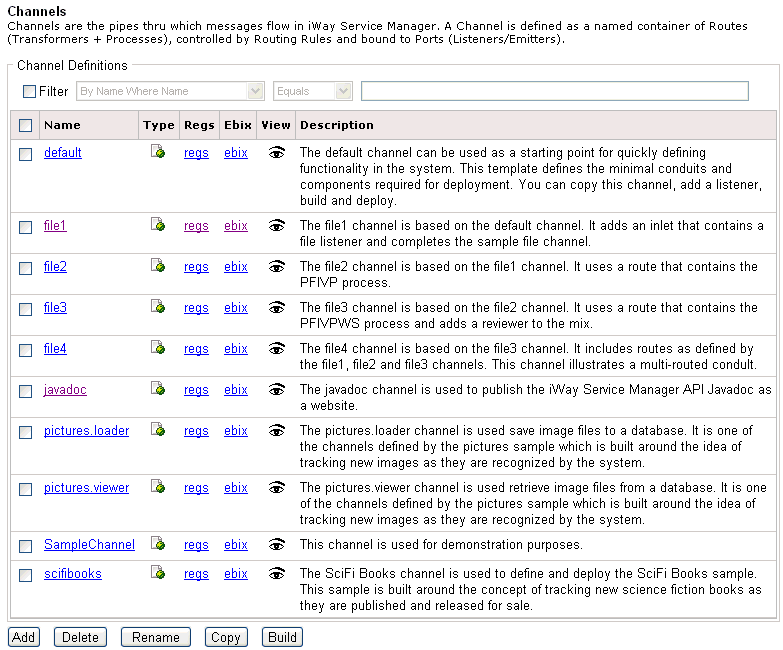
If you return to the main channels pane, you will notice that the channel you just constructed (SampleChannel) has been added to the list, as shown in the following image.
After you have designed your channel, you are ready to build and deploy it into a run-time environment.