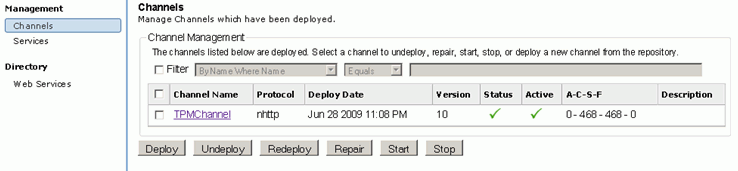
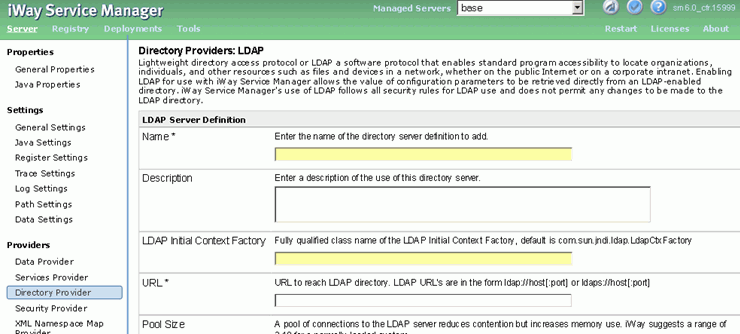
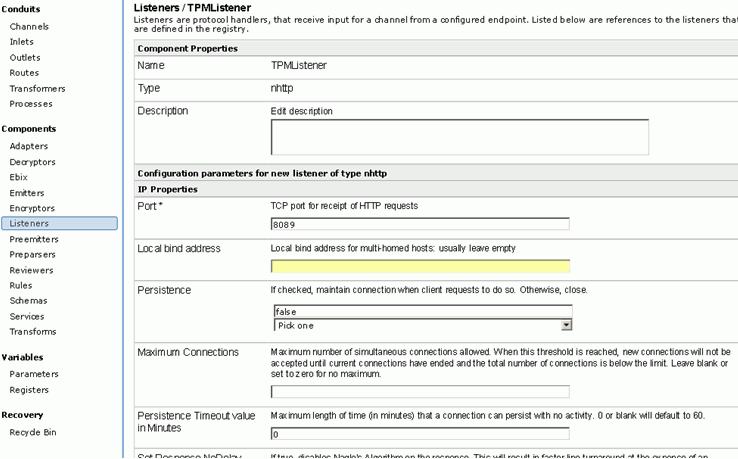
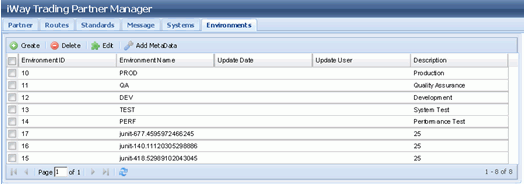
That TPM is installed properly and the TPM channel is active, as shown in the following image.
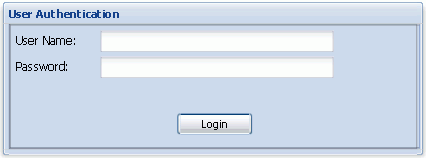
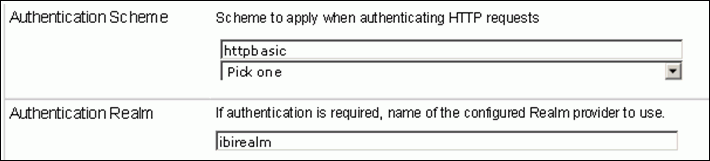
That users are able to authenticate through TPM authentication, as shown in the following image.
How to: |
Trading Partner Manager provides its own schema for custom authentication and authorization. In most cases this is the only schema you will need.
In some cases customers want to use their own authentication module instead of going through TPM’s authentication module. In this case the authentication is handled through the iWay "Authentication Realms" and Basic or process authentication.
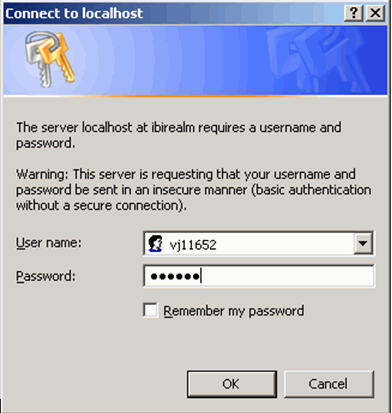
When custom authentication is enabled users will not get the iWAY TPM 6.X login form. Instead, they will get the browser's basic authentication window. How the basic authentication window looks depends on the browser being used. All browsers will provide two fields: one for a user id and another for a password. Users won't be authenticated with the TPM database authentication but with the authentication Realm set by the TPM\iWAY admin in the iWAY console window for the TPM channel.
This section covers how to set up the Active Directory Authentication for TPM. This can be changed to any of the Authentication Realms supported by iSM 6.X.
Before going on, check to make sure of the following:
That TPM is installed properly and the TPM channel is active, as shown in the following image.
That users are able to authenticate through TPM authentication, as shown in the following image.
To use Active Directory as an authentication provider:
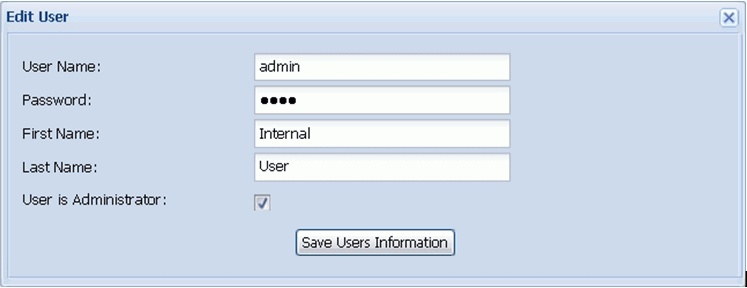
Note: TPM sets up one default admin user for authentication with a userid as “admin” and password as “iway”. Since TPM always needs one admin user in the system it is required that that admin username be changed to reflect the username of the Active Directory. Users can be changed or updated by going to the user administration screen.
Note: Users that login to TPM and do not have admin privileges will not be able to see the Administration tab.
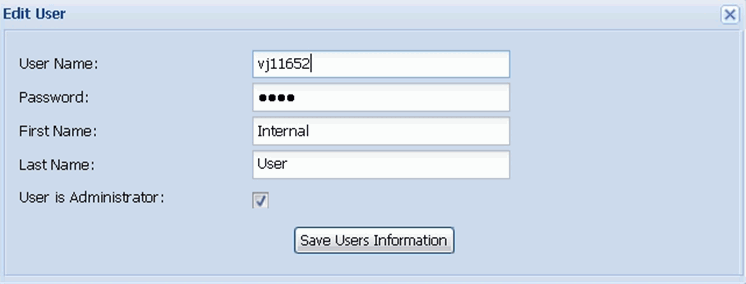
This will change the user information and update the Data Grid with the user name as shown in the following image.

At this point we have user information in the database channel is still not updated to bypass the TPM authentication and use Active Directory Authentication.
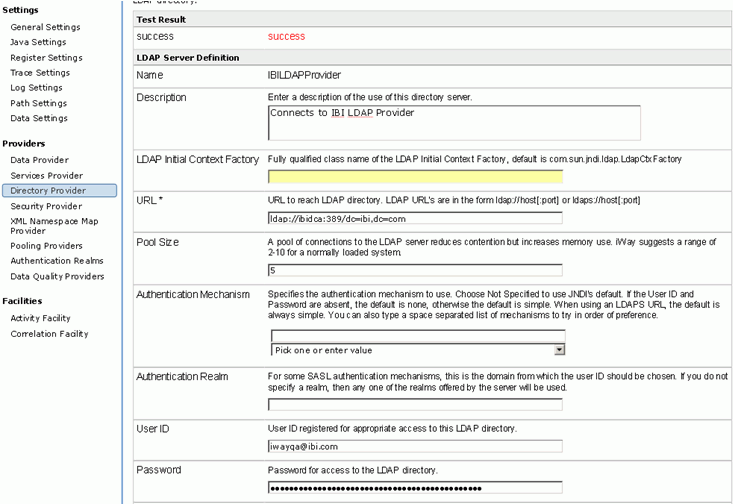
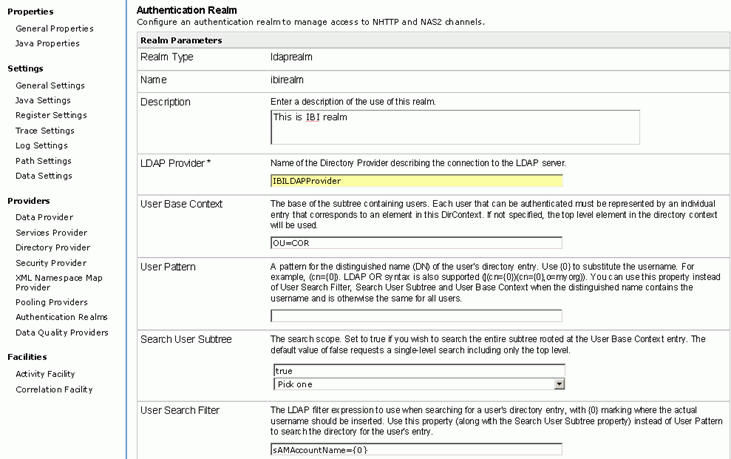
Name: (any valid name) IBILDAPProvider.
URL: URL of the LDAP server , one of the IBI LDAP server is running at ldap://ibidca:389/dc=ibi,dc=com
Pool Size: Keep this 5
iUser ID: Valid user id for connecting to the LDAP server, IBI server has userid of iwayqa@ibi.com
Password: Valid Password for connecting to the LDAP server.
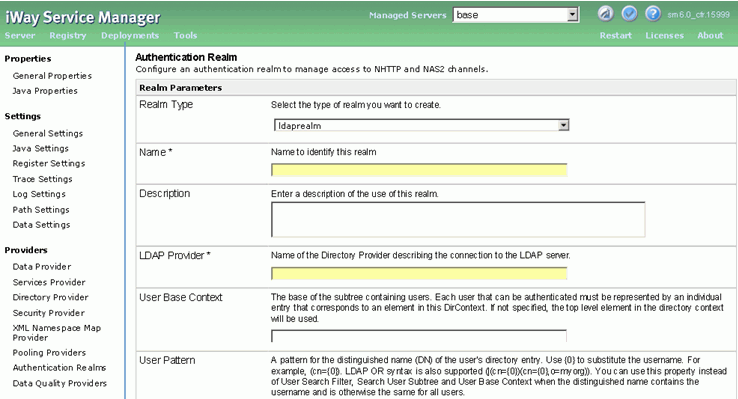
Name : (any valid name) ibiRealm (Note this name as we will need this further in this exercise and will be referenced later).
LDAP Provider: This should be the name of the LDAP Provider.
User Base Context: Context under which a user name search will be performed. Should be OU=COR for this exercise.
User Search Filter: Search filter with which user is searched. Should be sAMAccountName={0} for this exercise.
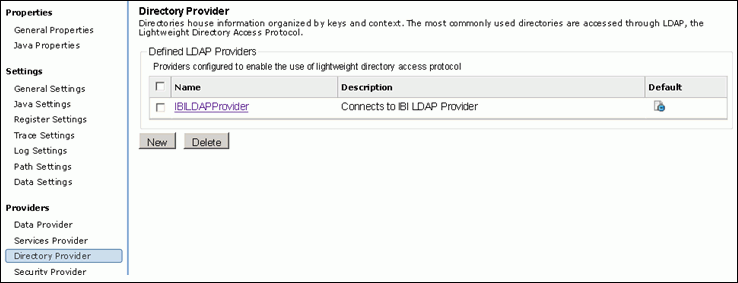
Once completed the settings will look like the following.
Save the settings and come back to the Authentication realm page, this should display the realm created above, as shown in the following image.

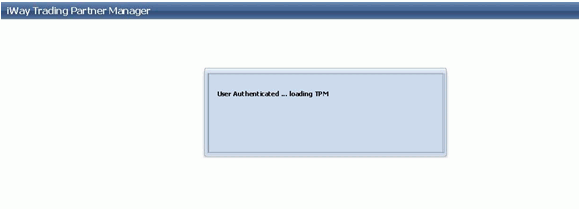
Once Authenticated, the following screen will be displayed informing the user that they are authenticated and that TPM is loading.
At this point TPM authentication is disabled and all users will be authenticated through Active Directory.
Once TPM is loaded, note that if user is not part of TPM administration then the "Administration" tab won't be displayed. Basic authentication is browser based authentication, which means a logout option won't be displayed as well, as shown in the following image.
Administrators will see the "Administrator" tab, allowing them to add more users with Administrator privileges.

| iWay Software |