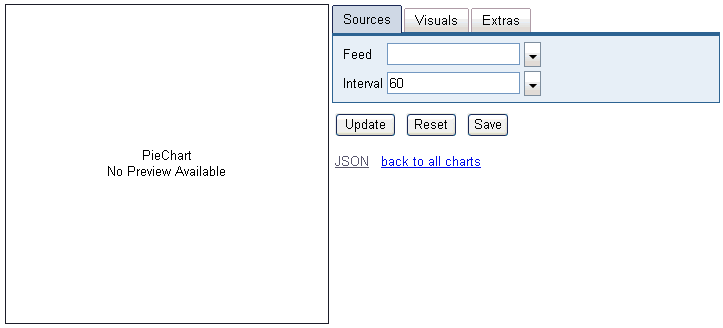
To create an Infoset:
-
Click Tools in the top
pane of the iWay Service Manager Administration Console.
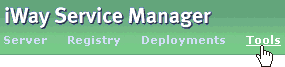
The iWay Service Manager Tools pane opens.
-
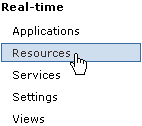
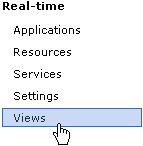
In the left pane, select Views under
the Real-time section.
The Views pane opens, as shown in the following image.

-
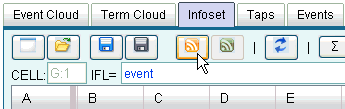
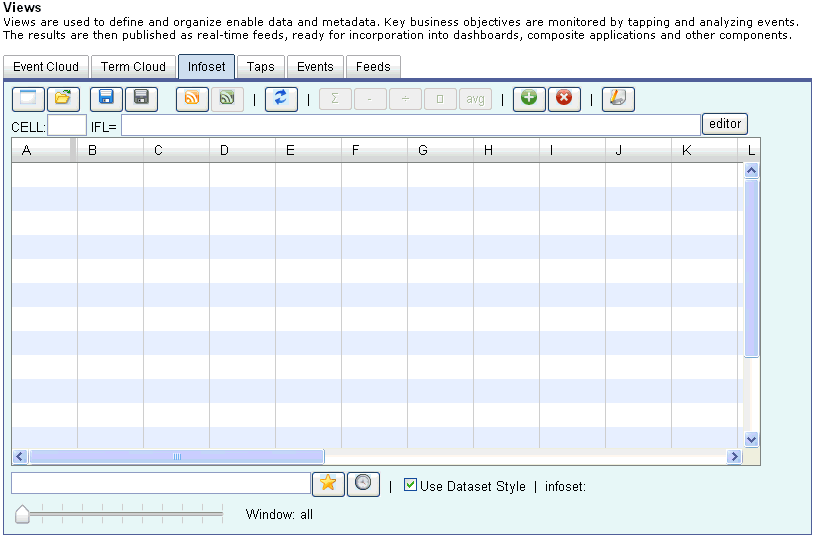
Click the Infoset tab.
The contents of the Infoset tab are displayed, as shown in the following image.
-
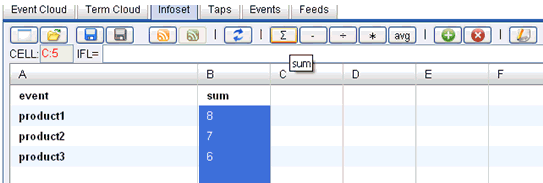
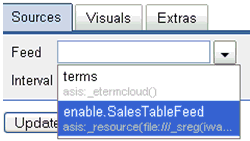
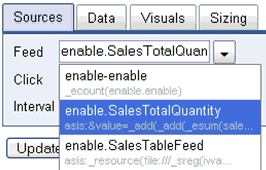
Create a quick Infoset for Sales of Products by
typing sales.quantity as a filter and clicking
on the star icon, as shown in the following image.

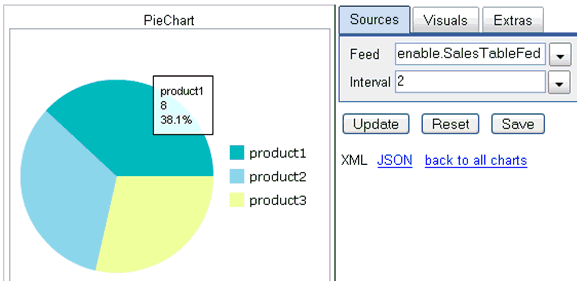
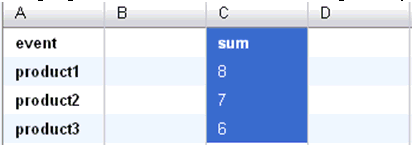
A quick Infoset is created that will represent all of the events containing the sales.quantity string in its name, as shown in the following image.
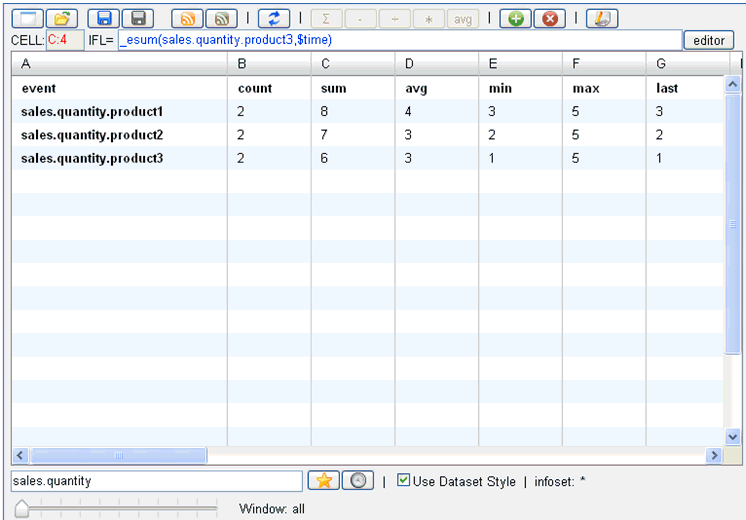
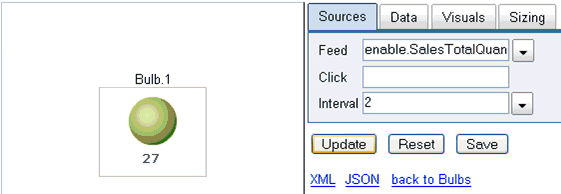
You can now edit this Infoset according to your requirements. For example, if you are only interested in the sum of products sold, you can delete all the other columns besides sum (count, avg, min, max, and last).
-
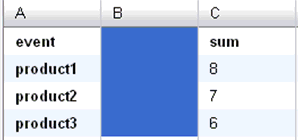
Highlight the area for the avg, min, max,
and last statistics by selecting the D1 cell and
then clicking on the G4 cell while holding
the Shift key.
This multiple cell selecting functionality is similar to how it can be performed in other spreadsheet applications, such as Microsoft Excel.

- Press the Delete key while the selection is highlighted.
-
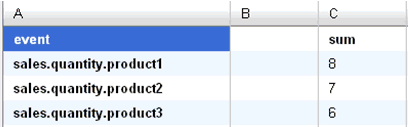
Delete the count column by using the same technique
that is described in step 5.

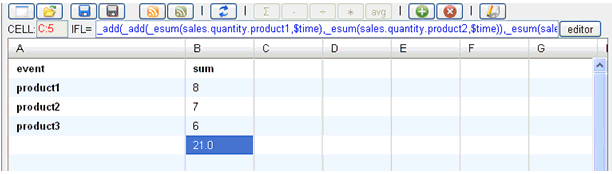
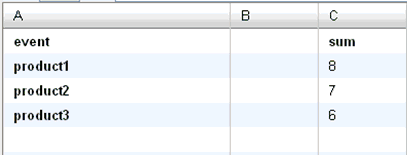
Only a single column (sum) now remains, which indicates the quantity sold for each product, as shown in the following image.
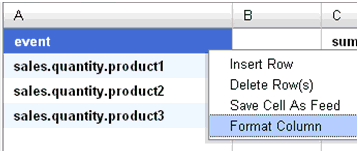
You can further modify this Infoset by formatting the event column to only include the product name without the sales.quantity prefix.
To format the entire column, right-click the event column name and select Format Column from the context menu.
The Edit iFL Expression dialog box opens, which allows you to provide a formatting instruction for the selected column.
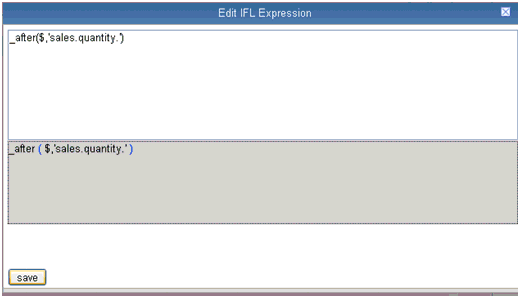
The formatting can be performed using any of the supported IFL statements. In this case you are examining the string which comes after the “sales.quantity.”. The $ character indicates the current cell. As a result, the expression _after($,'sales.quantity.') will produce the required result. It will rename products to product1, product2, and product3.
-
Input the iFL statement as follows:
_after($,'sales.quantity.')
-
Click Save.
Notice that the products are now renamed accordingly.
The next step will be to copy the content of column C into the content of column B, since an empty column has no significance. You will need to associate the product name with the sold quantity. The first column is used as an event identifier, and the next column is used to store the values. As a result, you must move column C, which holds the proper content, to column B.
-
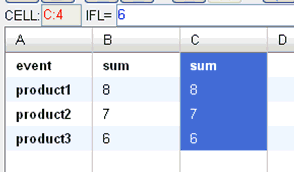
Highlight the four cells of interest in column C by clicking
the cells and holding the Shift key.
- Press Ctr+C on your keyboard to copy the selection.
-
Highlight the corresponding section in column B, as shown
in the following image.
-
Press Ctr+V to paste the selection
in column B.
-
Delete the content from column C by highlighting the
values and pressing Delete.
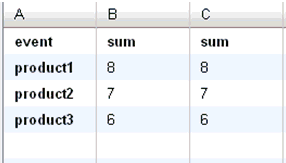
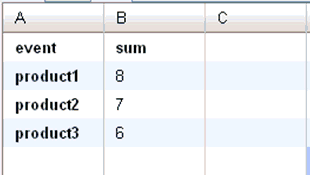
The resulting Infoset will have two columns. The event column represents the name of the event and the Sum column represents the quantity sold.
-
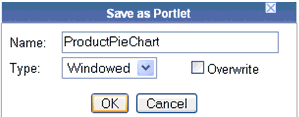
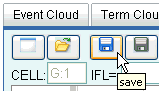
Save the Infoset by clicking the blue disk icon on the
toolbar.
The Save Infoset dialog box opens.
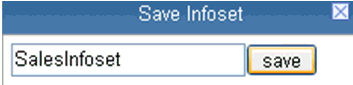
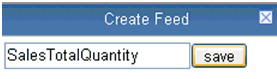
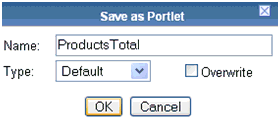
- Provide a name for the Infoset (for example, SalesInfoset) and click save.