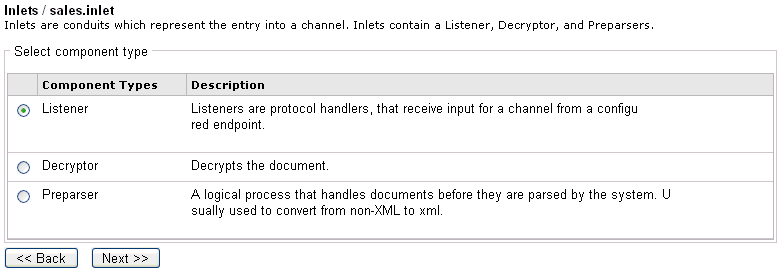
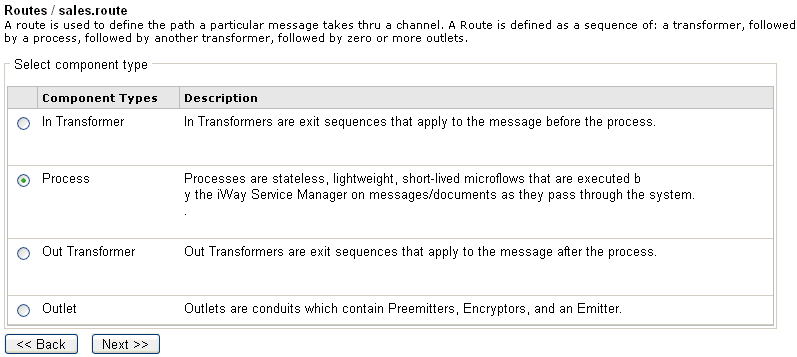
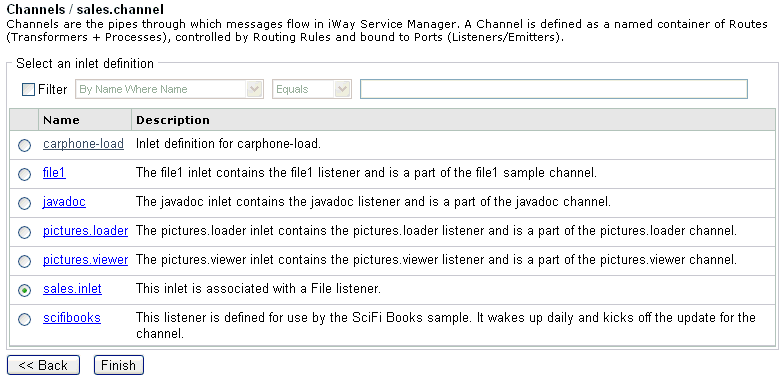
To configure a File listener using the iWay Service Manager Administration Console:
-
From the Windows Start menu select All Programs, iWay
6.0.1 Service Manager, and then Console.
-
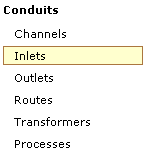
Click Registry in the top pane.
-
In the left pane, select Listeners.
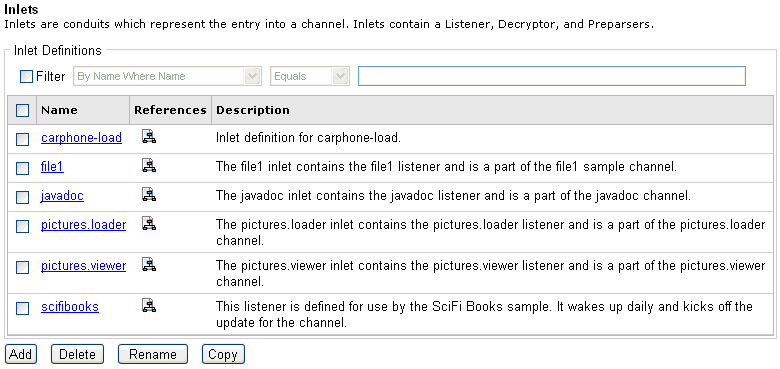
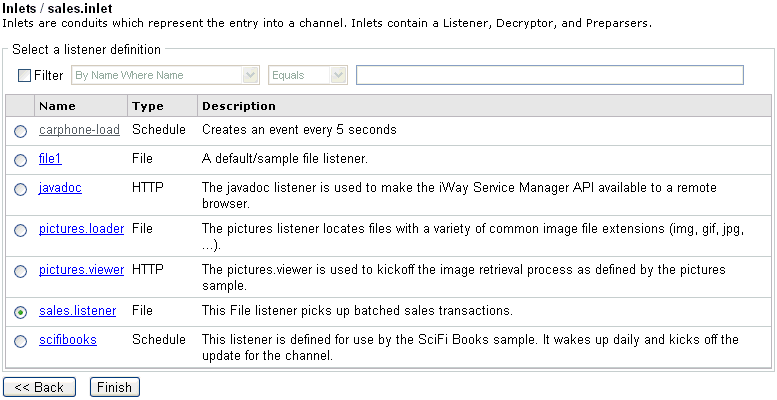
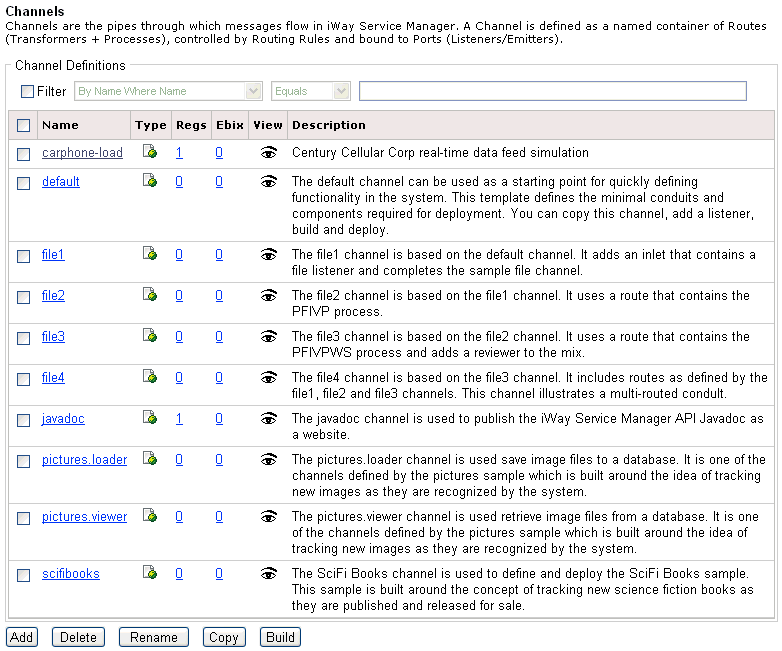
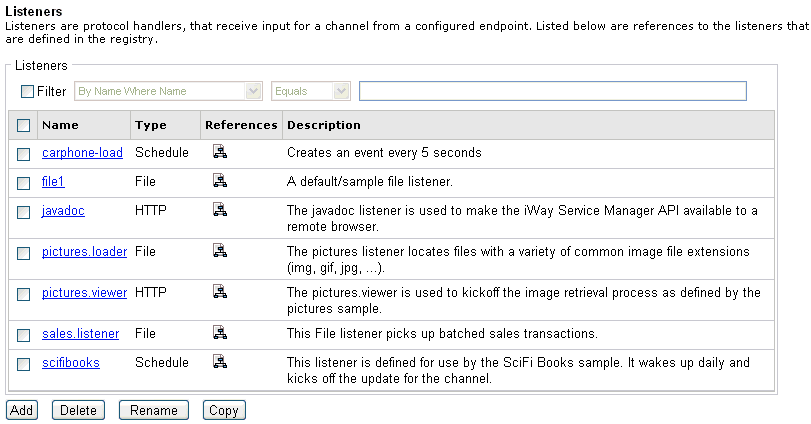
The Listeners pane opens, as shown in the following image.
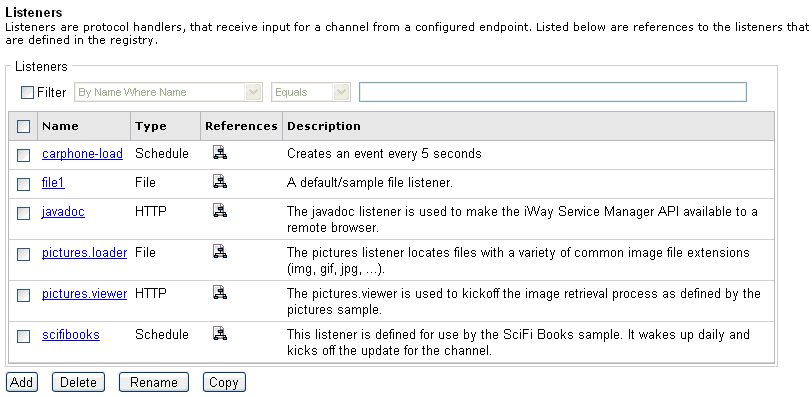
The table that is provided lists existing listeners and a short description for each.
-
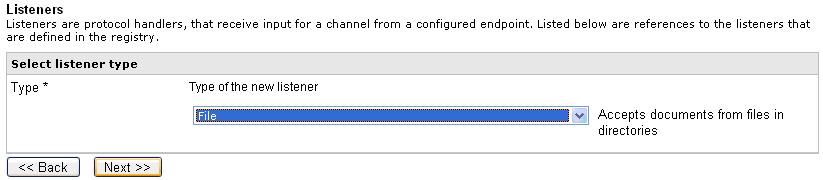
Click Add.
The Listener Type pane opens.
-
Select File from the Type drop-down
list and click Next.
The configuration parameters pane for the File listener opens.
-
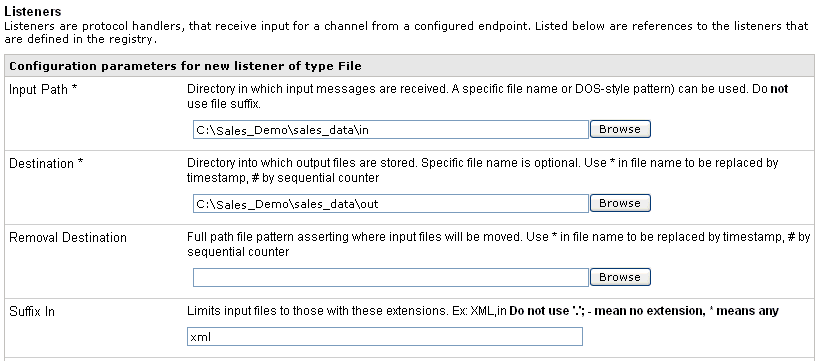
Provide the appropriate configuration properties, as defined
in the following table.
Parameter
Value
Input Path
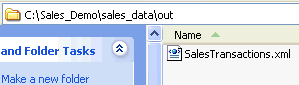
C:\Sales_Demo\sales_data\in
Destination
C:\Sales_Demo\sales_data\out
Suffix In
xml
-
Click Next.
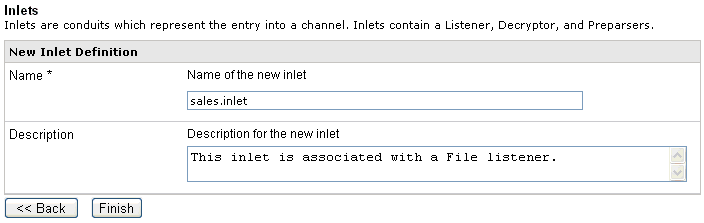
The Name and Description pane opens.
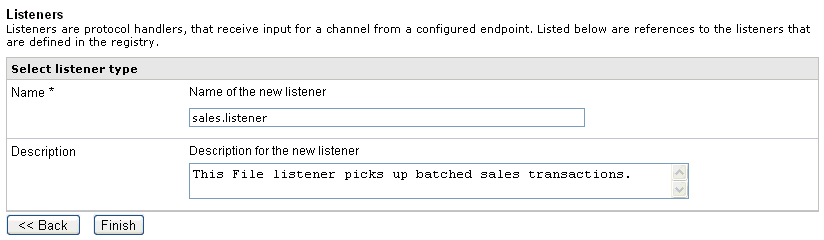
- In the Name field, type sales.listener.
- In the Description field, type an optional description, for example, This File listener picks up batched sales transactions.
-
Click Finish.
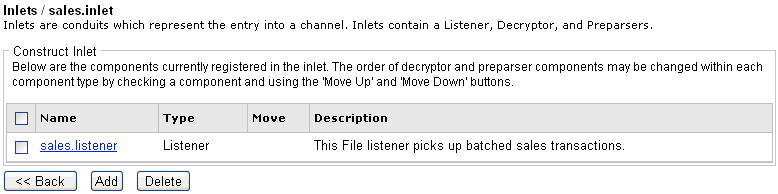
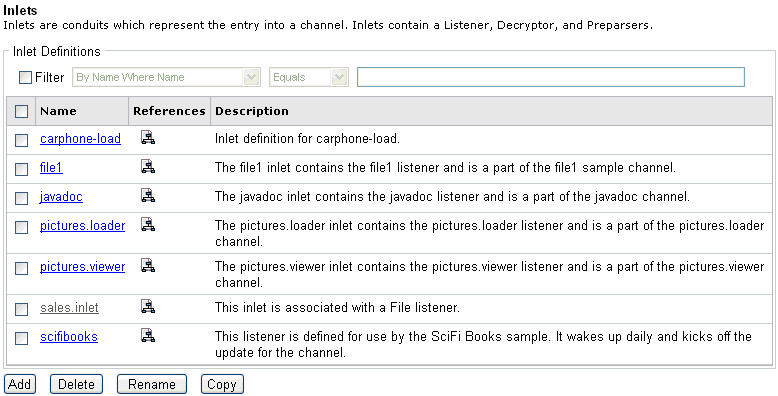
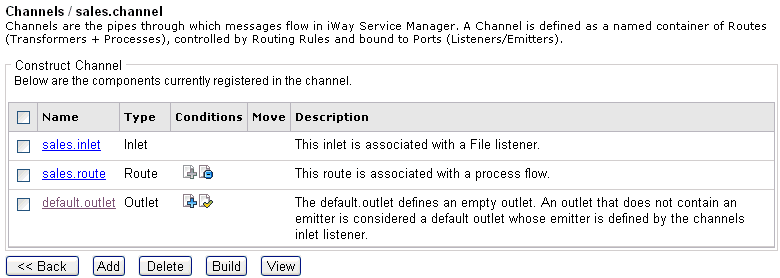
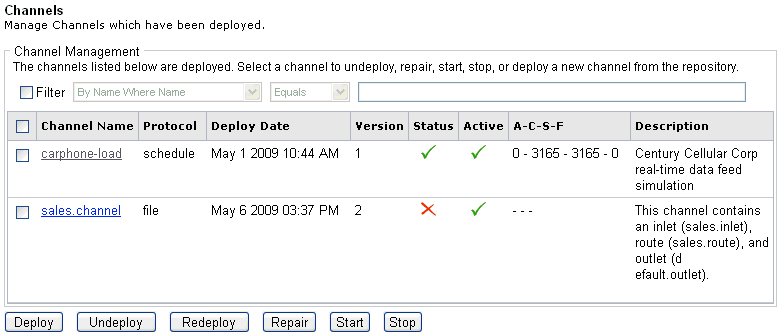
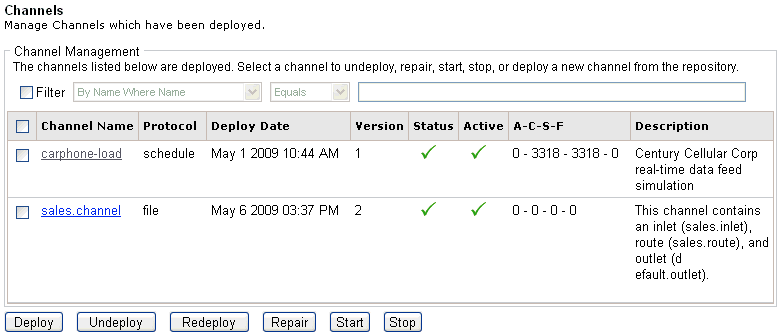
The new File listener (sales.listener) is added to the list in the Listeners pane.
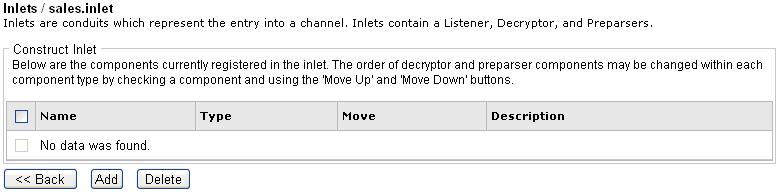
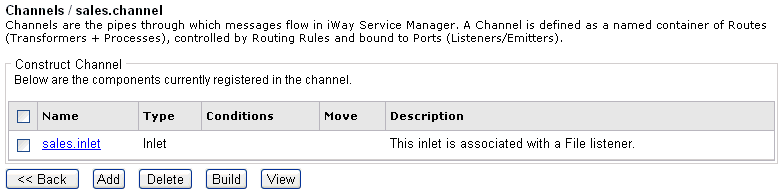
You are now ready to define an inlet and associate it with the new File listener (sales.listener).