- Unzip the iWayDQC file and open the iWay DQC folder.
-
Place the license file in the path below:
C:\Documents and Settings\username
-
Double-click the DQC.exe file.
The projects are stored in the location [DQCHOME]:\Projekty\iWay DQC Demo\workspace.
-
Click OK to accept the license agreement.
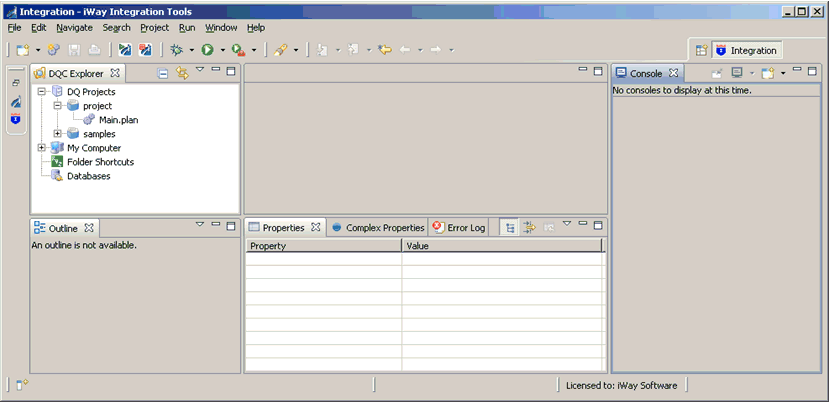
The DQC Explorer opens, as shown in the following image.
- In DQC Explorer, create a folder called Data_Profiling under the Samples folder, located under DQ Projects.
- Create folders called bin and data under the Data_Profiling folder. Also, create a folder called in and pro under the data folder.
-
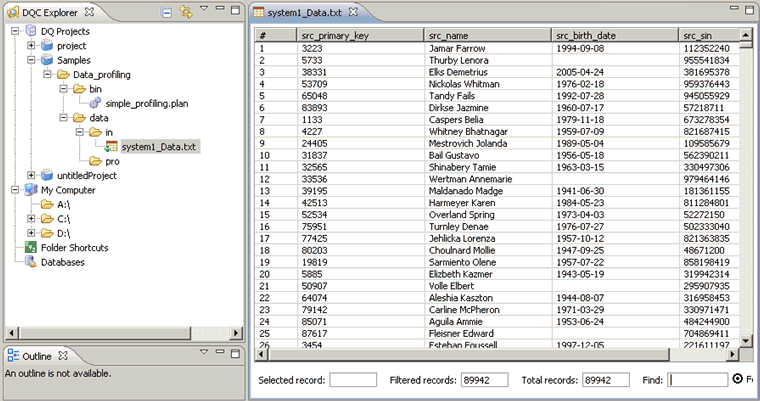
Create a text file called system1_data.txt with columns
src_primary_key, src_name, src_birth_date, src_sin under the in
folder by right-clicking it and selecting the new option.
Then click the text file option, as shown in the following image.
-
Create a new DQC plan by right-clicking on the bin folder
and selecting new. Then, click the DQC
Plan. Name the folder simple_profiling.plan.
-
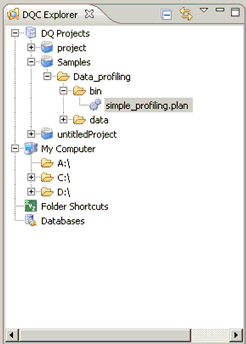
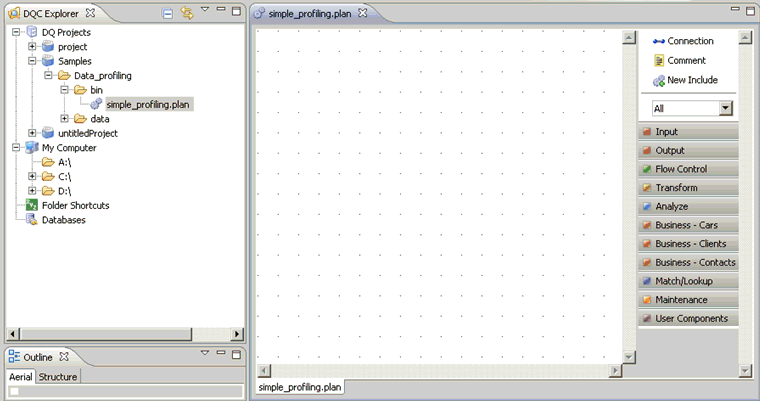
Double-click the simple_profiling.plan folder, as shown
in the following image.
-
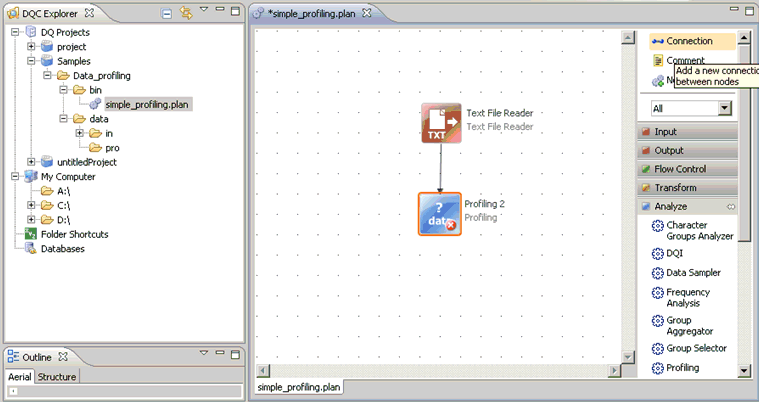
Drag the input text file called system1_Data.txt into
the plan to create the text file reader object, and drag the profiling
object which is under the Analyze tab.
-
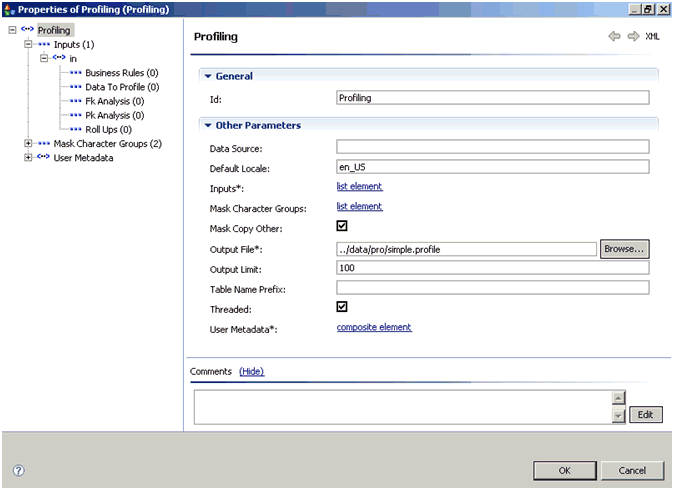
Double-click on the profiling object. The output file
path is ../data/pro/simple.profile. The output
limit should be specified as 100 to limit the output to 100 records.
-
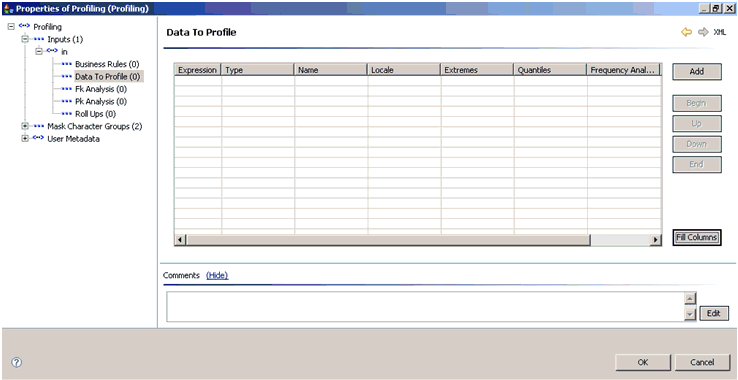
In the resultant screen, expand Inputs and then in.
Set the corresponding values.
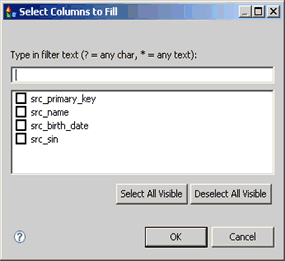
Select Data _To_ Profile and click the Fill Columns button located on the bottom right corner.
-
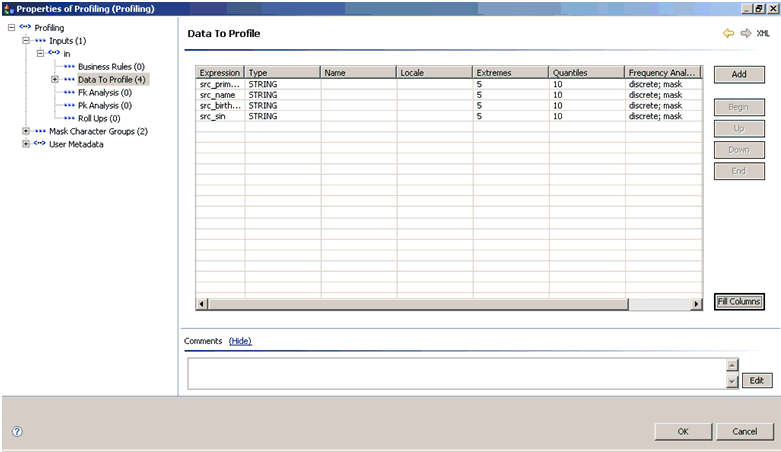
Select All and click OK,
as shown in the following image.
-
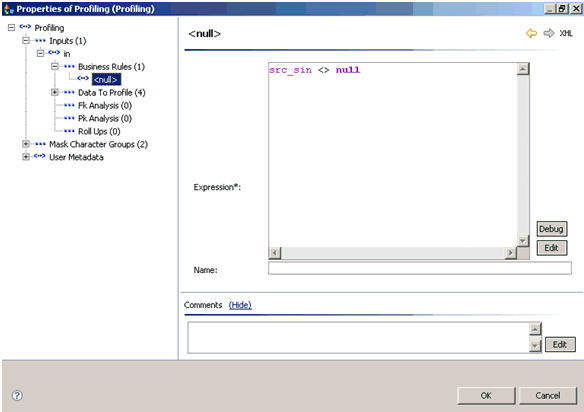
Select the Business Rules folder
under the in folder, and click the Add button located
on the top right corner to add the rule.
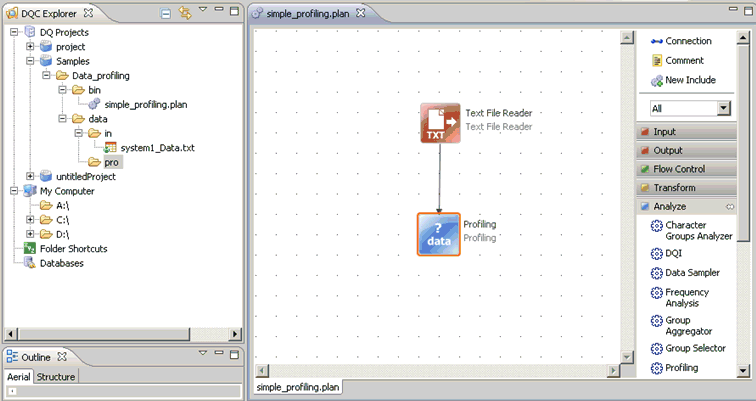
The final plan is shown in the following image.
- Select and run the simple_profiling.plan by pressing the Run icon or by pressing Ctrl+F11.
-
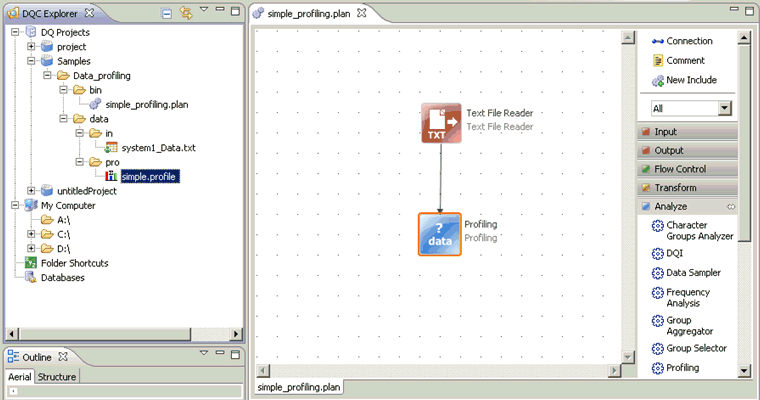
Right-click on the Data Profiling folder and click Refresh to
view the output file simple.profile generated under the pro folder,
as shown in the following image.
Note: This is located under the data folder in Data Profiling.
-
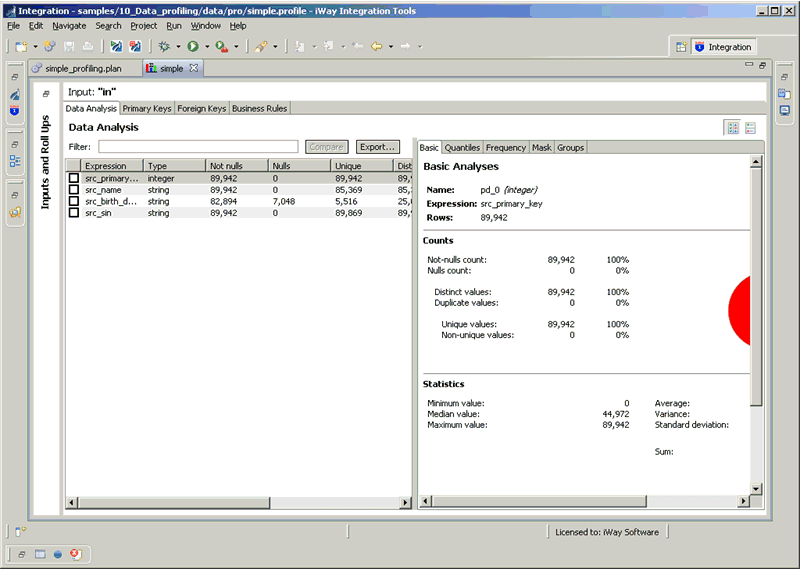
Double-click the simple.profile folder
to open it, as shown in the following image (maximize if necessary).
-
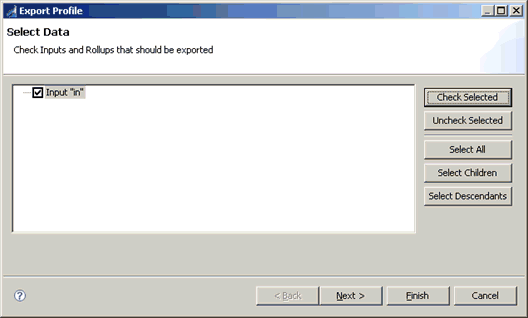
Select the required fields and then click the Export button.
The Select Data screen opens, as shown in the following image.
-
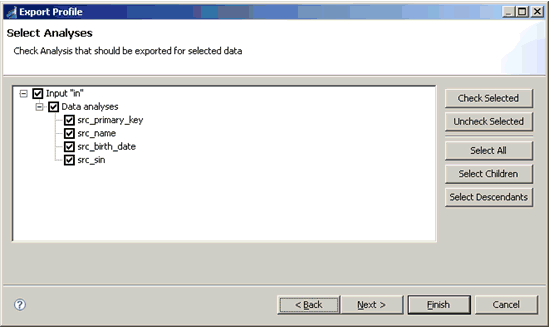
Click Next. The Select Analyses
screen opens, as shown in the following image.
-
Click the Next button to open
the Select Output File screen, as shown in the following image.
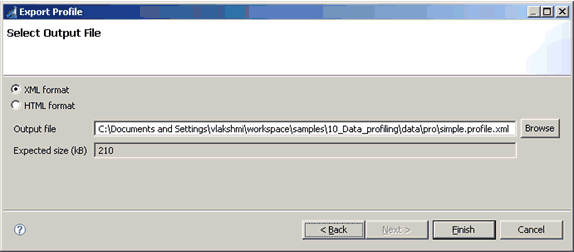
Specify the format and location of the output file and click Finish. The output XML profiling file is generated in the location specified.
-
Follow the steps below in the iWay Data Profiler to upload
the XML file created using the Profiling object in DQC.
- Login to iWay Data Profiler.
- Click on the Manage Data Profiles in the Home page.
- Click the New button to create a new profile.
-
Upload the XML file created in DQC by specifying the
path, as shown in the following image.
