This example consists of four procedures.
- Right-click the phonebook.comp item in the DQC Explorer tree and click the Publish as Online Service menu item. The Publish Component as Service dialog box opens.
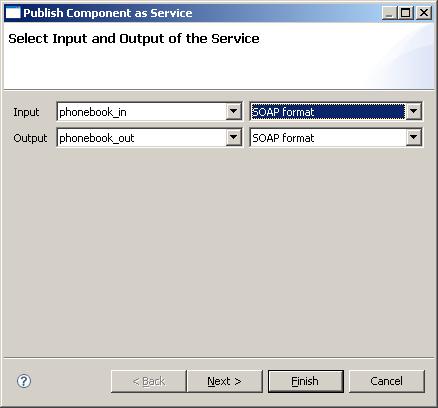
- In the Input drop-down list, click the phonebook_in input step and click SOAP format in the drop-down list on the right.
-
In the Output
drop-down list, click the
phonebook_out output step and
click
SOAP
format in the drop-down list on the right.
The selection SOAP format means that the content of the input and output messages will have a SOAP message structure.
The following image shows the Publish Component as Service dialog box.
- Click the Next button.
-
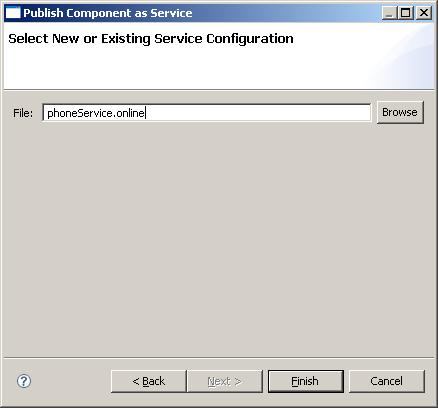
In the dialog box that
opens, type the name of the online service configuration file. By default, it
is the name of the component with a .online suffix. Change it to
phoneService.online and click
the
Finish button.
In the following image, the name of the online service configuration file is supplied in the File input field.
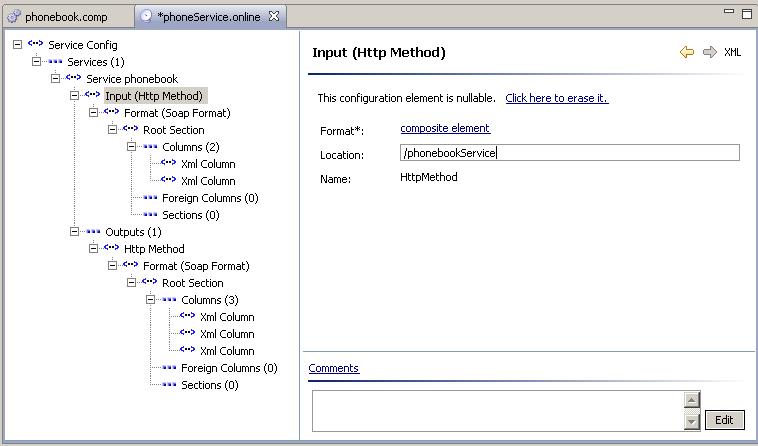
The phoneService.online file is created and opened in the GUI editor. As you can see by some errors, the configuration is not finished. You can see all the errors in the Properties view. You must supply the namespaces that you want to use in the messages.
- Double-click an error message.
-
Supply the namespace
URI, for example,
http://example.com/webservices.
You can set different namespaces for the input and output. In this example, you
use the same values for both input and output.
The following image shows the errors in the Properties view.

By default, the location of the service is set to the same value as the name of the online service configuration file without the extension. You can change the location.
- Click the Input node in the left tree. A dialog box, in which you can change the location, opens.
-
Type the service
location in the Location input field.
In the following image, the service location is supplied in the Location input field.
Now the service configuration is ready to be deployed on the server. But first look at another feature.
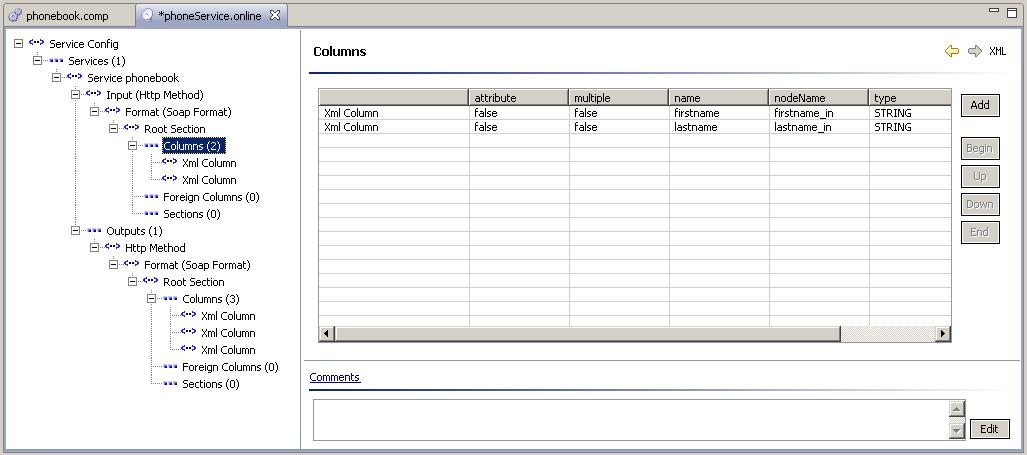
It is possible to have different column names in the online configuration and in the configuration Plan or Component. You will change the nodeName attribute of the input and output columns.
- Select the first XmlColumn element in the input section.
- Change the nodeName value to firstname_in.
- Select the second XmlColumn element in the input section.
-
Change the nodeName
value to
lastname_in.
In the following image, the values for nodeName are supplied in the fields in the input section.
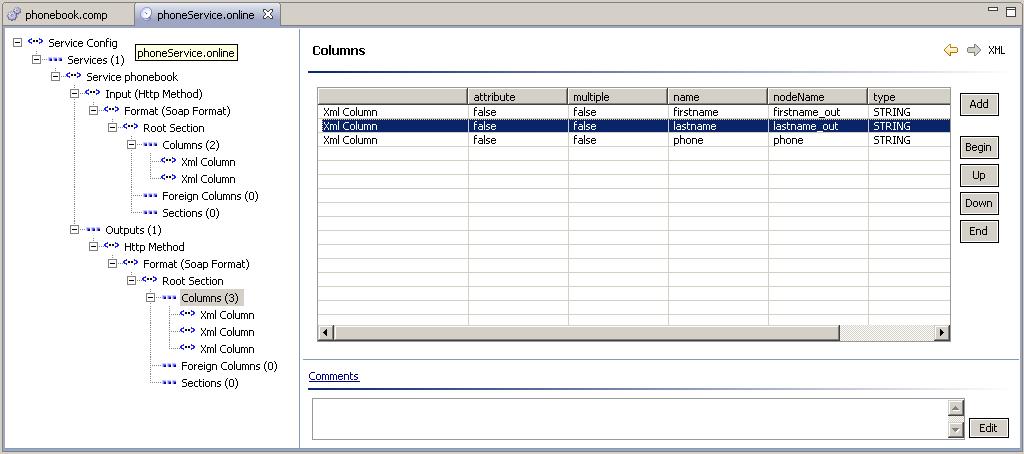
-
Similarly, rename the
nodeName values to
firstname_out and
lastname_out for the XmlColumns
in the output section.
In the following image, the values for nodeName are supplied in the fields in the output section.
- Try the service by running it internally on the local computer. Just open the phoneService.online configuration file, and click the Start icon in the toolbar.