Custom Libraries

How to:

Custom libraries are useful when you are building dictionaries with reusable components. The following section describes how to work with custom libraries using Library Manager. To update a custom library, you can add the dictionary components from an existing project, such as loops, transaction sets, or segments, that you want to reuse.

Note: There are no System Libraries installed by default. The Default Custom Library is provided.


Top of page

x
Procedure: How to Update Custom Libraries

To update the default custom library:

  1. Open a Transform or Ebix Entry project that contains supported dictionary components.

    Note: The following procedure uses an Ebix Entry project (EDI X12) as an example.
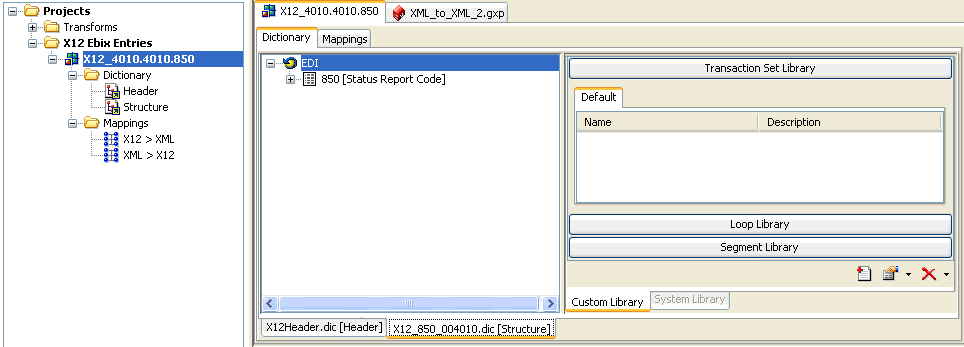
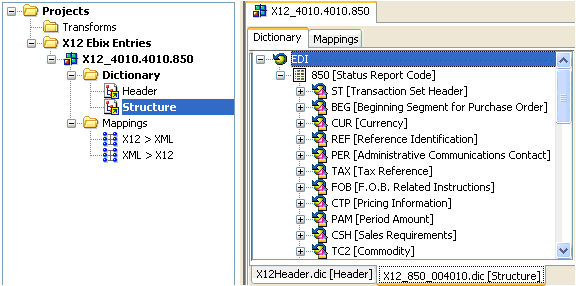
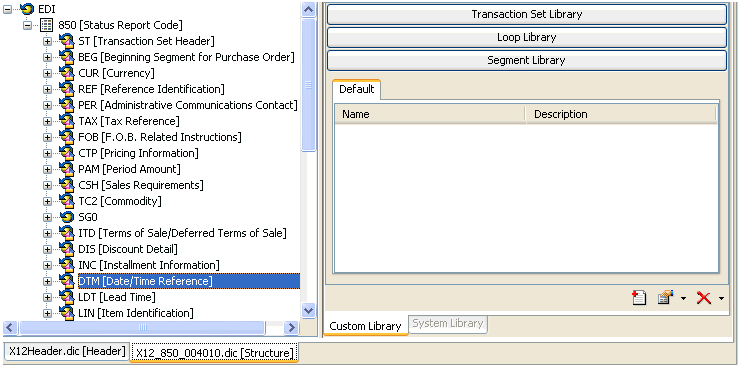
  2. Navigate to the structure component of the dictionary by clicking the Structure subtab under the Dictionary folder in the Project Navigator pane or the Structure tab in the Layout pane, as shown in the following image.
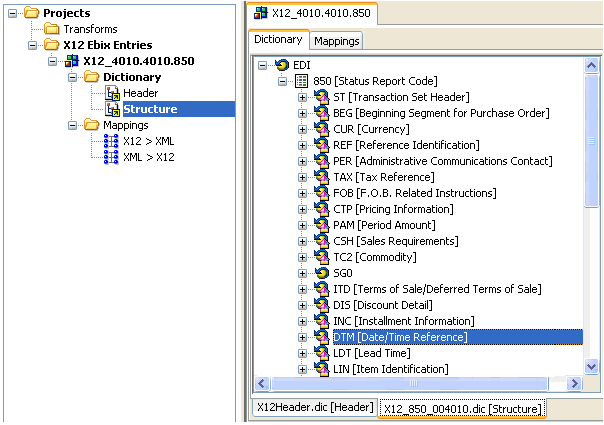
  3. Select the dictionary component you want to add to your custom library, for example, the DTM (Date/Time Reference) Segment component.
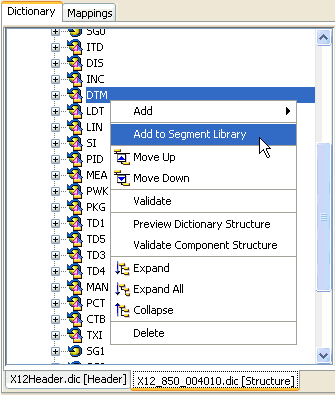
  4. Right-click the DTM Segment component, and select Add to Segment Library from the context menu.
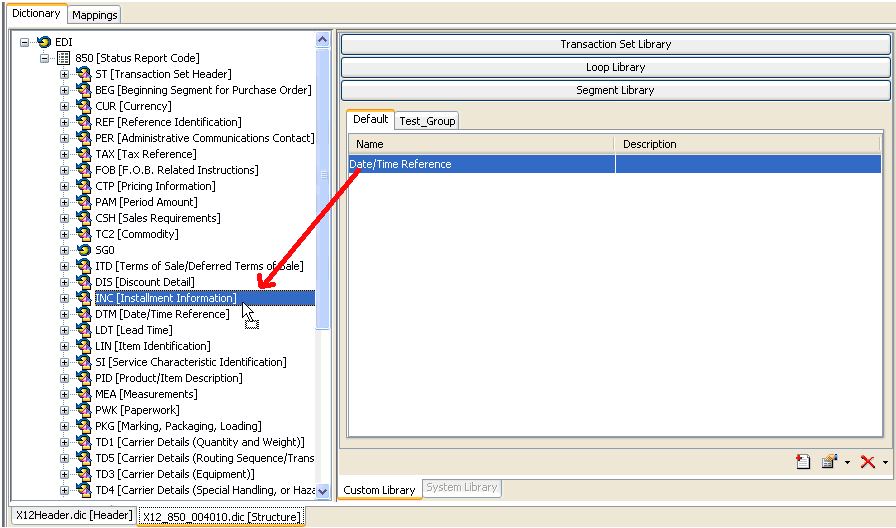
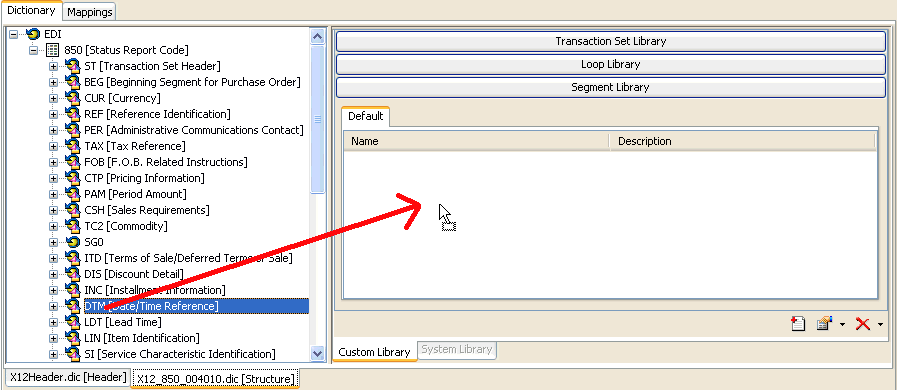
    You can also drag the DTM Segment component from the Layout pane and drop it into the Segment Library area of the Library pane, as shown in the following image.
    After you add the DTM Segment component, the New Segment Resource dialog box opens.
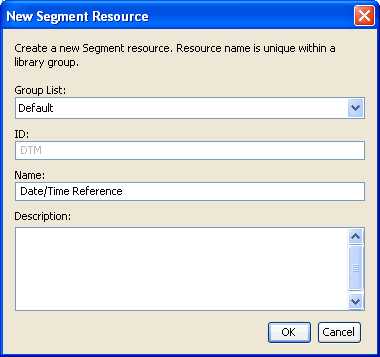
    Note: The name of this dialog box will change to reflect the type of dictionary component you are adding. For example, if you were to add a Transaction Set component, the name of this dialog box would be, New Transaction Set Resource.

    The Group List drop-down list allows you to select the library group to which you want to add the dictionary component. Each library group has a default group in the custom library, which is selected by default.

    The ID field, which is inactive, provides the ID of the dictionary component.

    The Name field (required) allows you to specify a name for the dictionary component, for example Date/Time Reference. This name will be used to identify the component in the custom library.

    The Description field (optional) allows you to provide a brief description for the dictionary component.

  5. Provide a name for the dictionary component, for example, Date/Time Reference, and click OK.

    The DTM Segment component is added to your custom library as shown in the following image.
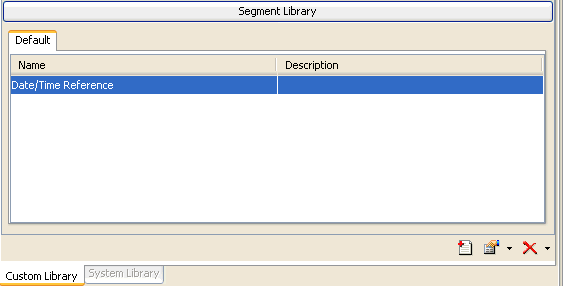
  6. Repeat this procedure for any dictionary component you want to add to your custom library.
Top of page

x
Procedure: How to View Dictionary Component Properties in the Custom Library

To view dictionary component properties:

  1. Select a dictionary component, for example, Date/Time Reference.

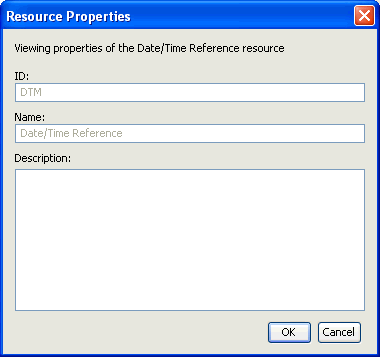
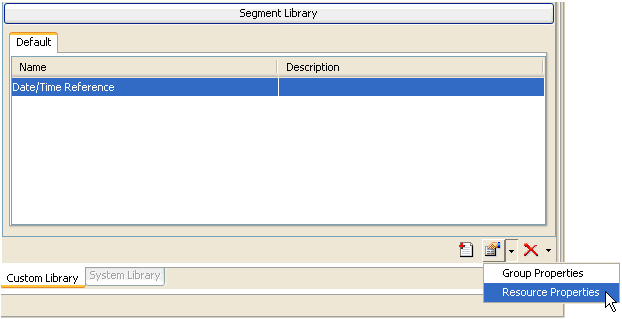
  2. Click the down arrow next to the Properties button, which is located in the lower-right corner of the Library pane, and select Resource Properties.

    The Resource Properties dialog box opens.

  3. After you have finished viewing the dictionary component properties, click OK.

Top of page

x
Procedure: How to Delete a Dictionary Component From a Custom Library

To delete a dictionary component from a custom library:

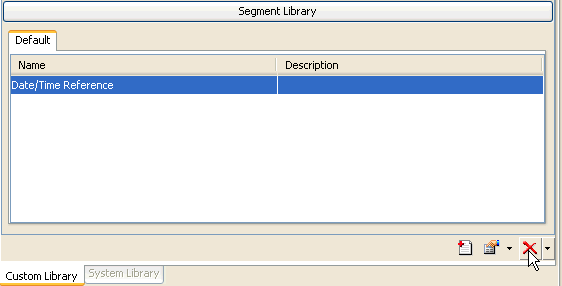
  1. Select the dictionary component you want to delete in the Library pane, for example Date/Time Reference.

  2. Click the Delete button, which is represented by a red X in the lower-right corner of the Library pane.

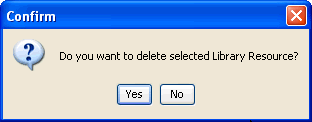
    The following confirmation message appears.

  3. Click Yes.

    The dictionary component, for example Date/Time Reference, is removed from the Library pane.


Top of page

x
Procedure: How to Create a New Group for a Custom Library

You can create groups within a custom library to organize your dictionary components.

To create a new group:

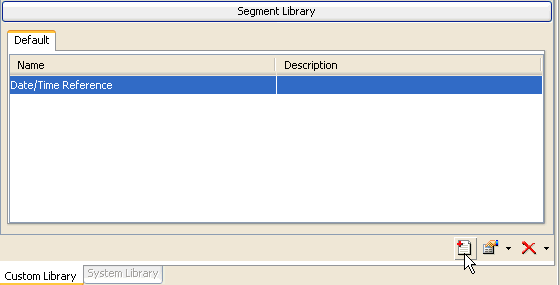
  1. Select a library in the Library pane, for example, Date/Time Reference.

  2. Click the New button in the lower-right corner of the Library pane.

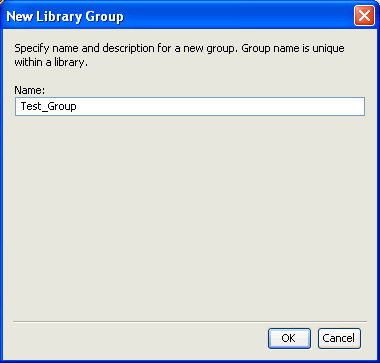
    The New Library Group dialog box opens.

  3. In the Name field, type a name for the new group, for example, Test_Group.
  4. Click OK.

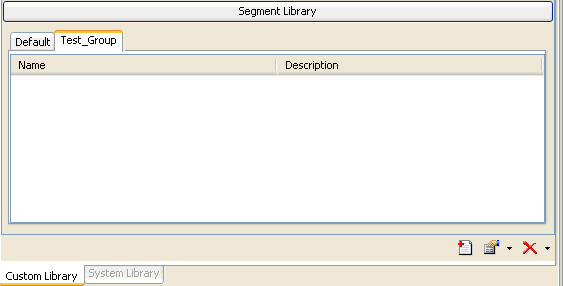
    The new group is added to the Segment Library and is represented as a tab, for example, Test_Group, as shown in the following image.


Top of page

x
Procedure: How to View Group Properties

To view group properties:

  1. Select a group tab, for example, Test_Group.

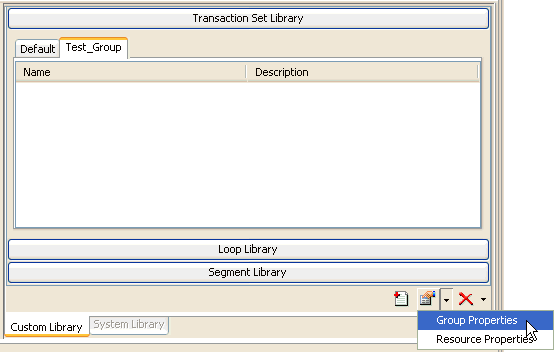
  2. Click the down arrow next to the Properties button, which is located in the lower-right corner of the Library pane, and select Group Properties.

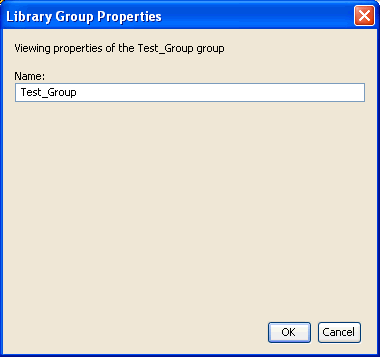
    The Library Group Properties dialog box opens.

  3. After you have finished viewing the group properties, click OK.

Top of page

x
Procedure: How to Delete a Group From a Custom Library

To delete a group from a custom library:

  1. Select the group tab you want to delete in the Library pane, for example, Test_Group.

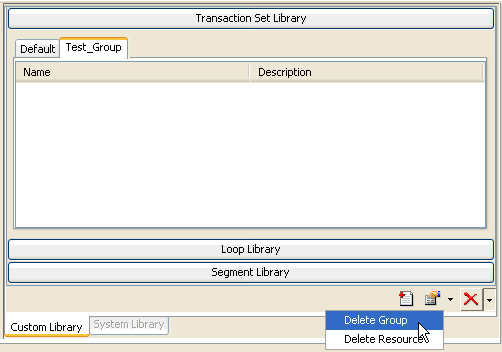
  2. Click the down arrow next to the Delete button, which is represented by a red X in the lower-right corner of the Library pane, and select Delete Group.

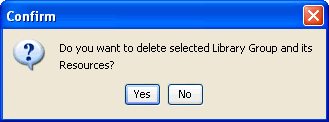
    The following confirmation message appears.

  3. Click Yes.

    The group tab, for example, Test_Group, is removed from the Library pane.


Top of page

x
Procedure: How to Add a Component From a Library to a Data Dictionary

To add a component from a library to a data dictionary:

  1. Open a Transform or Ebix Entry project that contains supported dictionary components.

    Note: The following procedure uses an Ebix Entry project (EDI X12) as an example.

  2. Navigate to the structure component of the dictionary by clicking the Structure subtab under the Dictionary folder in the Project Navigator pane or the Structure tab in the Layout pane, as shown in the following image.

  3. From the Library pane, select the dictionary component you want to add and drag it to the data dictionary in the Layout pane, as shown in the following image.

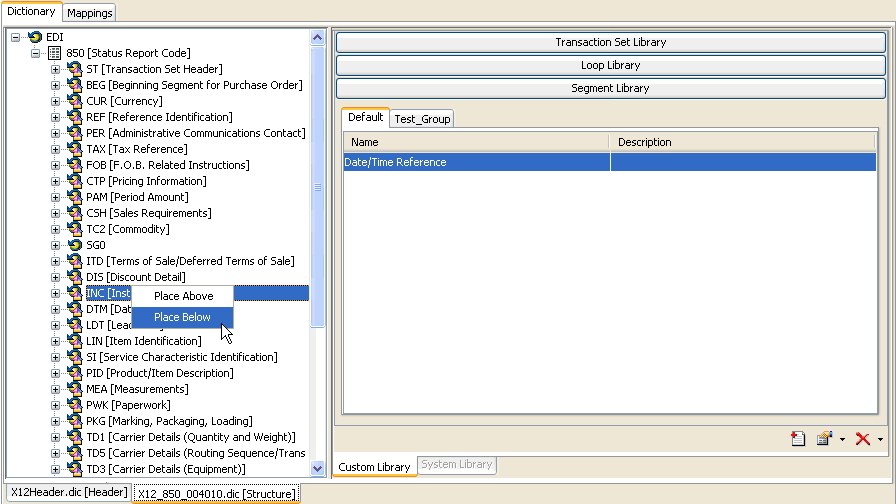
    When you release the dictionary component, you are prompted to select the placement (above or below) of the component, as shown in the following image.

  4. Click Place Above or Place Below.

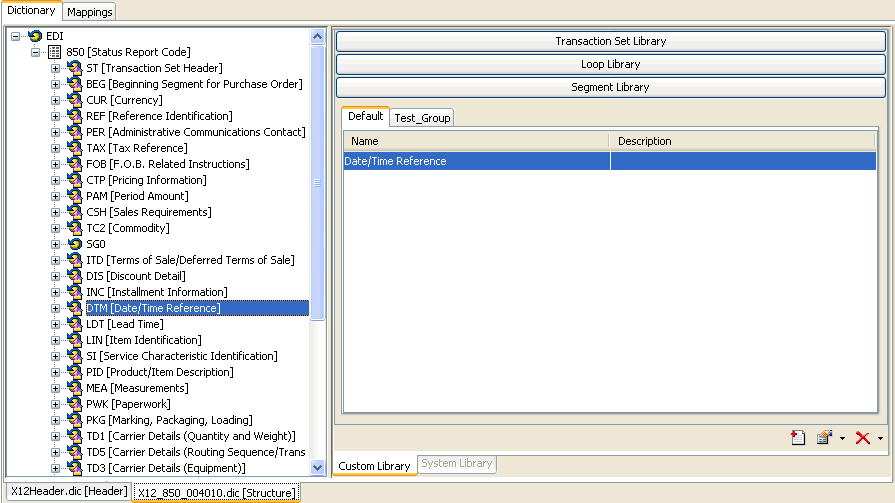
    The dictionary component is added to the data dictionary, as shown in the following image.


iWay Software