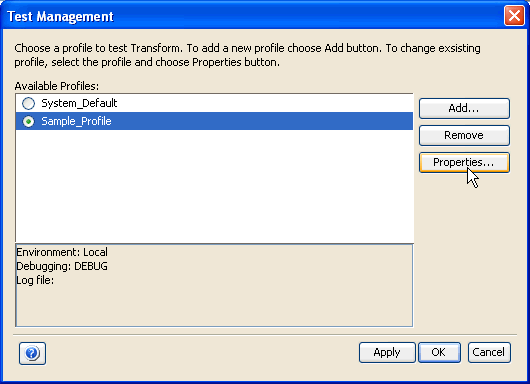
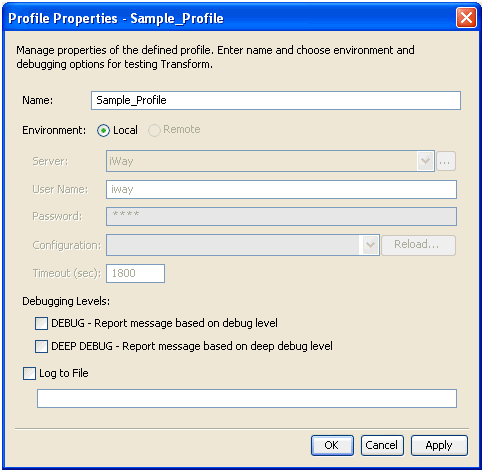
To configure a profile, you need to access the Test Manager facility.

-
From
the Transform menu, select Test Management.
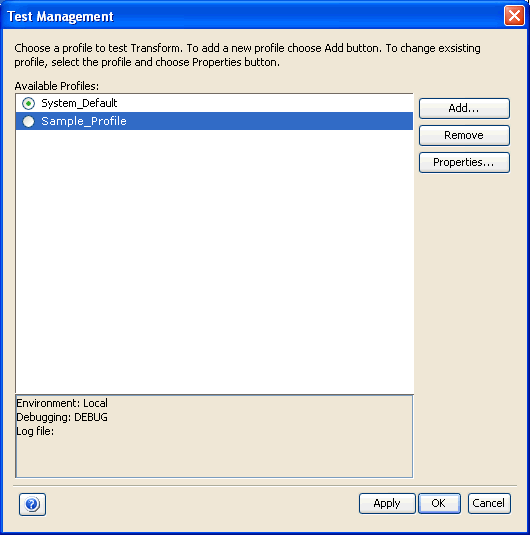
The Test Management dialog box opens as shown in the following image.
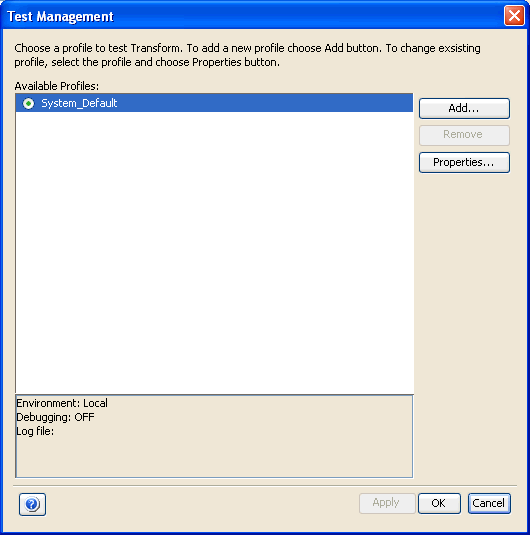
Note: The System_Default profile is a local profile that is automatically configured by Transformer. It points to the iWay Service Manager server that is specified during installation. The default URL is:
http://localhost:9999
-
Click Add.
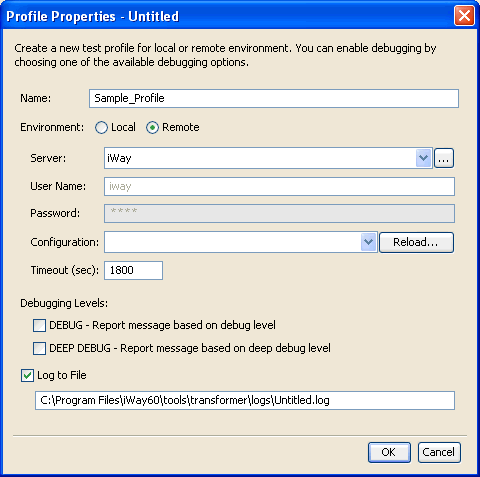
The Profile Properties dialog box opens where you provide the properties for the test profile as shown in the following image.
-
In the
Name field, type a name to identify your profile.
If you are creating a local profile, select Local for the Environment option. This option is selected by default.
Proceed to step 4.
If you are creating a remote profile, select Remote for the Environment option and perform the following steps:
-
In the Server field, select one of the available server configurations
from the drop-down list.
Note: You can also click the Browse button to the right of the Server field to open the Server Manager facility.
- In the User Name field, type a valid user name for iWay Service Manager.
- In the Password field, type a valid password for the specified user ID.
- In the Configuration field, type or select a configuration from the drop-down list. Click Reload to refresh the list of available configurations.
- In the Timeout field, type a value in seconds before the connection times out. The default value is 1800.
-
In the Server field, select one of the available server configurations
from the drop-down list.
-
From
the Debugging Levels option list, select one of the following levels of
debugging you want to use.
- DEBUG. Provides standard debugging information.
- DEEP DEBUG. Used for more comprehensive troubleshooting purposes.
- To specify a file path for the log file, select Log to File.
-
Click OK.
You are returned to the Test Management dialog box where the profile you created is added to the Available Profiles pane.
After the profile is created, you can modify it at any time. For more information, see How to Modify a Profile.
