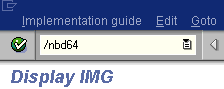
The following image shows the /nbd64 transaction in the field under the menu bar.
To configure a distribution model:
-
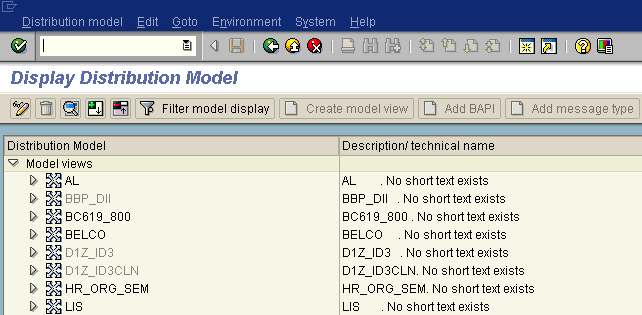
Execute the /bd64 transaction.
The Display Distribution Model window opens and displays a list of available distribution models and their descriptions as shown in the following image.
-
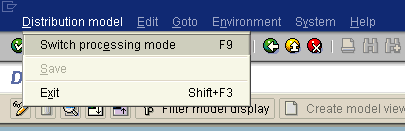
In the menu bar, click Distribution model.
The Distribution model menu opens as shown in the following image.
-
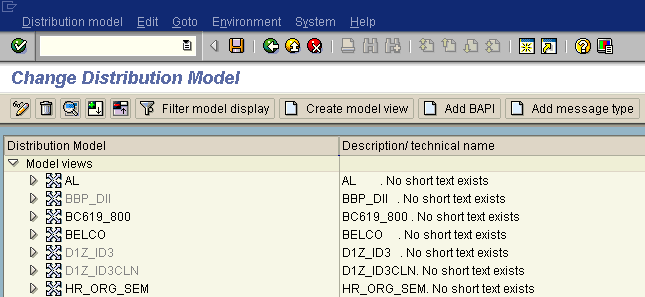
Select Switch processing mode.
The Display Distribution Model window switches to the Change Distribution Model. window as shown in the following image.
-
Click the Create model view button.
The Create Model View window opens and includes fields for the name of your distribution model and for Start and End dates as shown in the following image.
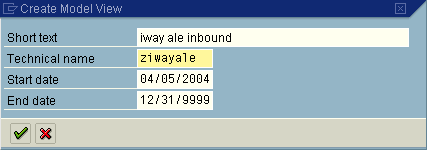
- In the Short text field, type a model view name, for example, iway ale inbound.
- In the Technical name filed, type a technical name, for example, ziwayale, which also serves as a description.
-
To enter the information, click the checkmark icon.
You are returned to the main Change Distribution Model window.
The distribution model you configured is now added to the list as shown in the following image.

-
Click the Add message type button.
The Add Message Type window opens and includes fields where you can name and specify your message type.

- In the Sender field, type the logical system you configured, for example, IWAY_IN.
-
In the Receiver field, type the logical system you configured,
for example, IWAY_OUT.
To browse from a list of logical systems, you can click the icon to the right of each field.
-
In the Message type field, type the message type to use, for example,
MATMAS.
To browse from a list of available message types, you can click the icon to the right of the field.
-
To enter the information, click the checkmark.
You are returned to the main Change Distribution Model window.
- Click Save.