The single page Scheduling Tool provides the full scheduling function of ReportCaster presented in a unified user interface. Using the Developer Studio HTML Composer Tool, you can add a schedule button to an HTML form that will open the ReportCaster single page Scheduling Tool. For details on adding the Schedule button to a form, see the Designing a User Interface for a Web Application With the HTML Composer manual. The single page Scheduling Tool also opens from the WebFOCUS Business Intelligence Dashboard when you right-click a report and select Schedule.
Note: Using this tool, you can only schedule Managed Reporting Standards Reports and My reports.
The Scheduling Tool user interface can be customized through the use of a template assigned to the Schedule button at development time. For example, you can set the form to omit certain sections, expand or collapse certain sections, assign default values to specific fields, control the contents of a drop-down list, and show check boxes checked or unchecked. The Scheduling Tool is customized by the ReportCaster developer. If you are a ReportCaster developer, contact Information Builders Customer Support Services for information about customizing the Scheduling Tool.
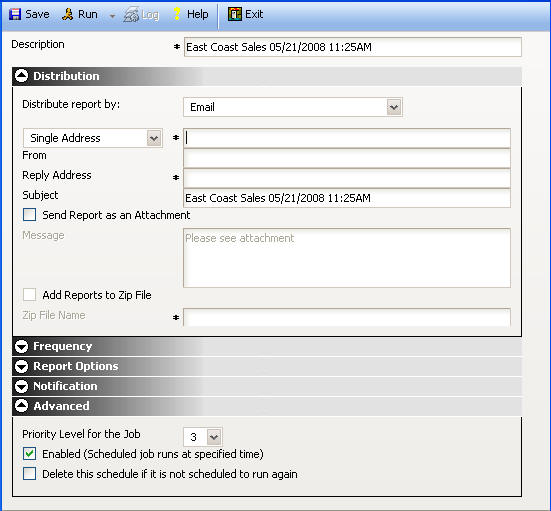
The following image shows the Scheduling Tool user interface (using a template supplied by Information Builders).
The Scheduling Tool is partitioned into the following sections:
An asterisk indicates a required parameter.
All of the scheduling features and options available in the Scheduling Tool have the same functions as the standard ReportCaster scheduling tool. For your convenience, this section also includes full descriptions of all options as they appear in the single page Scheduling Tool.
When working in the Scheduling Tool, you can expand or collapse sections, as needed. The following image shows the Frequency and Report Options sections collapsed.
| WebFOCUS |