-
From
the ReportCaster HTML User Interface, click the Access
List option. For instruction on accessing the ReportCaster
HTML User Interface, see the ReportCaster Development and Library
Content manual.
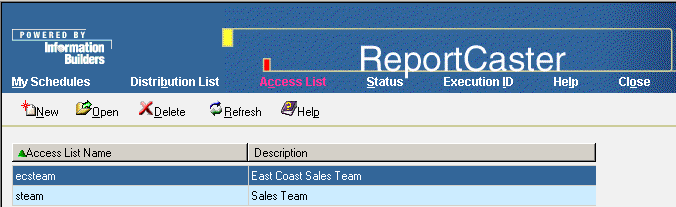
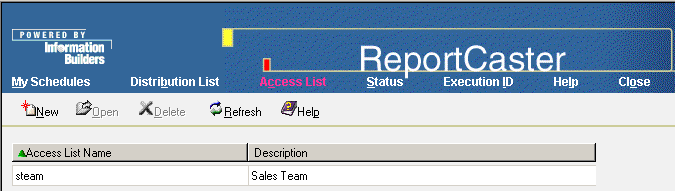
All Access Lists you have created appear, along with a description for each Access List.
Note: In the ReportCaster HTML User Interface, even when logged on as an administrator you can only view Access Lists that you own. To view all Access Lists, use the ReportCaster Development and Administration Interface.
The following image shows all of the Access Lists you created in the Access List window. Each Access List displays information under column headings for Access List Name and Description. The window includes toolbar icons that enable you to perform functions on each Access List. Sorting is available for each column by clicking the column heading.
-
Click New.
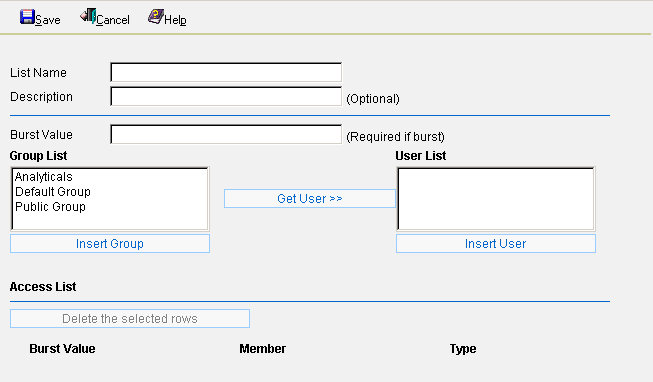
The following image shows an expanded Access List window containing fields that enable you to type a List Name, Description, and Burst Value for the Access List. In addition, there are options where you can select the users or groups to be added to the Access List, and options for deleting burst values and members from the Access List.
-
Type
the following information:
- In the List Name field, type the name of the Library Access List.
- In the Description field, type a description that can be used to identify the list.
- In the Burst Value field, type an optional burst value. This value is case-sensitive.
-
Add
groups and users to the Access List.
To add groups to the Access List:
In the Group List field, select the group or groups you want to add to the Access List (for example, Analyticals), and then click Insert Group. This populates the Burst Value (if applicable), Member, and Type fields at the bottom of the window. Note that only groups that have been granted access to content in the Report Library appear in the Group List. All members of the group will have access.
To add users to the Access List:
In the Group List field, select the group from which you want to add users to the Access List, and then click Get User. This populates the User List field with the users from the specified group. In the User List field, select the user or users you want to add to the Access List (for example, rcanalytical), and then click Insert User. This populates the Burst Value (if applicable), Member, and Type fields at the bottom of the window.
Note: To delete a group or user from the Access List, select that group or user and then click Delete the selected rows.
- Click Save to save the Access List.