The Channels pane opens on the right and lists the existing channels in your configuration.

The New Channel Definition pane opens, as shown in the following image.

The Channels, Construct Channel pane opens, as shown in the following image. This pane lists the components registered to the channel. Since this is a new channel, there are no registered components.

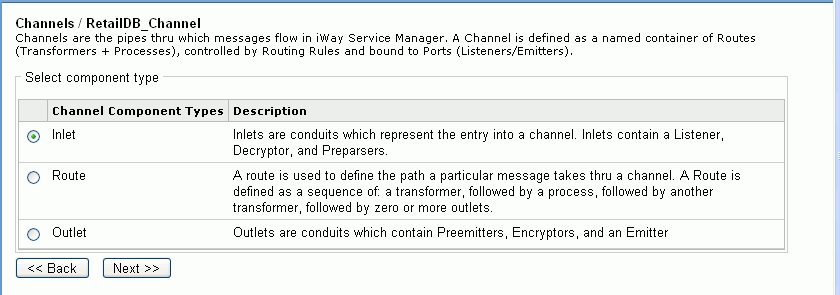
The Channel Component Types pane opens, as shown in the following image. This pane allows you to select an Inlet, Route, or Outlet component to add to the channel.
The Channels, Construct Channel pane opens showing the inlet you added to the channel. An example of this pane is shown in the following image.

Next, we need to add a route, which defines the path of the document through the channel.
Note: Every channel must contain an inlet, route, and outlet. Though we did not create a custom route, there is a default route available in iWay.
The Channel Component Types pane opens.
The Select one or more route definitions pane opens. This pane lists the routes available to the channel.
Note: This route simply moves the document from the inlet to the outlet, without additional processing.
The Channels, Construct Channel pane opens showing the inlet and the route you added to the channel. An example of this pane is shown in the following image.

The Channel Component Types pane opens with the Route and Outlet options available.
The select one or more outlet definitions pane opens. This pane lists the outlets available to the channel, as shown in the following image.
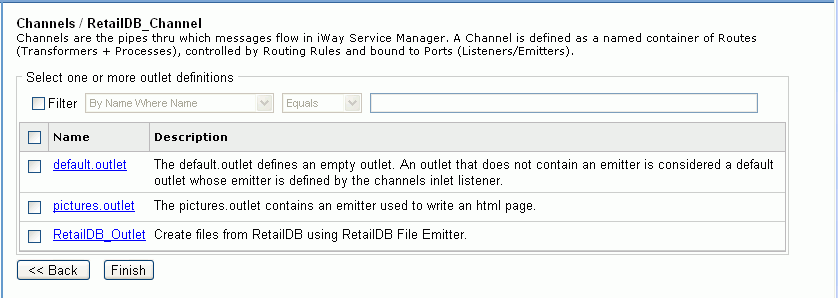
In our example the outlet is RetailDB_Outlet.
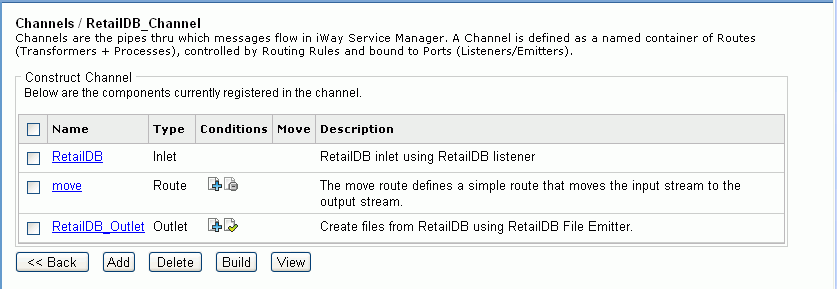
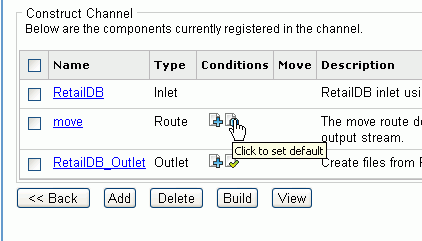
The Channels, Construct Channel pane opens showing the inlet, route, and the outlet just added to the channel. An example of this pane is shown in the following image.
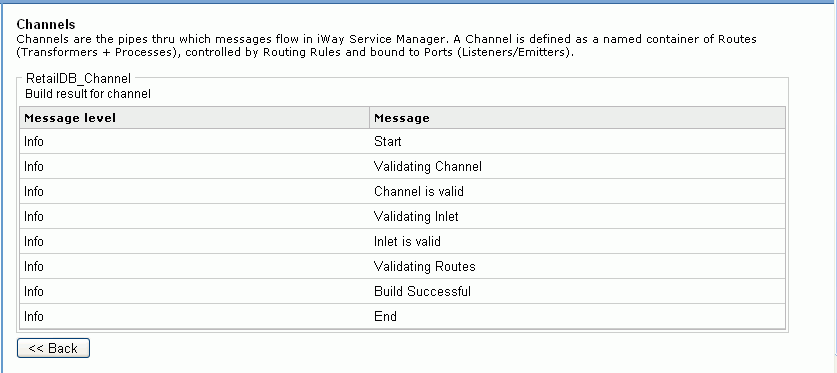
The Channels build results pane opens, as shown in the following image. This pane shows the status of the build steps and indicates the build was successful.
