Working With Namespaces

How to:

Procedure: How to Load XML Namespaces From Another Transform Component

To load XML namespaces from another Transform component:

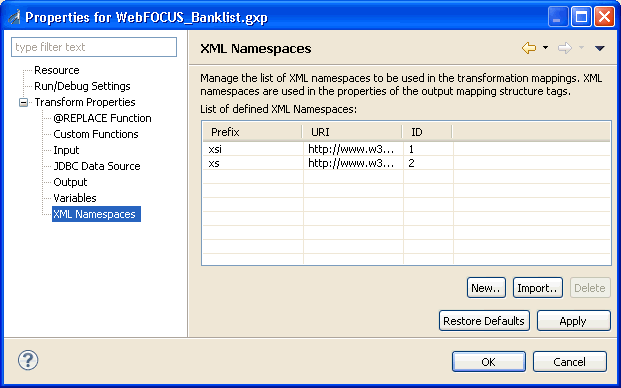
  1. In the Project Properties dialog box, select the XML Namespaces category in the left pane.

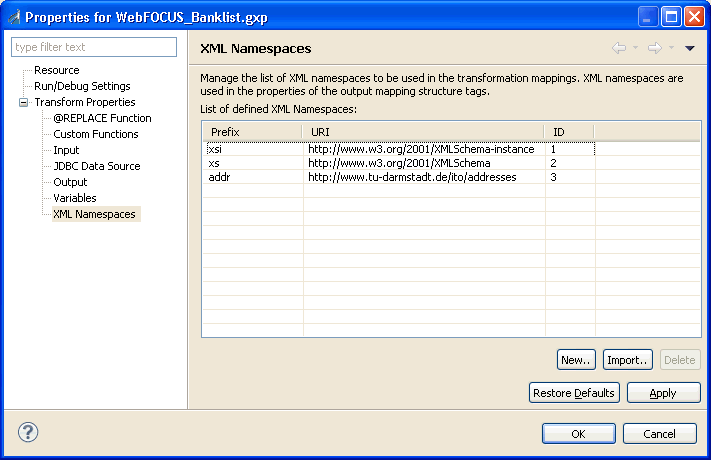
    The following image shows the XML Namespaces category in the Project Properties dialog box of a Transform component with areas for prefix, URI, and ID values.
  2. Click Import.

    The Open dialog box is displayed.

  3. Find and select the Transform component whose namespace you wish to load and click Open.
Procedure: How to Create XML Namespaces for a Transform

To create XML namespaces for a Transform:

  1. In the Project Properties dialog box, click the XML Namespaces category in the left pane.

    The following image shows the XML Namespaces category with columns for prefix, URI, and ID values.

  2. Click New.

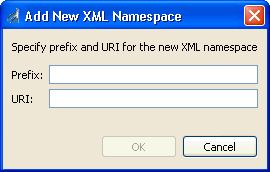
    The Add New XML Namespace dialog box opens.

  3. In the Prefix field, type the prefix to be associated with the XML namespace.
  4. In the URI field, type the URI associated with the prefix and use the URI to represent the stylesheet, reference, or value for the XML namespace.

    For example, a prefix value of addr with the following URI:

    http://www.tu-darmstadt.de/ito/addresses

    is the equivalent of including the following in your actual data:

    xmlns:addr="http://www.tu-darmstadt.de/ito/addresses"
  5. Click OK.

    The new XML namespace is added to the list.

    An identification number for each XML namespace appears automatically set in the ID column. Identification numbers are unique identifiers used by iIT Transformer to manage your XML namespaces within the workspace.

  6. Click OK.

    Note: To attach XML namespaces, left-click the appropriate node in the Output pane and select Properties. When the Output Node Properties dialog box opens, click the XML Namespace tab (if it is not already active) and then, select the Apply Namespace URI check box.


iWay Software