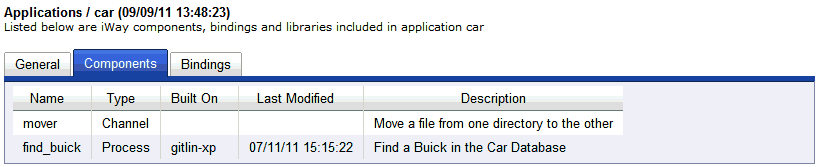
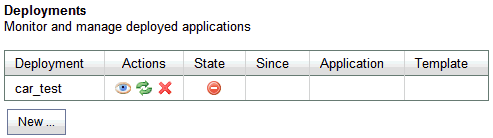
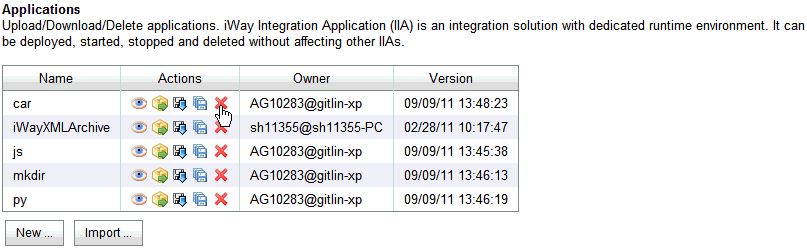
Creating an Application From an Integration Project
|
How to: |
The first step in the configuration process is to create an iWay Integration Application (iIA) that contains the components of the application you are developing.
Procedure: How to Create an Application From an Integration Project
To create an application from an Integration Project.
- Ensure that you already have an Integration Project created in iIT.
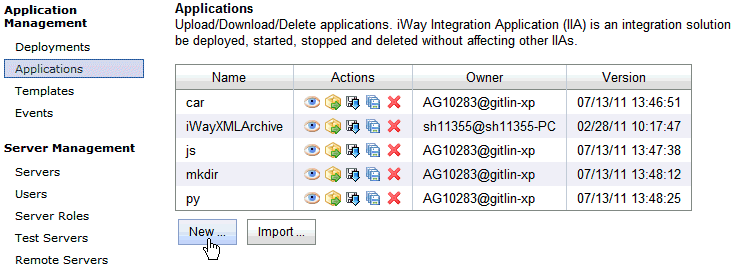
- Right-click
the Applications folder under your Integration
Project, select New, and then click Application from
the context menu.

The New Application Wizard opens, as shown in the following image.
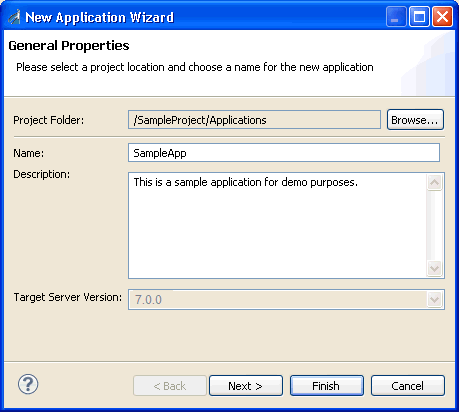
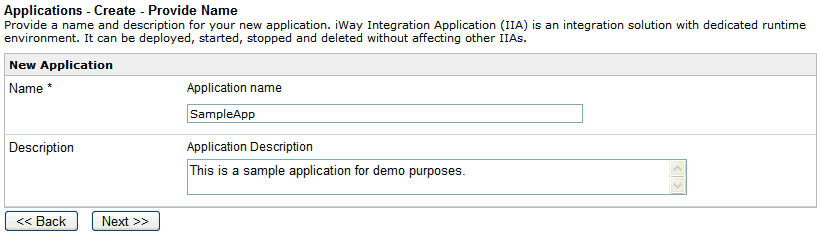
- Enter a
name for the application and a brief description, and then click Next.
The Resource Selection pane opens, as shown in the following image.
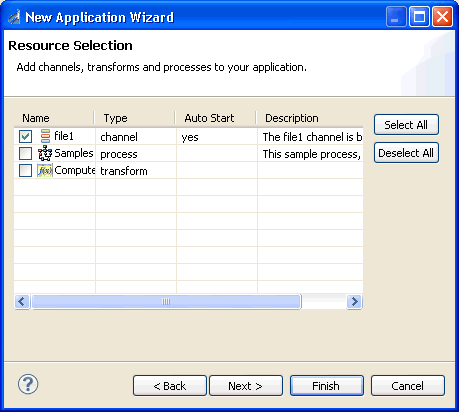
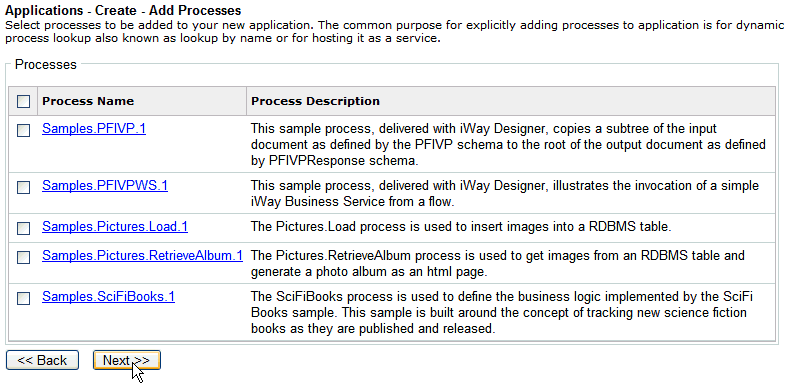
- Select the required channels, transform components, and process flows that you want to add to your application.
- Click Next.
The Process Business Services pane opens, as shown in the following image.
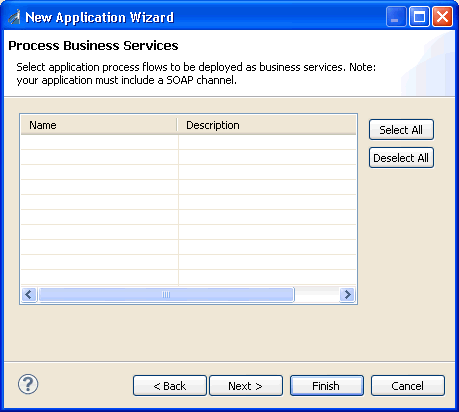
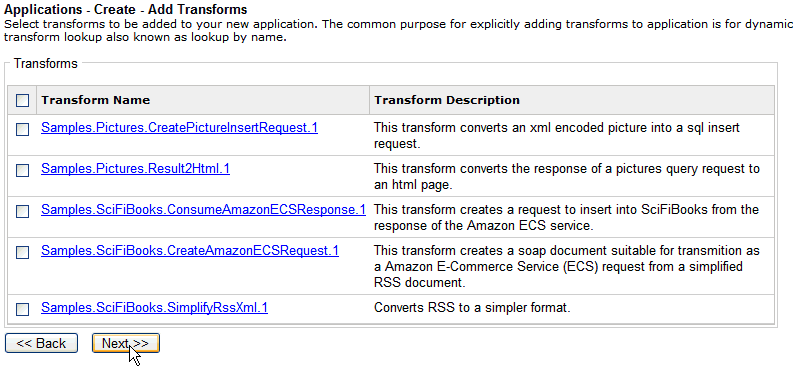
- Select application
process flows to be deployed as business services.
Note: To use web services, your application must include a SOAP channel.
- Click Next.
The Included libraries pane opens, as shown in the following image.
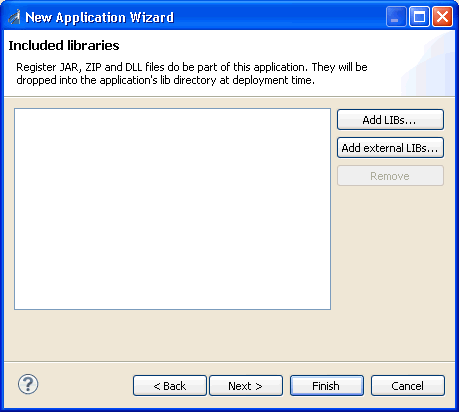
- Select libraries (.jar, .zip, and .dll) to be added to the application (for example, database drivers) according to your requirements. These library files will be copied to the lib directory of the application during deployment.
- Click Next.
The Included Resources pane opens, as shown in the following image.
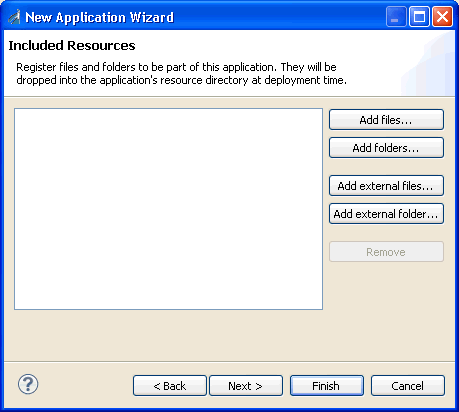
- Select register files and folders to be added to the application according to your requirements. These files will be copied to the resource directory of the application during deployment.
- Click Next.
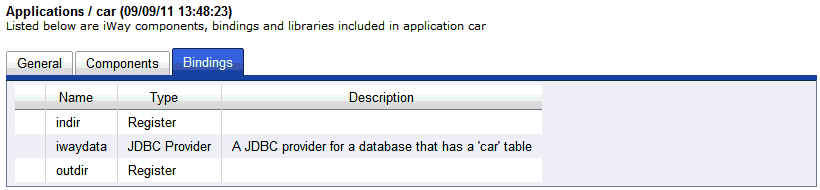
The Bindings pane opens, as shown in the following image.
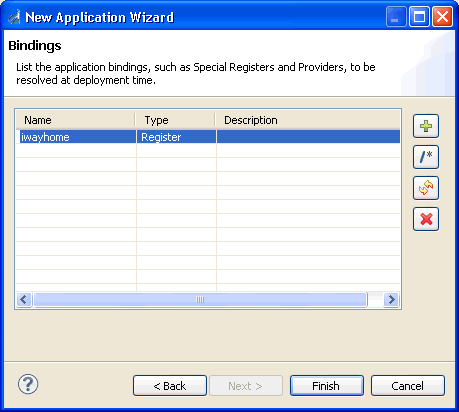
- Specify the application bindings (for example, Special Registers and Providers) to be resolved during deployment.
- Click Finish.
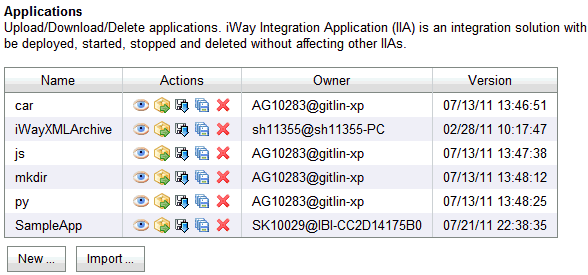
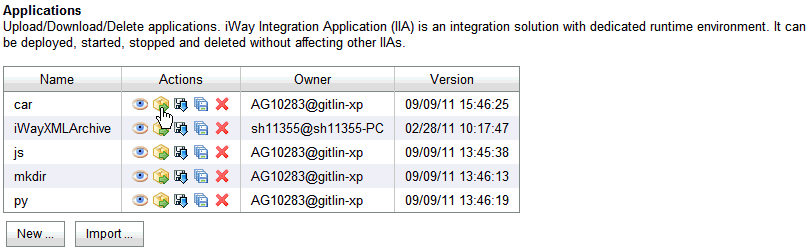
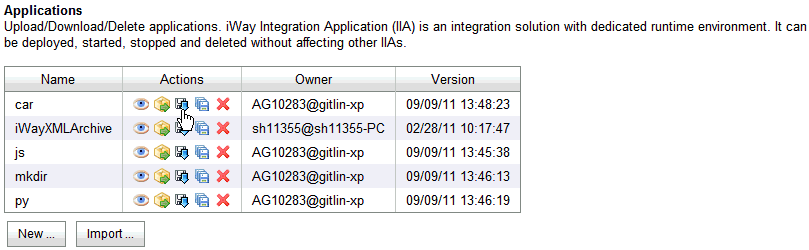
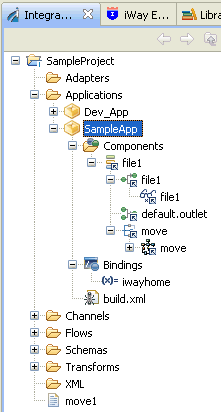
The new application (for example, SampleApp) is added to the Applications folder of your Integration Project.
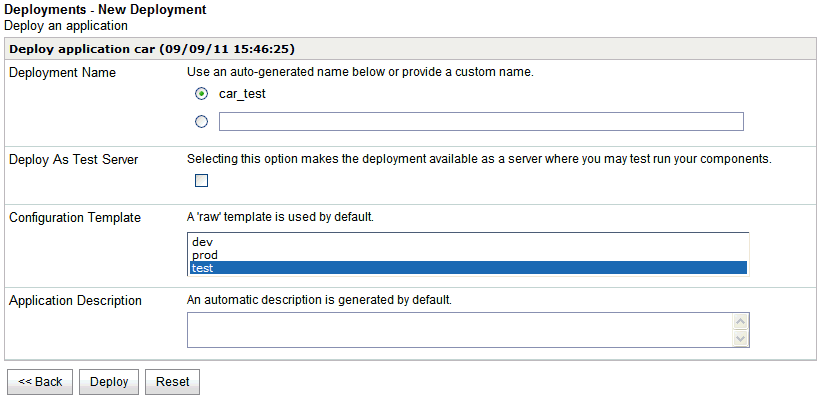
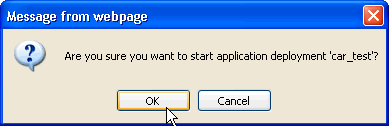
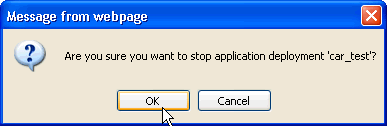
- Run build.xml in order to compile, build, and deploy your application on the server.